The Best Way to Edge a Lawn Around a Curved Garden Bed
The Engineering of the Perfect Curve: Why Your Edge Always Fails
To professionally edge a lawn around curved beds, you must utilize a half-moon edger or power bed edger to create a 4-inch deep vertical trench at a 90-degree angle, preventing turfgrass rhizomes from migrating into the mulch bed or ornamental plantings. Most homeowners think they are just making a line in the dirt; they aren’t. They are creating a mechanical barrier. I always drill into my new crew members: if you don’t fix the soil grading first, every plant you put in the ground is just expensive compost. I’ve seen thousand-dollar Japanese Maples drown because a rookie didn’t realize the ‘edge’ he cut was actually a basin that trapped water. We don’t do ‘pretty’ here; we do functional engineering that happens to look good.
How deep should a garden edge be?
The standard depth for a professional-grade lawn edge is 4 to 6 inches. This depth is required to successfully sever the lateral root systems of common turf grasses like Kentucky Bluegrass or Bermuda. If you only scrape the surface, you are leaving the rhizomes intact, and your bed will be overrun with grass within three weeks. It’s physics and biology, not a suggestion.
“A clean edge is not merely an aesthetic border; it is a critical mechanical barrier that prevents the lateral migration of stolons and rhizomes into non-target areas.” – University of Maryland Extension Service
The Ground-Up Build: Materials and Physics
Success in landscaping is 80% planning and 20% execution. Before you even touch a spade, you need to understand the soil plasticity and the angle of repose for your mulch. If you are working with heavy clay, your edge needs to be wider to prevent the wall from collapsing under hydrostatic pressure after a heavy rain. If you are in sandy loam, you have to pack that edge or it will wash away during the first irrigation cycle. I don’t use plastic edging from big-box stores. It’s landfill bait. It heaves when the ground freezes and looks like a discarded hula hoop within two seasons. We use 14-gauge steel or a hand-cut ‘Victorian’ trench.
| Material | Longevity (Years) | Structural Integrity | Professional Verdict |
|---|---|---|---|
| 14-Gauge Steel | 25+ | High | Recommended for high-end installs. |
| Commercial Aluminum | 30+ | Medium-High | Best for coastal/high-salt areas. |
| Poly/Plastic Strips | 2-5 | Low | Avoid. Heaves with frost. |
| Hand-Cut Trench | Permanent (Maintainable) | High | The gold standard for natural looks. |
The Installation Process: A Step-by-Step Mechanical Guide
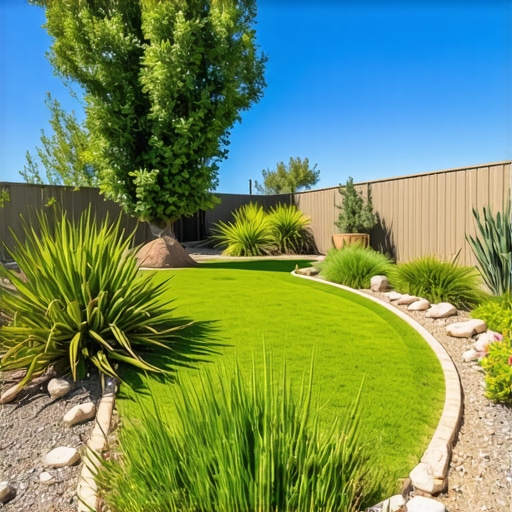
1. **Marking the Radius**: Do not use a garden hose to mark your curves. Hoses have ‘memory’ and create kinks that look amateurish. Use a heavy-duty marking paint or a layout rope. 2. **The Vertical Cut**: Using a half-moon edger, step vertically into the sod. Do not ‘saw’ at it. One clean movement. 3. **The Bevel**: Once the vertical cut is made, remove the soil on the bed side at a 45-degree angle. This creates a ‘V’ shape. 4. **Compaction**: The base of your trench must be firm. Use the back of your spade to compact the vertical wall. It should feel solid. If it’s crumbly, your soil is too dry. 5. **Mulch Management**: Do not fill the trench with mulch. The trench is the barrier. Mulch should taper down into the trench, never crossing the vertical line. [image_placeholder]
What is the best tool for edging curved garden beds?
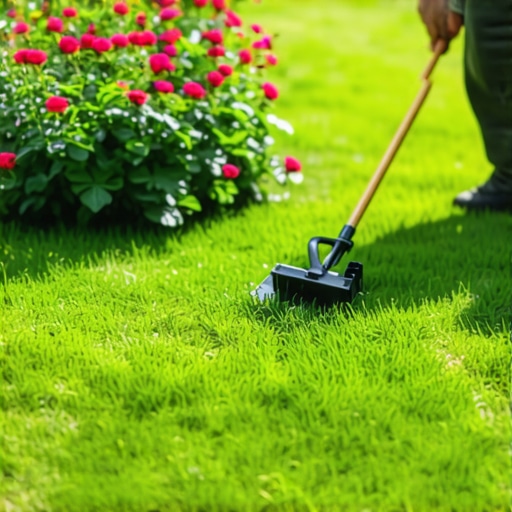
For manual labor, the half-moon spade is king because it allows for micro-adjustments on the radius that a straight spade cannot manage. For large scale commercial jobs, we use a gas-powered bed edger with a centrifugal blade. This machine doesn’t just cut; it pulverizes the soil and throws it back into the bed, saving hours of cleanup. But be warned: these machines have no mercy for 811 utility lines. Call before you dig. No exceptions.
“Standard vertical edging depths of 3 to 4 inches are necessary to penetrate the active root zone of most cool-season turfgrasses.” – Agronomy Manual 14
Micro-Climates and Soil Logic
Your local soil dictates your maintenance. In high-clay regions, you need to check your edges after every frost-thaw cycle. The expansion of water in the clay will push your edge out of alignment. In sandy regions, wind erosion is your enemy. You might need to increase your mulch depth to 3 inches to weigh down the soil at the transition point. And never, ever use weed fabric in the trench. It traps moisture against the grass roots and creates a fungal highway. It will rot. Just keep the edge clean. It’s a 10-minute job with a pair of shears once a month. That’s the price of a professional yard. Don’t skip it.
- **Checklist for a Perfect Edge:**
- Verify utility lines (811).
- Set a consistent radius (no sharp kinks).
- Cut vertically to 4 inches minimum.
- Bevel the bed-side soil at 45 degrees.
- Remove all sod clumps from the site.
- Apply pre-emergent along the trench floor.
- Maintain with a string trimmer held vertically.