Build a $200 Rain Garden to Solve 2026 Yard Drainage Issues
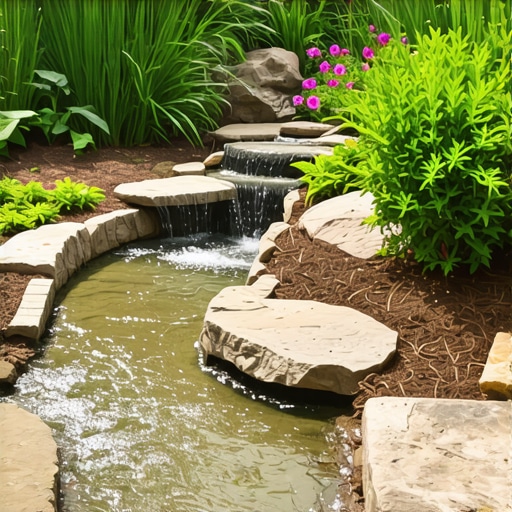
Surface runoff is a liability that most homeowners ignore until their basement walls start weeping or their turf turns into a spongy, anaerobic mess. As we look toward the 2026 season, weather patterns are trending toward higher intensity, short-duration rain events that overwhelm standard lawn drainage. A rain garden is not a decorative pond. It is a biological engineering solution designed to capture, filter, and infiltrate stormwater into the aquifer rather than the storm sewer. You can build a functional, 100-square-foot bio-retention cell for under $200 if you understand soil mechanics and plant physiology. Forget the expensive French drains and plastic basins for a moment. We are going to use the earth itself to move the water.
The Engineering of Infiltration
To successfully implement a rain garden, you must calculate the infiltration rate of your native soil to ensure that stormwater runoff from impermeable surfaces is fully processed within a 24 to 48-hour window. This timeframe is critical to prevent the breeding of mosquitoes and the development of root-rot pathogens in your landscape plants. I always drill into my new crew members: if you don’t fix the soil grading first, every plant you put in the ground is just expensive compost. I have seen guys throw $5,000 worth of nursery stock into a hole that didn’t drain, and six months later, they were hauling out dead, black-rooted sticks. You have to respect the gravity and the hydrostatic pressure. If the water has nowhere to go, it will find a way into your foundation. Before you dig, you need to perform a percolation test. Dig a hole 12 inches deep, fill it with water, and see how long it takes to empty. If it takes longer than 24 hours, you have heavy clay or compaction issues that require deep mechanical aeration or soil amendment. It is that simple. Don’t fight physics; work with it.
“A rain garden is not a pond: it is a bio-retention cell designed to infiltrate water within 48 hours.” – The Sustainable Sites Initiative Manual
How deep do I need to dig for a rain garden?
For most residential applications, a depth of 6 to 8 inches is the sweet spot. This allows for a 3-inch layer of specialized soil mix and a 3-inch ponding area for temporary storage during a heavy downpour. If you go deeper, you risk reaching the seasonal high water table, which defeats the purpose of infiltration. If you go shallower, you won’t have enough volume to handle the surge from a standard gutter downspout. You are looking to create a shallow saucer, not a trench. The edges must be gently sloped, roughly a 3:1 ratio, to prevent erosion of the side walls during the first few growing seasons while the root systems are establishing their grip on the substrate.
Budgeting Your $200 Rain Garden
Achieving a professional-grade drainage solution on a $200 budget requires prioritizing materials that impact soil chemistry and water movement over aesthetic fluff. Skip the decorative statues and focus on the rhizosphere. Your primary costs will be soil amendments and young native plant plugs, which are significantly cheaper and more resilient than gallon-sized pots. Look for local municipal programs that might offer free mulch or compost to further drive down the cost. Below is a breakdown of how to allocate your capital for a 100-square-foot project.
| Material Item | Quantity / Specs | Estimated Cost | |
|---|---|---|---|
| Coarse Construction Sand | 0.5 Cubic Yards | $30 | |
| Aged Leaf Compost | 0.5 Cubic Yards | $25 | |
| Native Plant Plugs | 15 to 20 Plugs | $90 | |
| Shredded Hardwood Mulch | 5 Bags | $20 | |
| River Rock (Inflow/Outflow) | 100 lbs (Bulk) | $35 |
Notice I didn’t include a shovel or a wheelbarrow. I assume you have the tools. If you don’t, rent them for a day; do not buy cheap versions that will snap the first time they hit a rock. The sand must be coarse, not play sand. Play sand is too fine and will actually clog the soil pores, creating a concrete-like texture. You want the sharp, angular grains found in construction-grade sand to maintain macropore space for water movement.
The Soil Remediation Protocol
The success of your rain garden hinges on the cation exchange capacity and the bulk density of the soil mix you install within the basin. You should aim for a mixture of 50 to 60 percent sand, 20 to 30 percent compost, and 20 to 30 percent native topsoil to maximize hydraulic conductivity. This ratio ensures that the garden can handle the high nitrogen and phosphorus loads often found in residential runoff. In 2026, we are seeing more nutrient leaching from neighboring lawns due to over-fertilization. Your rain garden acts as a kidney for the yard. It scrubs those chemicals before they hit the groundwater. Do not use chemical fertilizers in the garden itself. You are trying to build a self-sustaining microbial community. Adding synthetic salts will only kill the mycorrhizal fungi that help your plants survive the dry spells between storms. It is a biological system, not a chemical one.
“A retaining wall doesn’t fail because of the stone: it fails because of the water trapped behind it.” – Hardscape Engineering Axiom
What plants survive both drought and flood?
You need “facultative” plants. These are species that can handle having wet feet for 48 hours but won’t die when the July heat kicks in and the garden goes dry for two weeks. In the Midwest and Northeast, species like Asclepias incarnata (Swamp Milkweed), Lobelia siphilitica (Great Blue Lobelia), and Carex (Sedges) are the workhorses. They have deep, fibrous root systems that punch holes in the soil, effectively creating natural drainage pipes. Over time, as these roots grow and die back, they leave behind organic matter that increases the soil’s infiltration capacity. It is a feedback loop. The more the garden grows, the better it works. Don’t buy the flashy hybrids at the big box store. They are bred for color, not for the hydraulic heavy lifting required in a bio-retention cell. Stick to the straight species.
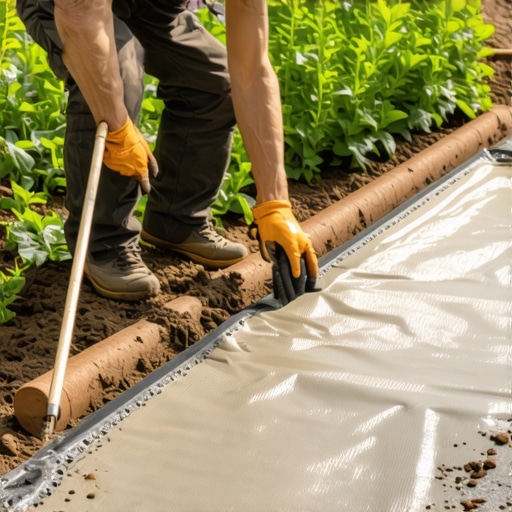
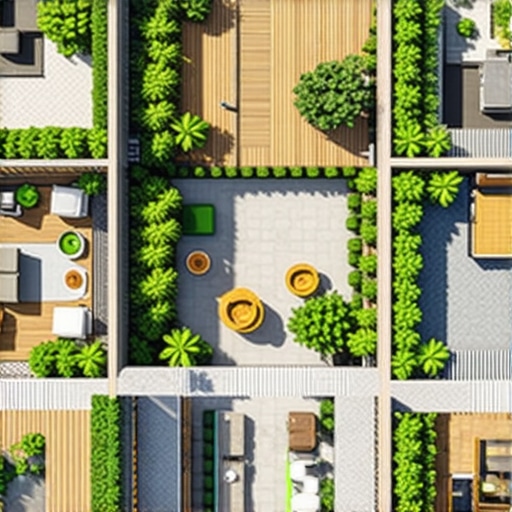
Step-by-Step Installation for 2026
- Locate and Mark: Stay 10 feet from the house. Call 811 to mark underground utilities. Use a garden hose to outline the saucer shape.
- Excavation: Dig to a depth of 8 to 10 inches. Use the removed soil to build a berm on the downhill side. This berm must be compacted. Walk on it. Use a hand tamper. If it is loose, the first storm will wash it away.
- Leveling the Bottom: The floor of your rain garden must be level. Use a 2×4 and a carpenter’s level. If the bottom is sloped, water will pool at one end and drown the plants while the other end stays dry.
- Soil Mixing: Incorporate your sand and compost into the top 4 inches of the basin floor. This creates the infiltration zone.
- Rock Armoring: Place river rock where the water enters the garden. This dissipates the energy of the water so it doesn’t gouge a hole in your new soil.
- Planting: Space your plugs 12 inches apart. It will look sparse at first. Resist the urge to overplant. They will fill in by year two.
- Mulching: Use 2 to 3 inches of shredded hardwood mulch. Do not use wood chips or pine bark: they float. You will find them on your neighbor’s lawn after the first rain. Shredded hardwood mats together and stays put.
Maintenance is minimal but mandatory. For the first year, you have to weed. Once the native plants established their canopy, they will shade out most competitors. Check the inflow point after every major storm to ensure it isn’t blocked by debris. If the garden stays wet for more than three days, you have a compaction problem or the site was poorly chosen. Fix it immediately by vertical mulching or adding more sand. A functioning rain garden is a silent, hardworking asset. It protects your hardscaping, keeps your lawn from becoming a swamp, and adds legitimate value to your property by solving a civil engineering problem with biology. Stop complaining about the rain and start managing it.
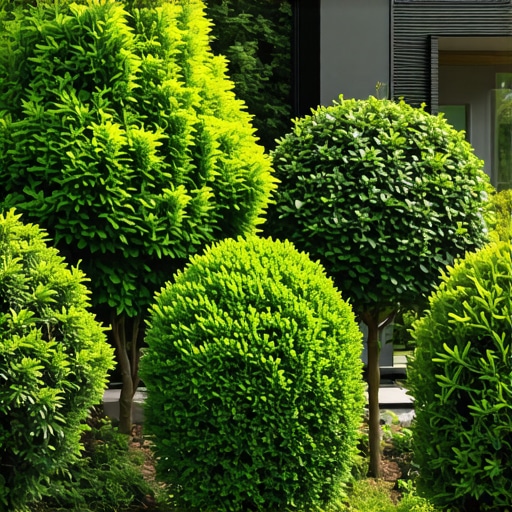
![5 Low-Maintenance 2026 Front Yard Layouts [DIY]](https://lawnmajesty.com/wp-content/uploads/2026/06/5-Low-Maintenance-2026-Front-Yard-Layouts-DIY.jpeg)