Fix 2026 Loose Paver Edges with This Glue Trick
I recently got called out to tear up a $30,000 patio that was sinking because the previous contractor ignored the basic laws of physics. The homeowner was devastated. They had spent a fortune on high-end travertine, but within two years, the entire perimeter was migrating into the lawn. The soldier course, which should have been the structural anchor of the entire installation, was loose enough to be lifted by hand. When I excavated the edge, I found the culprit: cheap plastic edging held down by 10-inch spikes that had simply heaved out of the ground during the first freeze-thaw cycle. This is a classic failure of lateral restraint. In my 20 years of hardscaping, I have learned that if the edge moves, the project is dead. You cannot rely on plastic and friction alone in 2026. You need a chemical bond. This is where the polyurethane glue trick comes into play.
Why Your Paver Edges Are Shifting
Paver edges shift primarily due to lateral pressure and failed edge restraints caused by inadequate soil compaction or the degradation of plastic spikes. When the perimeter loses its grip, the entire interlocking system of the patio begins to migrate, leading to unsightly gaps and structural instability. It will rot. Don’t skip this. The science behind this is simple. Every time a person walks on a patio, or every time the temperature fluctuates, the pavers want to move outward. If the edge restraint fails, the sand between the joints falls out, and the structural integrity of the ‘interlock’ is lost. Once that sand is gone, the pavers are just individual rocks sitting in dirt.
“A retaining wall doesn’t fail because of the stone; it fails because of the water trapped behind it.” – Hardscape Engineering Axiom
The same logic applies to patios. Water infiltrates the gaps, weakens the base, and pushes the edges out through hydrostatic pressure. To fix this, we use a high-performance polyurethane adhesive that creates a monolithic bond between the paver and a concrete curb or the underlying aggregate. This isn’t your standard school glue. We are talking about industrial-grade MDI-based polyurethanes that cure in the presence of moisture and can withstand 400 PSI of shear force. I have seen these bonds hold even when the earth underneath them has settled three inches.
The Forensic Autopsy of a Failed Perimeter
When a hardscape fails, it is usually a cascading failure. In the $30,000 project I mentioned, the base was the first failure point. They used clean stone instead of a modified 2A aggregate. Clean stone has its place, but without the ‘fines’ or smaller particles, it doesn’t lock together. It acts like a bowl of marbles. When the lateral pressure hit the edge, the marbles rolled, the plastic edging buckled, and the pavers followed. To diagnose a failing edge, look at the joint lines. If the joints near the grass are wider than the joints in the center, your edge is moving. You need to act before the base becomes saturated and the pavers start to dip. This is not a cosmetic issue; it is a structural emergency. If you don’t fix it now, you will be replacing the entire patio in two seasons.
How much modified gravel do I need for a patio base?
To calculate the required modified gravel for a stable patio base, you must excavate to a depth of at least 6 to 8 inches and multiply the square footage by the depth in feet. For example, a 100 square foot patio with a 6-inch base requires 50 cubic feet of 2A modified stone. This aggregate must be compacted in 2-inch ‘lifts’ using a plate compactor to reach 95% Standard Proctor Density. If you skip compaction, the glue trick will not save you. The glue bonds the stone, but the base supports the weight.
What is the best adhesive for loose paving stones?
The best adhesive for loose paving stones is a moisture-cured polyurethane concrete adhesive, specifically products like SikaBond or Loctite PL Premium. These adhesives are designed to bond to porous concrete surfaces and remain flexible enough to handle the expansion and contraction of the stone. Avoid water-based ‘landscape glues’ sold in big-box stores. They will emulsify when exposed to groundwater and fail within months. You need a chemical bond that is waterproof and heat-resistant.
The Glue Trick: The 2026 Professional Standard
The ‘glue trick’ involves bonding the perimeter pavers to a buried concrete ‘toe’ or curb. Instead of relying on plastic spikes that the frost will eventually spit out, we pour a small 4-inch by 4-inch concrete wedge along the outside of the pavers. But before that, we apply a heavy bead of polyurethane adhesive to the bottom of the soldier course pavers. This bonds the stone to the concrete and the stones to each other. This creates a ring of steel around your patio. It doesn’t move. It won’t heave. It stays put for decades. Here is a comparison of the different methods we use in the field.
| Method | Bonding Strength | Flexural Tolerance | Expected Lifespan |
|---|---|---|---|
| Plastic Edging | Low (Mechanical) | Moderate | 3 to 5 Years |
| Concrete Curbing | High (Rigid) | Low (Cracks) | 10 to 15 Years |
| Polyurethane Glue | Ultra High (400+ PSI) | High (Elastic) | 20+ Years |
Notice the flexural tolerance. Concrete is strong but brittle. It cracks when the ground moves. Polyurethane is elastic. It stretches. This is critical in regions with heavy clay soil. Clay expands when wet and shrinks when dry. You need a bond that can breathe with the earth without snapping.
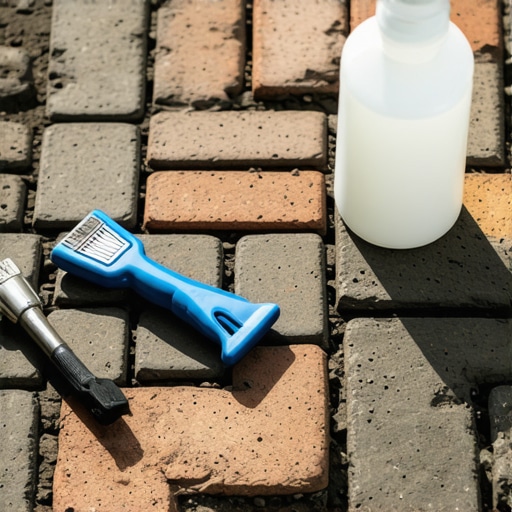
Step-by-Step: Fixing the Edge the Right Way
Do not just squirt glue into a dirty crack. It won’t work. The stone must be prepared. Concrete pavers develop a carbonation layer-a thin film of calcium carbonate that prevents adhesion. You must remove this. Use a stiff wire brush or a diamond grinder to scuff the surface where the glue will be applied. Dust is the enemy of adhesion. Use a leaf blower to ensure the surface is bone-dry and clean before you even open the tube of adhesive.
- Excavate the soil away from the loose edge to expose the base.
- Clean the underside of the pavers and the top of the base with a stiff brush.
- Check the grade; ensure a 1/8 inch drop per foot for drainage.
- Apply a 3/16 inch zig-zag bead of polyurethane adhesive to the base.
- Set the paver firmly into the adhesive and tap with a rubber mallet.
- Wait 24 hours for the adhesive to initial cure before applying polymeric sand.
- Install a concrete ‘toe’ behind the pavers for added lateral support.
- Backfill with topsoil and seed to hide the structural work.
“Proper edge restraint is the single most critical factor in the long-term structural integrity of interlocking concrete pavements.” – ICPI Tech Spec 4
When you apply the polymeric sand, make sure you use a vibratory plate compactor. The vibration settles the sand deep into the joints, locking the pavers together through friction. The glue holds the perimeter, and the sand holds the interior. This is a system. If one part fails, the whole thing fails. Don’t be the homeowner who has to call me to tear up a two-year-old patio. Spend the extra $50 on high-quality adhesive now. It is the cheapest insurance policy you will ever buy for your landscape. Your garden design depends on the structural floor you build. Without a solid floor, your garden is just a collection of plants in a sinking ship. Keep the water moving, keep the edges tight, and respect the chemistry of the bond.
![Fix Sinking 2026 Paver Steps with Poly-Sand [DIY]](https://lawnmajesty.com/wp-content/uploads/2026/05/Fix-Sinking-2026-Paver-Steps-with-Poly-Sand-DIY.jpeg)