Build a $300 2026 Stone Path with Sand Joint Edging
The Hard Reality of Low-Budget Hardscaping
Building a $300 stone path in 2026 requires more than just physical labor; it requires a deep understanding of soil mechanics, material sourcing, and structural engineering to ensure the installation does not settle or heave within the first two seasons. Most homeowners fail because they prioritize the aesthetic of the stone over the physics of the base. I always drill into my new crew members: if you don’t fix the soil grading first, every stone you put in the ground is just an expensive trip hazard. This is a technical wisdom born from twenty years of excavating failed DIY projects where the ‘contractor’ forgot that water always wins. We are not just laying rocks; we are managing hydrostatic pressure and soil friction. To stay under a $300 budget, you must eliminate the middleman and understand the specific gravity of your local aggregates.
Planning the $300 Path Layout
Effective planning for a budget stone walkway involves precise site analysis, calculating square footage, and determining the load-bearing capacity of the native sub-grade to avoid future subsidence. You cannot afford to guess. If your path is 15 feet long and 3 feet wide, you have 45 square feet of surface area. At a 4-inch excavation depth, you are moving roughly 0.55 cubic yards of soil. This is not a suggestion; it is math. You need to know where your utility lines are. Call 811. Don’t be the guy who hits a lateral line because he wanted a ‘natural’ curve. The 2026 market for materials is volatile, so sourcing ‘seconds’ or ‘remnants’ from local stone yards is the only way to keep the stone cost under $150, leaving the remaining $150 for the base and sand.
| Material Type | Required Quantity (45 sq ft) | Estimated Cost (2026) | Function |
|---|---|---|---|
| Total Project | N/A | $295.00 | Structural Walkway |
| 3/4-inch Modified Gravel | 0.6 Tons | $45.00 | Load-bearing Base |
| Masonry Sand | 0.2 Tons | $20.00 | Leveling Bed |
| Local Flagstone (Seconds) | 45 sq ft | $150.00 | Wear Course |
| Polymeric Sand | 2 Bags | $60.00 | Joint Stabilization |
| Geotextile Fabric | 50 sq ft | $20.00 | Soil Separation |
Engineering the Sub-Base Foundation
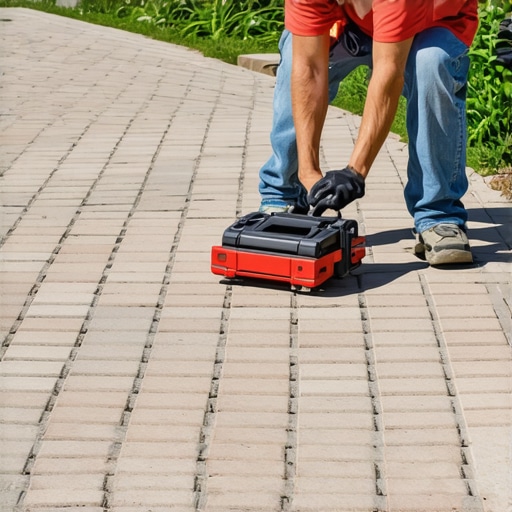
The sub-base is the most critical component of any hardscape installation, acting as a structural foundation that distributes weight and facilitates sub-surface drainage to prevent frost heave. Most hacks skip the fabric. Do not skip the fabric. A non-woven geotextile layer prevents the native clay or silt from migrating upward into your clean gravel. This ‘pumping’ action is what causes stones to sink. Once the fabric is down, you apply your 3/4-inch modified stone (often called CR6 or 21A). You must compact this in 2-inch lifts. If you don’t have a plate compactor, use a hand tamper until your arms go numb. The goal is to reach 95% Standard Proctor Density.
“A retaining wall or path doesn’t fail because of the stone; it fails because of the water trapped behind or under it.” – Hardscape Engineering Axiom
This foundation is what separates a professional build from a weekend disaster. It will last. Cheap paths fail because of air pockets. Use a transit level to ensure a 2% cross-slope. This moves water off the surface. Standing water is the enemy of stone.
How much modified gravel do I need for a stone path?
To calculate gravel volume, multiply the square footage by the depth in feet (e.g., 4 inches is 0.33 feet) and divide by 21.6 to convert to tons. For a standard 45-square-foot path at a 4-inch depth, you will need approximately 0.7 tons of compacted aggregate to ensure a stable, non-shifting base layer.
The Physics of Sand Joint Edging
Joint stabilization in stone landscaping relies on interlocking friction provided by graded sand particles, which lock the larger stones into a monolithic structure while remaining flexible. In 2026, we see a lot of hybrid sands. For a $300 budget, you might be tempted to use play sand. Don’t. Play sand is rounded. It acts like ball bearings. You need angular masonry sand or a budget-friendly polymeric. When you sweep the sand into the joints, you are creating a ‘bridge’ between the stones. This prevents lateral movement. If the stones can move, they will tilt. If they tilt, they will crack. It is a simple chain reaction. You must vibrate the sand into the joints. Use a rubber mallet to tap each stone after sanding. This settles the grains. Gravity is your tool here. Pack it tight. There should be no voids. Voids hold water. Water turns to ice. Ice destroys paths.
What is the best sand for stone path joints?
The best joint sand for a budget project is polymeric sand because it contains organic binders that harden upon wetting, preventing weed growth and insect infestation. While slightly more expensive than bulk masonry sand, it significantly reduces long-term maintenance costs by preventing joint washout during heavy rain events.
Setting the Stone for Longevity
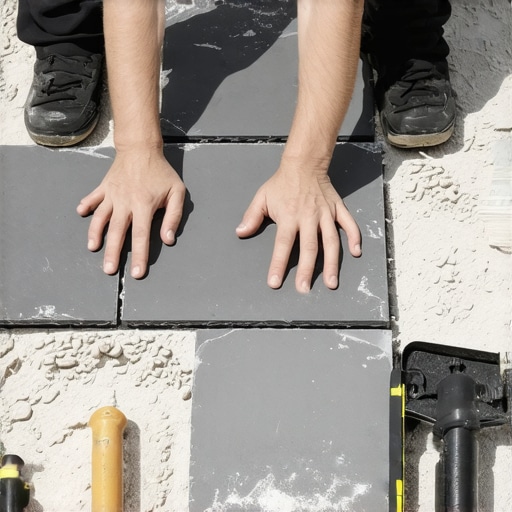
Placing the stones requires a leveling bed of no more than 1 inch of sand, which allows for micro-adjustments in height while maintaining a firm contact patch with the base. Every stone has a ‘face’ and a ‘bed.’ You want the flat face up, obviously, but you must check the thickness. In a $300 budget, your stones will be irregular. This is where the skill comes in. You are solving a 3D puzzle. Dig out a little sand for the thick stones; add a little for the thin ones. Do not use soil to level. Soil organic matter will rot. It will shrink. Your stone will wobble. It must be sand or stone dust. When you set the stone, it should not ‘see-saw.’ If it wobbles when you step on the corner, pull it up. Add more sand to the low spot. Tamp it again. Set it back down. Do it until it is dead still. This is where the ‘mow-and-blow’ guys fail. They are in a hurry. You cannot hurry a stone. It takes as long as it takes.
- Excavate to a depth of 6 inches total (4″ base, 1″ sand, 1″-2″ stone).
- Install edge restraints (plastic or pressure-treated timber) to prevent lateral spreading.
- Use a 1-inch PVC pipe as a screed rail to get a perfectly flat sand bed.
- Maintain a joint width of 1/4 inch to 1/2 inch for optimal sand locking.
- Mist the final product with water to activate the binders in the sand.
Maintenance and Year-One Expectations
A properly engineered hardscape path will undergo a settling period during the first freeze-thaw cycle, requiring a secondary application of joint sand to fill any voids created by microscopic soil shifts.
“Soil is a living, breathing structural medium; treat it with the same respect you give to concrete or steel.” – USDA Soil Mechanics Manual
Don’t freak out if a few joints look low after a heavy spring rain. That is normal. Just sweep in more sand. Avoid using rock salt on your path in the winter. Salt causes spalling in natural stone, especially the budget-grade flagstone you likely bought for this project. Use sand for traction instead. By the end of year one, the path should feel like part of the earth. If you followed the compaction rules, it won’t move. If you cheated on the gravel, you’ll know by April. The ground doesn’t lie. Professional landscaping is about the things you can’t see once the job is finished. The $300 you spent is an investment in civil engineering on a micro scale. Keep the edges trimmed. Keep the joints full. Your path will outlast your house.