![Build a $500 Natural Stone Retaining Wall [2026 DIY]](https://lawnmajesty.com/wp-content/uploads/2026/06/Build-a-500-Natural-Stone-Retaining-Wall-2026-DIY.jpeg)
Build a $500 Natural Stone Retaining Wall [2026 DIY]
Build a $500 Natural Stone Retaining Wall [2026 DIY]
I recently got called out to tear up a $30,000 patio that was sinking because the previous contractor thought he could skip the 6-inch 2A modified gravel base. He used loose sand and native dirt. It was a $30,000 failure. When you are looking to build a $500 natural stone retaining wall, you cannot afford to fail on the engineering. Most DIYers think a wall is just a pile of rocks. It is not. It is a gravity-based structural system designed to combat hydrostatic pressure and soil movement. If you do not respect the physics of the slope, your wall will become expensive compost within two winters. This is not about aesthetics; it is about civil engineering on a micro-scale.
How to design a $500 natural stone retaining wall?
To design a natural stone retaining wall on a budget, you must prioritize structural gravity-stacking, sub-base compaction, and hydrostatic drainage. A $500 budget requires sourcing local fieldstone or quarry tailings and performing all excavation by hand to eliminate machine rental overhead costs while maintaining 1-inch-per-foot batter for stability.
The Engineering of Soil and Pressure
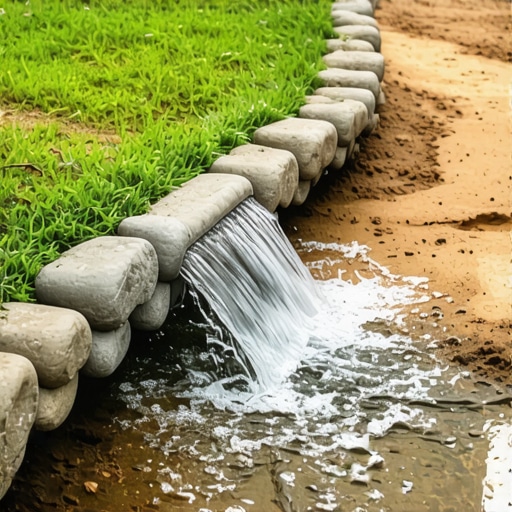
Before you touch a shovel, you need to understand why walls fall over. It is almost never the stone. It is the water. Soil is heavy, but saturated soil is a hydraulic ram. When rain hits your garden design, the water fills the pore spaces in the dirt. This creates hydrostatic pressure that pushes against the back of your stone. If you do not provide a path for that water to escape, the wall will bulge and eventually blow out.
“A retaining wall doesn’t fail because of the stone; it fails because of the water trapped behind it.” – Hardscape Engineering Axiom
This is why your landscaping project must include a dedicated drainage zone. In my two decades of hardscaping, I have seen walls made of 500-pound boulders shift like LEGOs because the installer forgot a 4-inch perforated pipe. Don’t be that guy. You need to account for the angle of repose of your specific soil type. Heavy clay stays put better than sandy loam until it gets wet, then it becomes a lubricant. We are building for the worst-case scenario, not a sunny day.
Sourcing Materials on a $500 Budget
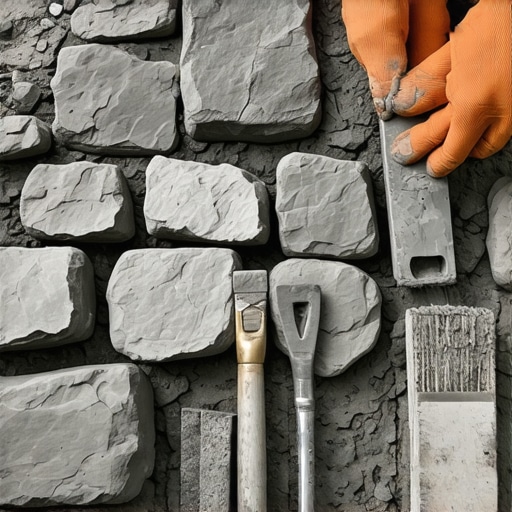
You cannot walk into a high-end masonry yard and buy 2 tons of Pennsylvania Bluecoat flagstone for $500. It won’t happen. To stay under budget, you are looking for fieldstone. Check local farm listings or construction sites. Often, developers want the stone hauled away for free. If you buy from a quarry, ask for “seconds” or “tailings.” These are stones that are not perfectly dimensional but work perfectly for a natural stone wall. You will need roughly 1.5 tons of stone for a wall 10 feet long and 2 feet high. This leaves room in the budget for the truly important stuff: the 2A modified gravel and the #57 clean stone for drainage.
| Material Item | Estimated Quantity | Projected Cost (DIY) |
|---|---|---|
| Fieldstone / Local Rock | 1.5 to 2.0 Tons | $150 – $250 |
| 2A Modified Gravel (Base) | 10 – 15 Bags (or 0.5 yard) | $60 – $80 |
| #57 Clean Stone (Drainage) | 10 Bags | $50 – $70 |
| Perforated Drainage Pipe | 10 Linear Feet | $20 – $30 |
| Non-Woven Geotextile Fabric | 1 Roll (Small) | $40 – $60 |
| Total | — | $320 – $490 |
The Forensic Step-by-Step Installation
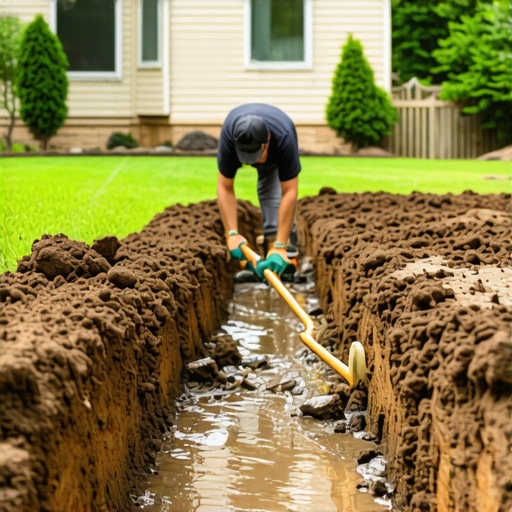
1. Excavation and the Sieve Analysis
Your trench must be 12 inches wider than the wall itself. Dig down at least 6 to 8 inches. If you hit soft organic matter or roots, keep digging. You need to reach subsoil. I have seen lawn care enthusiasts try to build walls on top of turf. The grass rots, the soil settles, and the wall tips. It is physics. Once excavated, perform a simple ribbon test on your soil. If it forms a long, shiny ribbon when squeezed, you have high clay content. This means you need an even thicker gravel base because clay expands when it freezes.
2. The Compacted Base: The Most Important Inch
Fill your trench with 4 inches of 2A modified gravel. This is a mix of crushed stone and stone dust. Do not use rounded pea gravel. Rounded stones act like ball bearings; they will never lock together. You need angular material. Use a hand tamper. The tamper should literally bounce off the ground when you are done. If it feels soft, keep hitting it. A solid base prevents heaving during the freeze-thaw cycles that destroy hardscaping in northern climates.
3. How much modified gravel do I need for a wall base?
For a standard 10-foot natural stone retaining wall, you need approximately 0.5 cubic yards of 2A modified gravel to create a 4-inch thick, 18-inch wide compacted footing. Calculating volume is simple: multiply length by width by depth in feet, then divide by 27 to get cubic yards. Do not eyeball this measurement. If the base is thin, the wall will settle unevenly.
4. Setting the First Course: The Heart Stones
The first layer of stone should be your largest, flattest rocks. These are your “heart stones.” Set them slightly below grade. This is called embedding. It prevents the bottom of the wall from sliding forward under the weight of the soil behind it. Use a 2-foot level. Every stone must be level side-to-side and front-to-back. If the first layer is crooked, every layer above it will be a nightmare. I tell my crew: if you spend 50 percent of your time on the first layer, the rest of the wall builds itself.
5. Batter and Stacking
Never build a natural stone wall perfectly vertical. You must incorporate batter. This means each successive layer of stone is set back about 0.5 to 1 inch from the layer below it. This shifts the center of gravity toward the hill. Use a 1-over-2 rule: for every two stones you lay, make sure one is a “header” stone that extends deep into the hillside. This anchors the face of the wall into the earth. Avoid running joints. A running joint is when a vertical gap between stones continues up through multiple layers. This is a structural weak point. Always place one stone over two, and two stones over one.
“Structural integrity in dry-stacking is achieved through frictional resistance and the interlocking of angular aggregates.” – Agronomy & Hardscape Manual
6. How deep should a natural stone wall footing be?
A natural stone retaining wall footing should be at least 6 inches deep for walls under 3 feet tall, with 4 inches consisting of compacted crushed stone and the remaining 2 inches being the first course of stone embedded below the finished soil grade. This depth ensures the wall remains stable during soil expansion and provides a solid platform for the gravity-stacking process.
The Drainage Protocol: Behind the Wall
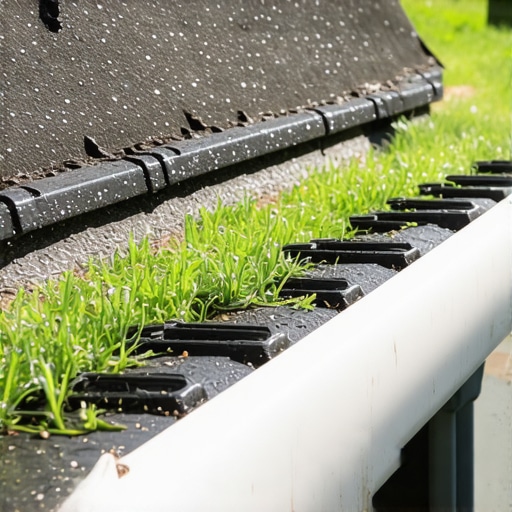
Behind the first course of stone, lay your 4-inch perforated pipe. Wrap it in non-woven geotextile fabric. This is the only way to prevent silt from clogging the pipe. As you build up, fill the space between the back of the stone and the soil with #57 clean stone. This creates a vertical chimney that allows water to drop straight down to the pipe and out of the wall. If you fill this gap with dirt, the wall will fail. Dirt holds water; clean stone lets it go. Don’t skip the fabric. It separates the soil from the stone, preventing migration of fines that cause sinkholes in your lawn care areas.
- Checklist for Wall Success:
- Use 2A modified for the base (not sand).
- Level the first course perfectly.
- Include a 1-inch batter (lean) into the hill.
- Place one stone over two (break the joints).
- Use clean stone and a perforated pipe for drainage.
- Backfill and compact every 6 inches of height.
Maintaining Your Wall
A well-built hardscaping project requires little maintenance, but you must keep the drainage outlets clear. Every spring, check the end of your drain pipe for debris or rodent nests. If water cannot exit the pipe, it will build up behind the wall. Keep large trees with aggressive root systems at least 5 feet away. Roots can exert thousands of pounds of pressure, easily snapping a dry-stack wall. If you notice a stone has shifted, tap it back into place with a dead-blow hammer immediately. Don’t wait. Movement in a wall is like a crack in a windshield; it only gets worse with time. If you follow these engineering steps, your $500 wall will outlast the mortgage on your house. It is not about the money; it is about the physics of the dirt.