How to Build a Dry Creek Bed to Solve Yard Erosion
The Engineering of Erosion: Why Your Yard is Failing
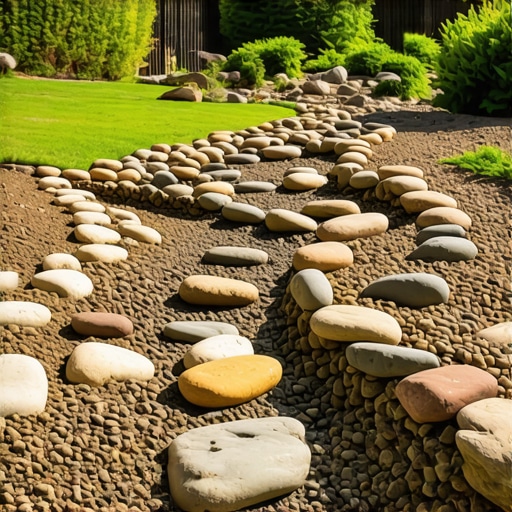
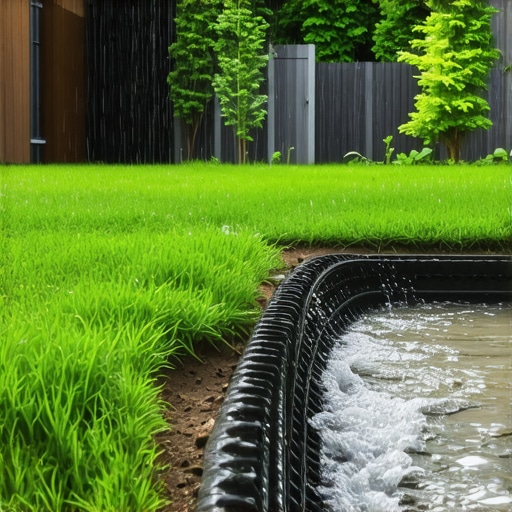
To build a dry creek bed for erosion control, you must excavate a trench 12-18 inches deep, line it with non-woven geotextile fabric, and layer it with river rock and boulders to mimic natural water flow patterns while stabilizing the soil profile beneath. Surface runoff is not just water; it is a kinetic force that carries away your topsoil and destroys your landscaping. When gravity pulls water down a slope, it gains velocity. Without a structured path, that velocity shears off the root systems of your lawn care efforts and creates deep rills. This isn’t a problem you solve with more grass seed. It is a civil engineering problem that requires a hardscape solution.
The Hardscape Autopsy: Why Cheap Fixes Fail
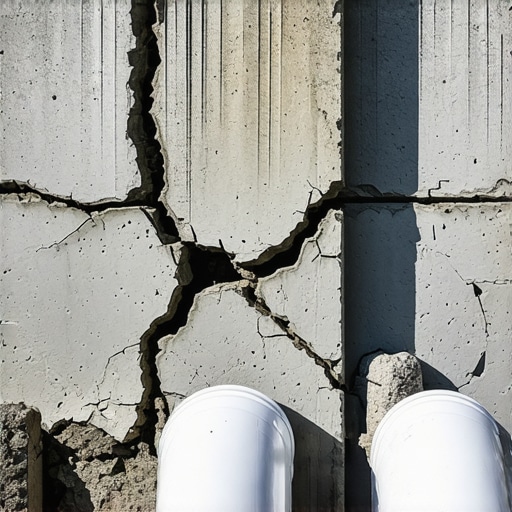
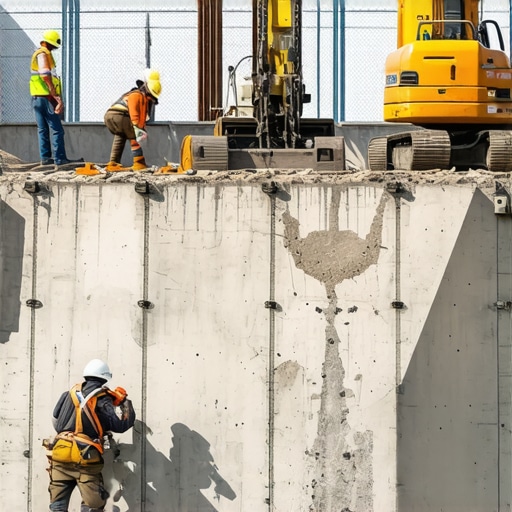
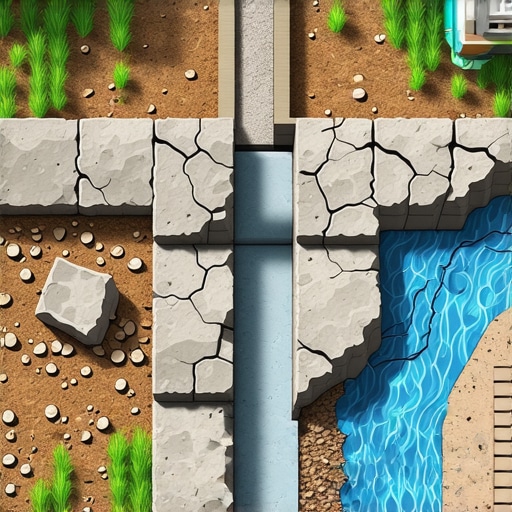
I recently got called out to tear up a $30,000 patio that was sinking because the previous contractor ignored the 2% grade coming off the neighbor’s hill. They thought they could just pile up some mulch and call it a day. Within two seasons, the hydrostatic pressure behind the retaining wall reached a breaking point, and the entire structure shifted four inches off-center. This is what happens when you treat drainage as an afterthought. Most homeowners think a dry creek bed is just a decorative pile of stones. It is not. It is a biological and structural machine designed to manage the hydraulic load of your property. If you don’t understand how water moves across your specific soil type, whether it is heavy clay or sandy loam, you are just throwing money into a hole. Drainage is king. Every other garden design choice is secondary to how you handle a three-inch rain event in two hours.
“Proper surface drainage is the single most critical factor in long-term hardscape stability. Without managed water diversion, soil saturation leads to sub-grade failure and catastrophic shifting of structural elements.” – ICPI Installation Guide
Planning and Topography: Calculating the Hydraulic Load
Before you touch a shovel, you must understand the catchment area of your yard. You are looking for the “point of entry” where water spills onto your property and the “point of discharge” where it exits. Hardscaping requires precision. I use a laser level or a transit to find the exact drop over the run of the proposed creek. A 2% slope is the bare minimum for movement. Anything less and you are just building a mosquito pond. You need to calculate the volume of water your creek bed must handle. This involves looking at the square footage of your roof, your driveway, and any uphill neighboring properties that shed toward you. If you undersize the channel, the water will simply jump the banks and continue eroding your lawn care zones.
How deep should a dry creek bed be for drainage?
A functional dry creek bed should be at least 12 to 18 inches deep in the center, tapering upward to create a parabolic shape that slows water velocity through friction. The depth must accommodate a 4-inch layer of base stone and a 6-inch layer of decorative river rock without overflowing.
Material Selection: Why Your Choice of Rock Matters
The biggest mistake DIYers make is buying smooth, uniform stones from a big-box store. Those stones are for fish tanks, not for landscaping. You need a mix of sizes to create “interlocking stability.” We use three types of stone: 1-3 inch river jacks, 4-8 inch cobbles, and large anchor boulders. The smaller stones fill the gaps between the larger ones, preventing water from getting underneath the fabric and lifting it. This is about managing the Manning’s roughness coefficient. You want the water to slow down as it hits the stones, dropping its sediment load in the creek bed rather than carrying it into the street.
| Material Type | Function | Average Cost (per ton) | Durability Rating |
|---|---|---|---|
| Non-Woven Geotextile | Separation/Filtration | $1.50 – $2.50 (sq yard) | High |
| 3-5″ River Rock | Main Flow Channel | $60 – $120 | Moderate |
| 8-12″ Boulders | Structural Anchors | $150 – $300 | Superior |
| #57 Clean Stone | Base Layer/Drainage | $35 – $50 | High |
The Installation Protocol: Step-by-Step Construction
Start by marking your path with marking paint. Avoid straight lines. Nature doesn’t move in straight lines, and neither should your water. Garden design should follow the path of least resistance. Once marked, excavate the trench. Pay attention to the “banks” of your creek. They should be sloped, not vertical. If they are vertical, they will collapse under their own weight once the soil saturates. After excavation, use a plate compactor on the sub-grade. This is non-negotiable. If the dirt is loose, the rocks will sink. Don’t skip this. Once compacted, lay your non-woven geotextile fabric. Do not use the plastic-looking woven stuff or the thin weed barrier from the hardware store. You need 4-ounce or 6-ounce non-woven fabric that allows water to permeate while keeping the soil separate from your stone.
- Call 811 before you dig to mark utility lines.
- Excavate a parabolic trench (U-shaped, not V-shaped).
- Compact the sub-soil to at least 95% Proctor density.
- Lay geotextile fabric with at least 12 inches of overlap at seams.
- Install large anchor boulders at the “bends” of the creek to deflect force.
- Fill the center with medium cobbles and the edges with larger stones.
“A dry creek bed is not just a decorative feature; it is a bio-swale designed to reduce peak flow velocity and promote infiltration into the local water table.” – Penn State Extension
What is the best fabric for a dry creek bed?
The best fabric for a dry creek bed is a 4-ounce or 6-ounce non-woven needle-punched geotextile. This material provides the necessary tensile strength to support heavy stone while maintaining a high flow rate for water to move into the sub-soil without clogging.
The Biology of the Creek Bed: Integrating Native Plantings
A creek bed without plants is just a pile of rocks. To truly solve erosion, you need roots. We plant along the edges—the “riparian zone.” Use native grasses and shrubs that can handle both wet feet and drought. Their root systems will weave into the fabric and the surrounding soil, creating a living anchor for your hardscaping work. Avoid invasive species. They might grow fast, but they won’t provide the structural integrity needed for long-term stability. Focus on species with deep taproots or fibrous root mats. This is where garden design meets structural biology.
Maintenance and Longevity: Managing Silt and Debris
Nothing is “maintenance-free.” Over time, leaves and silt will settle between your stones. If you let it go, weeds will take root in the accumulated organic matter. Once a year, you need to blow out the debris with a high-powered leaf blower. If silt has built up at the discharge point, clear it out. Check your anchor boulders after heavy storms to ensure no scouring has occurred underneath them. If you see the fabric, you have a problem. Cover it immediately. A well-built dry creek bed should last 20 years if the base was compacted correctly and the fabric was high-grade. It will rot if you use cheap materials. Do it right the first time.
![Building a 2026 Modern Wood Fence [Budget DIY]](https://lawnmajesty.com/wp-content/uploads/2026/09/Building-a-2026-Modern-Wood-Fence-Budget-DIY.jpeg)