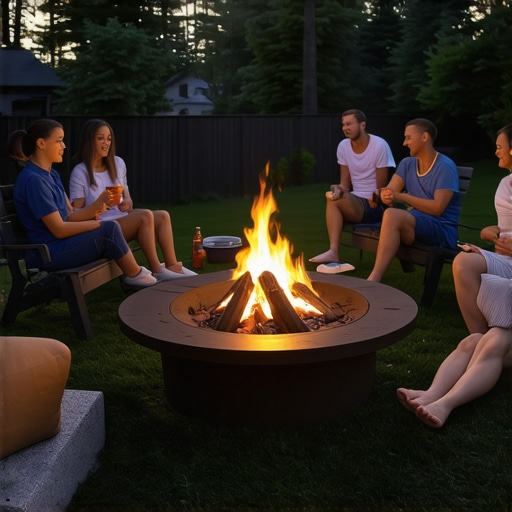
3 Mistakes Most Homeowners Make with Backyard Fire Pits
Building a fire pit seems like a weekend DIY project, but most homeowners approach it with the same lack of foresight as a child building a sandcastle. I have spent two decades in the dirt, fixing the expensive mistakes of ‘mow-and-blow’ hacks and well-intentioned homeowners who think a few big-box store pavers and a bag of sand constitute a permanent structure. It does not. Landscaping is applied engineering. If you ignore the physics of heat transfer and the mechanics of soil stability, your fire pit will fail. It might take a season. It might take two. But it will happen. I recently got called out to tear up a $30,000 patio that was sinking because the previous contractor failed to account for the weight of a stone fire pit on top of a poorly compacted base. The whole thing had heaved four inches during the first freeze-thaw cycle, cracking the mortar joints and turning a high-end hardscape into a tripping hazard. This is the reality of neglecting the fundamentals. 80% of your labor must happen before you ever strike a match. Quality hardscaping requires an understanding of modified gravel bases, screed pipes, and hydrostatic pressure. If you skip the prep, you are just throwing money into a hole in the ground.
Mistake 1: Ignoring Sub-Surface Preparation and Compaction
To avoid backyard fire pit failure, homeowners must address soil compaction, thermal expansion, and hydrostatic drainage. Using a modified gravel base (crushed stone) and refractory fire bricks prevents the structure from shifting or exploding under high BTU output during seasonal temperature swings. You cannot build on top of organic topsoil or loose dirt. When we start a project, we excavate down to the subgrade, removing all roots and debris. Most homeowners dig a shallow hole, throw in some leveling sand, and start stacking. That sand will wash away. Instead, you need a minimum of 6 inches of compacted 21A or 3/4-inch minus crushed stone. This aggregate must be compacted in 2-inch lifts using a plate compactor to reach at least 95% Proctor density. If the base isn’t solid, the fire pit will settle unevenly. This leads to gaping and structural instability. Don’t trust the dirt. It moves. You must stabilize it.
“A retaining wall doesn’t fail because of the stone; it fails because of the water trapped behind it.” – Hardscape Engineering Axiom
This principle applies to fire pits too. Without a proper base, water sits under your pavers, freezes, and pushes your masonry out of alignment. You need the right material for the job. Refer to the table below for a breakdown of common base materials and their engineering value.
How much modified gravel do I need for a patio fire pit?
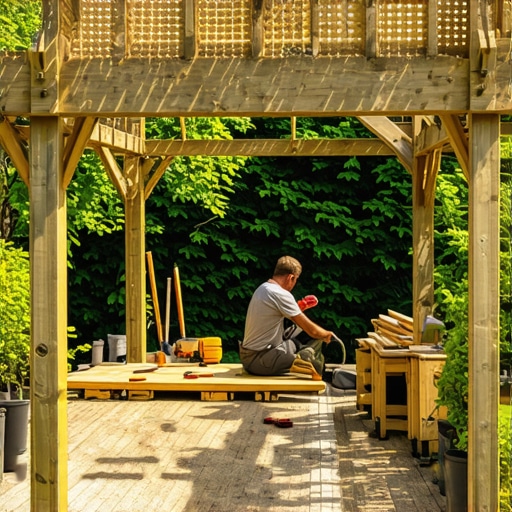
Calculating the volume of aggregate is a matter of cubic footage: multiply the area of your excavation by the depth (typically 0.5 feet for a 6-inch base) and then divide by 27 to get the cubic yardage. For a standard 5-foot diameter fire pit area, you typically need about 0.5 to 0.75 tons of modified stone. Don’t skimp. Buying extra is cheaper than rebuilding the entire patio in three years. [IMAGE_PLACEHOLDER]
| Material Type | Drainage Rating | Load Stability | Best Use Case |
|---|---|---|---|
| Leveling Sand | Poor | Very Low | Temporary pavers only |
| #57 Clean Stone | Excellent | Medium | Drainage layers and French drains |
| Modified Crush (21A) | Good | Very High | Structural base for heavy masonry |
| Stone Dust | Very Poor | Low | Setting bed for small walk-on stones |
Mistake 2: Using Low-Density Materials and Standard Concrete Pavers
Homeowners often mistakenly use standard concrete pavers or river rocks which cannot withstand the thermal shock of a sustained fire. This leads to spalling, where moisture trapped inside the stone expands rapidly and causes the material to explode or crack violently during use. I have seen standard bricks shatter like glass because they weren’t rated for high heat. You need refractory materials. A fire pit’s interior should be lined with kiln-fired fire bricks (refractory bricks) and joined with refractory mortar. This mortar is specifically designed to expand and contract with heat without losing its bond. Standard Type S or Type N mortar will simply turn to dust after three or four fires. We use a double-wall construction: an outer layer of decorative stone or pavers for aesthetics, and an inner layer of fire brick for protection. There must be a small air gap between these layers. This gap acts as a thermal break, preventing the outer stones from getting so hot they crack or burn anyone leaning against them. It is a safety issue as much as a structural one.
Can I use standard red bricks for a fire pit?
No. Standard clay bricks are porous. They absorb moisture from the ground and the air. When you light a fire, that moisture turns to steam. Because the brick is dense, the steam has nowhere to go and creates internal pressure. This results in the brick face blowing off or the entire brick splitting. Always look for bricks rated for high-temperature applications. It costs more upfront, but it ensures your fire pit doesn’t become a shrapnel hazard for your family.
Mistake 3: Failure to Engineer Proper Airflow and Water Drainage
Efficient backyard fire pits require integrated ventilation ports to facilitate the Venturi effect, which ensures complete combustion and minimizes smoke production. Without proper airflow at the base, the fire will struggle for oxygen, resulting in a smoldering, eye-stinging mess rather than a clean burn. Most DIY pits are just solid stone circles. This is a design flaw. You need to leave ‘weep holes’ or install steel vents in the bottom course of your masonry. This allows air to be pulled in at the bottom as the hot air rises. Furthermore, you must address water. If your fire pit doesn’t have a drain or a way for rainwater to escape, it becomes a stagnant pool. This water seeps into your base materials and compromises the structure. We install a 4-inch PVC or corrugated pipe from the center of the pit to a lower point in the yard, or we fill the center with clean #57 stone to allow vertical drainage into the subsoil.
“Proper drainage is the first law of any permanent landscape installation. Without it, gravity and hydraulics will eventually win.” – National Concrete Masonry Association Standards
To ensure your project succeeds, follow this checklist before you start your build.
- Call 811 to mark underground utility lines before any excavation.
- Excavate at least 8 to 12 inches deep to account for the aggregate base.
- Rent a plate compactor; do not attempt to hand-tamp the base.
- Use a level at every stage: the subgrade, the base, and every course of stone.
- Ensure a 1 to 2 inch air gap between the fire liner and the exterior wall.
- Install at least two ventilation ports on opposite sides of the pit base.
Do fire pits need drainage holes?
Yes, absolutely. A fire pit without drainage is a bucket. Water accumulation will degrade your mortar and lead to moss or algae growth inside the pit. In cold climates, trapped water will freeze and heave your stones, ruining the level surface you worked so hard to create. If you are building on an existing patio, you must ensure the pitch of the patio carries water away from the pit’s interior. In the landscaping world, water is either your friend or your worst enemy. Usually, it’s the latter. Keep it moving. Keep it away from your foundation. If you follow these engineering protocols, your fire pit will last for decades. If you don’t, I’ll be the one you call in three years to haul the rubble away and do it right.
![Build a $100 2026 Pea Gravel Fire Pit [Weekend DIY]](https://lawnmajesty.com/wp-content/uploads/2026/07/Build-a-100-2026-Pea-Gravel-Fire-Pit-Weekend-DIY.jpeg)