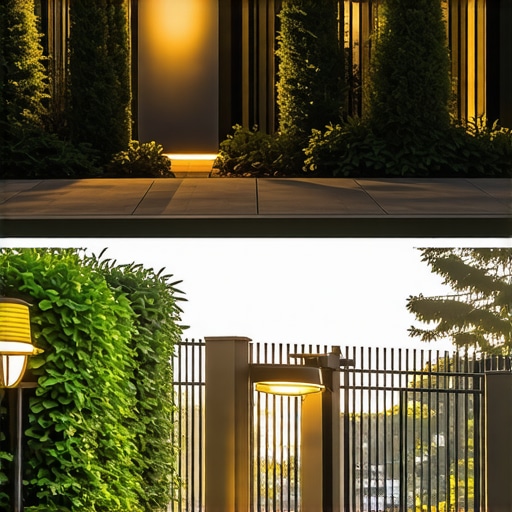
Why Your Outdoor Lighting Looks Cheap and How to Fix It
Professional Landscape Lighting Engineering: Beyond the Big-Box Spikes
Landscape lighting is not a craft of illumination; it is a discipline of shadows and electrical engineering. Most homeowners approach garden design lighting as an afterthought, picking up a pack of solar-powered plastic stakes that output a sickly blue light and fail after the first heavy frost. To achieve a professional result, you must understand the interplay between hardscaping durability and electrical load. Success begins in the soil. You are not just placing lamps; you are installing a subterranean infrastructure that must survive moisture, root pressure, and the corrosive chemistry of the earth.
The Hardscape Autopsy: Why Cheap Installs Fail
Professional landscape lighting fails most often due to poor wire management and sub-par fixture housing that cannot withstand the hydrostatic pressure of the surrounding soil. I recently got called out to tear up a $30,000 patio that was sinking because the previous contractor failed to use a proper modified gravel base. While we were excavating, we found the lighting system was a disaster. They had used thin 18-gauge wire buried barely an inch deep in the bedding sand. The shifting pavers had pinched the wire, causing a dead short that fried the transformer. It was a $5,000 lighting system rendered useless because of hardscaping incompetence. This is why I drill into my crew: if the base layer is trash, the finish work is a liability. You don’t bury wire in sand; you use schedule 40 PVC conduit under any paver surface to protect the veins of your landscaping project.
“A retaining wall doesn’t fail because of the stone; it fails because of the water trapped behind it.” – Hardscape Engineering Axiom
The Physics of Light: Kelvins, Lumens, and Color Temperature
Color temperature in garden design is measured in Kelvins, and choosing the wrong number is the fastest way to make a high-end home look like a cheap motel. Most DIY LED kits operate at 4000K to 5000K, which mimics the harsh, clinical light of a hospital. Professional designers stay in the 2700K to 3000K range. 2700K provides a warm, incandescent-like glow that complements natural wood and stone textures. 3000K is slightly cooler and works well on green foliage. If you mix these temperatures haphazardly, the human eye perceives it as a mistake. You want consistency. The goal is to highlight the architectural features of the home and the structural integrity of the lawn care efforts without the light source itself being visible. Glare is the enemy. Every fixture should have a shroud or a hex louver to prevent the light from hitting the viewer directly in the eye.
| Material | Expected Lifespan | Corrosion Resistance | Engineering Grade |
|---|---|---|---|
| Plastic/Polymer | 1-2 Years | High (Non-reactive) | Consumer Grade |
| Powder-Coated Aluminum | 3-7 Years | Low (Pitting occurs) | Mid-Range |
| Solid Sand-Cast Brass | 25+ Years | Extreme (Patinas) | Professional Grade |
| Stainless Steel (316) | 20+ Years | Very High | Coastal/Industrial |
How do I calculate voltage drop for landscape lights?
Voltage drop occurs when the electrical resistance in the wire causes the voltage to decrease as it travels further from the transformer. In a 12V system, if the voltage at the last fixture drops below 10.5V, the LED will flicker or shift in color. To calculate this, use the formula: (Total Watts x Cable Length x 2) / Cable Constant. For a standard 12/2 gauge wire, the constant is 7500. Keeping your runs under 100 feet and using a multi-tap transformer allows you to adjust the output to 13V or 14V to compensate for the distance.
“Voltage drop in low-voltage systems should not exceed 10% to ensure optimal LED performance and color consistency across the run.” – Landscape Lighting Technical Manual
The Hardware Breakdown: Engineering for the Elements
High-end fixtures are made of solid brass or copper because these materials handle the thermal expansion and contraction of outdoor environments. Cheap aluminum fixtures are painted or powder-coated. Eventually, the soil chemistry and fertilizers used in lawn care will cause that coating to bubble and peel. Once the raw aluminum is exposed, it oxidizes and the fixture literally dissolves into the dirt. Brass, however, develops a natural patina that protects the metal. When installing, you must use silicone-filled wire nuts. Standard wire nuts are useless outdoors. Water will wick up the copper wire through capillary action, corroding the wire from the inside out until it reaches the transformer. Use DBR/Y-6 connectors. They are expensive. They are also non-negotiable for a system meant to last two decades.
What color temperature is best for outdoor lighting?
Warm white light at 2700K is the gold standard for residential landscaping because it emphasizes the warmth of stone and brick. For modern architecture with steel or glass, 3000K offers a crisper look. Anything higher than 4000K should be reserved for security lighting or moonlight effects high in a tree canopy where the blue tint mimics natural night light. Avoid the “cool white” LEDs found in big-box stores. They wash out the natural colors of your plants and make your yard look flat. Professional garden design relies on the Color Rendering Index (CRI). You want LEDs with a CRI of 80 or higher to ensure that the red of a Japanese Maple or the green of a fescue lawn actually looks real at night.
The Ground-Up Installation Process
Installation begins with a trenching plan. Never run your wires in a straight line across open lawn. Keep them tight to the edges of hardscaping or garden beds where they are less likely to be hit by an aerator or a shovel during routine lawn care. When you reach a fixture location, leave a three-foot loop of extra wire buried in the ground. This “service loop” allows you to move the fixture as the plants grow. A common mistake is burying a light right next to a sapling. In five years, that tree will have doubled in size, and the light will be buried in the trunk or pointing at a branch. Planning for growth is the mark of a veteran horticulturist. For path lights, spacing is key. Do not line them up like a runway. Stagger them. Create a pool of light that leads the eye, rather than a continuous strip of glare.
- Use 12/2 or 10/2 direct-burial rated wire for all main runs.
- Select a transformer with at least 20% headroom for future expansion.
- Install a photocell or an astronomical timer to handle seasonal light shifts.
- Clean fixture lenses twice a year to remove calcium buildup from irrigation.
- Check the aiming of uplights after every major storm or heavy pruning.
The Settling-In Period: Maintaining the Glow
System maintenance is where most homeowners fail. The first year is the most critical. As the soil settles after your hardscaping or lighting install, fixtures may lean. You must stomp the soil around the stakes to ensure they remain plumb. Check for “mulch volcanoes” around fixtures, which can cause LEDs to overheat and fail prematurely. In lawn care, warn your mowing crew about the fixture locations. String trimmers are the number one killer of landscape lights. If a fixture is hit, check the seal immediately. A cracked lens is a death sentence for an LED module. Water will enter, turn to steam when the light heats up, and fry the internal circuitry. Replace the gaskets every three to five years to maintain the IP65 rating. Outdoor lighting is a living system. It requires the same attention as your turf or your perennials. Treat it like the engineering project it is, and it will serve you for twenty years. Skip the details, and you’ll be back at the store buying more plastic spikes by next summer.