How to Fix an Uneven Brick Walkway Fast
The Hardscape Autopsy: Diagnosing Failed Walkways
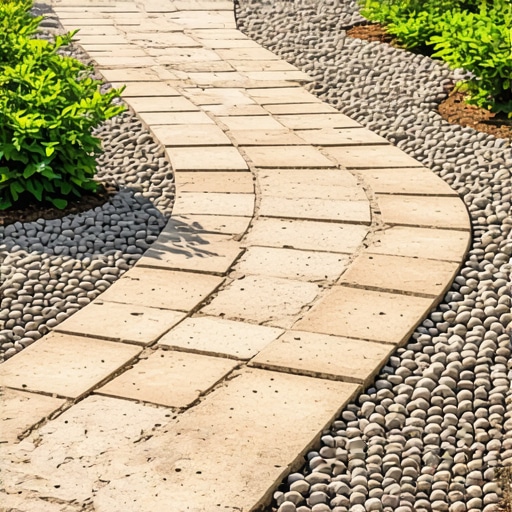
I recently got called out to tear up a $30,000 patio that was sinking because the previous contractor thought he could save a few hundred dollars by skipping the geotextile fabric and using rounded pea gravel instead of crushed stone with fines. The result was a catastrophic structural failure where the hydrostatic pressure from a heavy rain season literally turned the sub-base into a slurry, causing the bricks to settle over four inches in three months. If your walkway looks like a roller coaster, you are not looking at a cosmetic issue. You are looking at a civil engineering failure at the soil level. Fixing it fast does not mean cutting corners; it means performing surgical remediation on the layers beneath the surface. It will rot if you just throw sand in the gaps. Most homeowners make the mistake of thinking the brick is the structure. It is not. The brick is just the wear layer. The real work happens in the compaction zones and the drainage gradient below. [image_placeholder_1]
“A retaining wall doesn’t fail because of the stone; it fails because of the water trapped behind it.” – Hardscape Engineering Axiom
Why Do Brick Walkways Become Uneven?
Walkways fail due to hydrostatic pressure, insufficient base compaction, or subgrade erosion caused by poor water management. When soil particles migrate into the aggregate base, the structural integrity of the walkway collapses, leading to heaving or subsidence of the interlocking concrete pavers. Most issues stem from a lack of edge restraints or using bedding sand that is too thick, which allows the bricks to shift under point loads. You need to understand the Standard Proctor density. If your base is not compacted to 95 percent, it will move. Period. This is common in regions with heavy clay soils that expand and contract with moisture cycles. If you live in a freeze-thaw climate, the water trapped in the sand layer expands, pushing the bricks upward. This is the frost heave cycle. To stop it, you must control the water.
How much modified gravel do I need for a patio base?
For a standard residential brick walkway, you need a minimum of 4 inches of compacted modified gravel (such as CR-6 or 21A) for the base layer. This must be calculated by multiplying the square footage by the depth in feet to determine the cubic yardage required for the project. Do not guess. If you have wet soil conditions, you may need to increase this depth to 6 or 8 inches to ensure structural stability. More gravel is always cheaper than a failed installation.
Can I just put sand over my old bricks to level them?
No. Adding sand to the top of an uneven walkway is a temporary fix that will fail within one rain event. The sand will wash into the sub-base voids, and the uneven surface will return. You must remove the pavers and address the structural deficiency in the leveling sand or the aggregate base to achieve a permanent repair. Shortcuts in hardscaping are just expensive ways to delay the inevitable.
The Engineering Materials Breakdown
You cannot use play sand or all-purpose sand from a big-box store for this. You need angular washed sand. Why? Because angular grains interlock like a puzzle, whereas round grains act like ball bearings, allowing the bricks to slide. The same logic applies to your base stone. We use crushed limestone with fines because the different particle sizes fill every void, creating a solid mass once the vibratory plate compactor hits it.
| Material Type | Function in Walkway | Engineering Stability |
|---|---|---|
| CR-6 / 21A Modified | Structural Foundation | Excellent (95% Compaction) |
| #57 Clean Stone | Drainage / Water Flow | High (Non-compactible) |
| Angular Bedding Sand | Leveling Layer | Moderate (Interlocking) |
| Polymeric Sand | Joint Binding | Essential (Waterproofing) |
The Forensic Step-By-Step Remediation Process
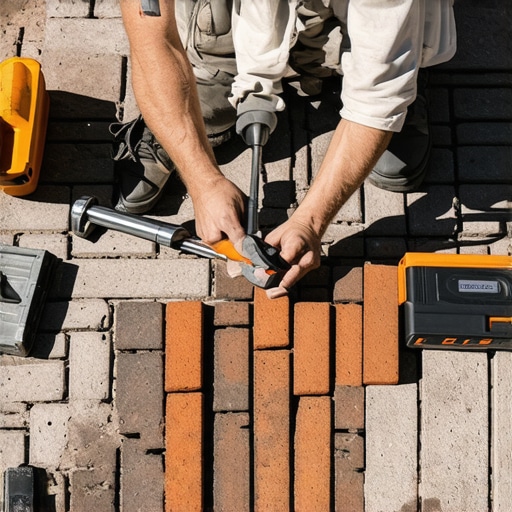
To repair the walkway, start by marking the failure zone with marking paint. You must extract the pavers at least two feet beyond the visible settlement area to ensure you are tying into stable ground. Use a flat-head screwdriver or paver pullers to lift the first brick. Once the area is cleared, excavate the old bedding sand. It is likely contaminated with silt or organic matter. Don’t skip this. Check the base stone. If it is soft, you must compact it again until the tamper bounces off the surface. That sound tells you the aggregate has reached maximum density.
- Step 1: Remove pavers and label them if they have a complex herringbone pattern.
- Step 2: Excavate 1 to 2 inches of old contaminated sand.
- Step 3: Add crushed stone if the base has settled below the required 4-inch depth.
- Step 4: Use a vibratory plate compactor on the stone base.
- Step 5: Lay 1-inch screed pipes and spread coarse angular sand.
- Step 6: Strike off the sand with a straight edge to create a perfectly flat plane.
- Step 7: Re-install the bricks, ensuring tight joints and consistent bond lines.
- Step 8: Sweep in polymeric sand and vibrate the pavers into the sand bedding.
“Standard Proctor density must reach 95% to prevent structural settling in residential hardscapes.” – Interlocking Concrete Pavement Institute (ICPI) Manual
Advanced Water Management and Edge Restraints
Water is the enemy of hardscaping. If your walkway is next to a downspout, you must pipe that water away using 4-inch PVC or a French drain. Never let roof runoff dump directly onto a paver surface. This will wash out the polymeric sand and undermine the base. Furthermore, you must install structural edge restraints. Without them, the lateral pressure of people walking on the bricks will push the outer pavers into the grass, causing the entire field to open up and fail. Use professional-grade plastic or aluminum edging secured with 10-inch steel spikes every 12 inches.
Long-Term Maintenance and the Polymeric Secret
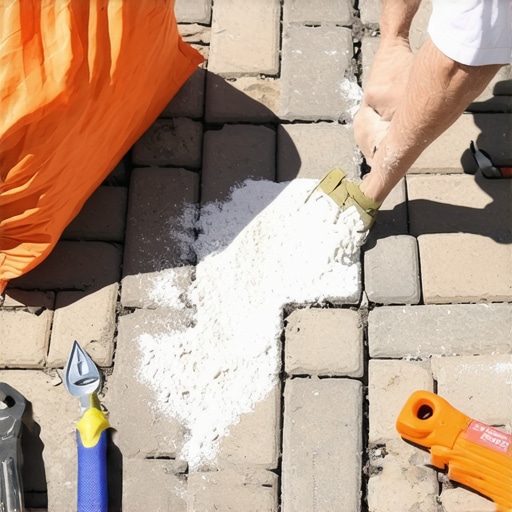
Once the walkway is level, you must seal the joints. Modern polymeric sand contains polymers that harden when activated by water. This creates a flexible but water-resistant joint that prevents weed growth and ant hills. However, you must blow off every speck of dust from the paver surface before misting it. If you don’t, you will end up with a poly haze that is a nightmare to remove. Check your joints every spring. If the sand is eroding, top it off immediately. Maintenance is non-negotiable. Landscaping is a living system, even the hardscape parts. Ignore the pH level of your soil or the moisture content near the walkway, and you will be re-leveling it in five years. Do the work right the first time. Dig deep. Compact harder. Manage the water.