The Best Way to Design a Focal Point in Your Garden
Beyond Decoration: The Civil Engineering of Garden Aesthetics
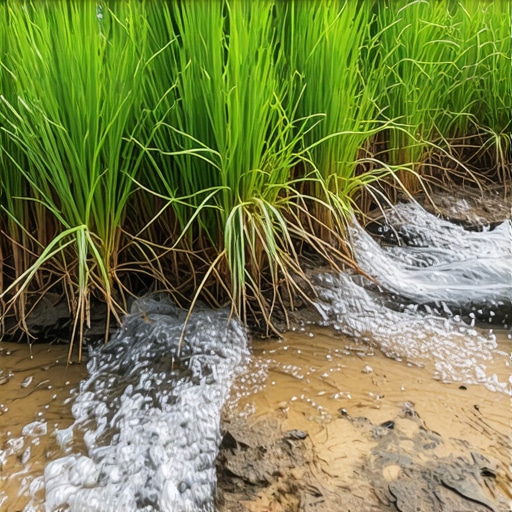
Designing a focal point in a garden is a matter of calculating sightlines and soil physics rather than simple decoration. To create a lasting impact, you must select a specimen plant or hardscape element that scales correctly to the 1/3 ratio of the surrounding space while ensuring the foundation and drainage support long-term structural integrity. Most homeowners fail because they ignore the hydraulic reality of their site. I always drill into my new crew members: if you don’t fix the soil grading first, every plant you put in the ground is just expensive compost. I remember a job in the suburbs where we were hired to install a 1,200-pound granite monolith as a focal point. The previous ‘landscaper’ had just plopped a weeping cedar there without checking the perc rate of the soil. The cedar drowned in six months because the grade was funneling every gallon of roof runoff directly into the root ball. We had to excavate three feet down, install a French drain with a 2-inch pitch, and rebuild the entire soil horizon before we even thought about the aesthetics. If you don’t respect the movement of water, the most beautiful focal point in the world will either sink, rot, or tilt within three seasons. Professional design is 80% subsurface preparation and 20% visual finish. This guide breaks down the technical requirements for specimen selection, structural foundations, and the botanical physics required to make a focal point thrive.
The Math of Sightlines: Calculating Visual Weight
Visual weight in landscaping is determined by the contrast in texture, color, and specimen mass relative to the surrounding negative space. To calculate the optimal height for a focal point, multiply the distance from the primary viewing area by 0.33 to ensure the object fills the viewer’s vertical field of vision without overwhelming the site. Don’t guess. Measure. If your patio is 20 feet from the garden bed, your focal point needs to be approximately 6.6 feet tall to command attention. Anything smaller becomes visual noise. Anything larger feels claustrophobic.
“A retaining wall doesn’t fail because of the stone; it fails because of the water trapped behind it.” – Hardscape Engineering Axiom
How do I choose the right focal point for a small garden?
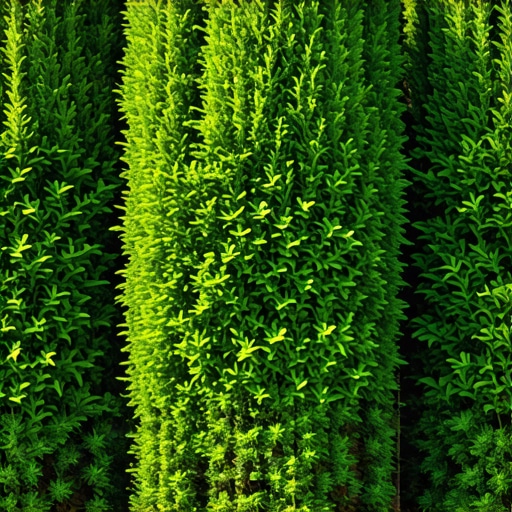
In smaller landscapes, the focal point should utilize verticality and fine textures to create the illusion of depth. Select a columnar specimen like a ‘Sky Rocket’ Juniper or a slim water feature with a recirculating pump to minimize the horizontal footprint while maximizing the visual impact. Heavy, broad-leafed plants in small spaces actually shrink the perceived area due to their high visual density.
Technical Material Comparison for Garden Focal Points
| Focal Element | Foundation Requirement | Hydraulic Consideration | Longevity (Years) |
|---|---|---|---|
| Specimen Tree (B&B) | 2x Root Ball Width | Percolation/Oxygen Exchange | 50-150 |
| Natural Stone Column | 6″ Compacted 2A Modified | Frost Heave/Hydrostatic Pressure | 500+ |
| Architectural Sculpture | Concrete Pad w/ Rebar | Wind Load/Vibration | 25-50 |
| Multi-Tier Fountain | Poured Concrete Foundation | Winterization/GPM Flow Rate | 15-30 |
The Botanical Physics of Specimen Installation
When installing a specimen tree as a focal point, the root flare must remain 1 inch above the finished grade to prevent phloem constriction and fungal infection. Using a densitometer or a simple shovel handle, verify that the hole depth does not exceed the height of the root ball; settling is the enemy of gas exchange in the rhizosphere. Soil compaction is another silent killer. If your bulk density is higher than 1.6 g/cm3, your ‘focal point’ roots will stop growing. They hit a wall. You need to use a broadfork or pneumatic soil probe to shatter that compaction zone at least three feet beyond the planting hole. Don’t use those cheap big-box store fertilizers that are all fast-release nitrogen. You’ll just get weak, leggy growth that attracts aphids. You want a slow-release organic meal that supports mycorrhizal fungi colonization. The fungi are the real workers; they extend the root system’s reach by 10x, allowing the tree to withstand the stress of being the center of attention.
What is the best tree for a garden focal point?
The best specimen tree depends on the USDA Hardiness Zone, but for structural integrity and multi-season interest, the Acer palmatum (Japanese Maple) or Cedrus libani ‘Glauca Pendula’ are superior choices. These species offer distinctive branching architectures and high foliage density that provide year-round visual interest even after the leaves have dropped. Avoid fast-growing ‘trash trees’ like Bradford Pears, which have weak crotch angles and will split in the first heavy ice storm.
Foundation and Drainage for Hardscape Focal Points
If your focal point is a statue or a fountain, you are essentially doing light civil engineering. You cannot just place a 500-pound object on topsoil. You must excavate down to the B-horizon soil layer, install a non-woven geotextile fabric, and then compact 2A modified stone in 2-inch lifts. I use a plate compactor until it literally bounces off the stone. That’s how you know you’ve reached the 95% Standard Proctor Density required to prevent tilting. If you’re building a fountain, you need to account for the GPM (gallons per minute) and the head height of the pump. A pump that is under-sized will result in a pathetic trickle that fails to provide the acoustic masking people want in a garden. Over-size it, and you’ll have splash-out that erodes your surrounding mulch and ruins the soil pH. Check your hydrostatic pressure. If you’re on a slope, that fountain is a dam. You need a 4-inch perforated pipe behind it to move the water around the structure.
“Soil structure is the arrangement of sand, silt, and clay into aggregates. Without proper aggregation, water infiltration stops, and plant health fails regardless of nutrient levels.” – USDA NRCS Soil Mechanics Manual
The 10-Point Focal Point Installation Checklist
- Verify 811/Dig Safe utility markings before excavation.
- Test soil pH and Cation Exchange Capacity (CEC).
- Check site perc rate (must be at least 1 inch per hour).
- Calculate wind load for vertical structures or tall specimens.
- Ensure 2A modified gravel base is compacted in 2-inch lifts.
- Confirm root flare is visible on all specimen trees.
- Install dedicated drip-line irrigation with 2-gph emitters.
- Apply 3 inches of double-shredded hardwood mulch (no volcanoes).
- Verify pump GPM matches weir or fountain head requirements.
- Establish a 12-month maintenance schedule for structural pruning.
Maintenance: Protecting the Investment
Once the focal point is in, the work isn’t over. It’s just beginning. You need to monitor the moisture tension in the soil. While the internet tells you to water every day, turf grass and specimen trees actually need deep, infrequent watering—exactly 1 inch per week—to force roots to chase the water down. Shallow watering creates weak trees that blow over in a thunderstorm. Use a tensiometer to check the moisture at a 6-inch depth. If it’s dry, soak it. If it’s saturated, leave it alone. Nitrogen cycles in the soil will fluctuate; don’t just dump 10-10-10 on everything. Get a soil test every two years from your local agricultural extension office. It costs $20 and saves you $2,000 in dead plants. And for the love of the trade, stop with the ‘mulch volcanoes.’ Piling mulch against the trunk of your focal point tree is a death sentence. It traps moisture against the bark, invites borers, and causes adventitious roots to wrap around the trunk, eventually choking the tree to death. Keep the mulch 3 inches away from the wood. It’s a simple rule. Follow it.”