
How to Stop Soil Washout on Steep Backyard Slopes
The Anatomy of a Failed Slope: A Forensic Autopsy
I recently got called out to tear up a $30,000 patio that was sinking because the previous contractor thought they could fight gravity with just a stack of heavy blocks. They ignored the fact that the hill behind it was a massive sponge. Three years of hydrostatic pressure turned that ‘sturdy’ wall into a ticking time bomb. By the time I arrived, the pavers were pitched at a 15-degree angle toward the house, and the ‘retaining’ wall was bowing like a cheap bookshelf. The culprit was not the stone; it was the total lack of aggregate drainage and the failure to account for the soil’s angle of repose. It was a mess. We had to excavate thirty tons of saturated clay just to start the repair. Don’t be that homeowner. If you do not respect the physics of water and dirt, gravity will eventually win. It is a slow, expensive defeat.
Identifying the Root Cause of Slope Failure
Identifying slope failure requires measuring the grade percentage and observing rills or gullies forming in the topsoil after rain events. Most backyard washouts occur because hydrostatic pressure builds up behind compacted soil layers, forcing the earth to move downward once it reaches its saturation point and exceeds its natural shear strength. It is physics. Dirt is heavy, but wet dirt is a liquid. If your slope is steeper than a 3:1 ratio (33% grade), gravity is actively trying to pull your topsoil into your neighbor’s yard. You must look for ‘creeping’ grass or leaning trees. These are the early warning signs of a deep-seated structural issue.
“A retaining wall doesn’t fail because of the stone; it fails because of the water trapped behind it.” – Hardscape Engineering Axiom
How do you stop dirt from washing down a hill?
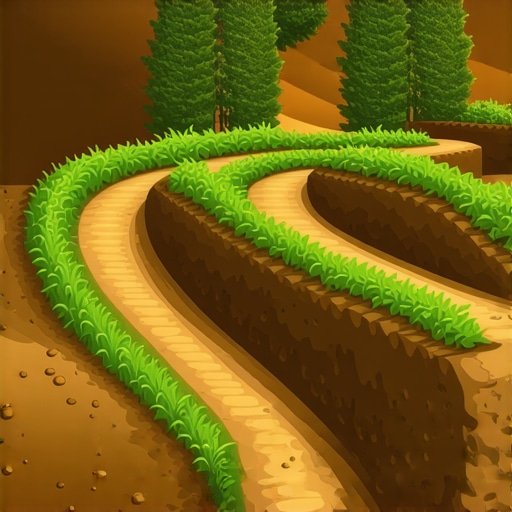
Stopping dirt from washing down a hill requires a three-tier mitigation strategy focusing on surface runoff redirection, mechanical soil stabilization, and biological reinforcement through deep-rooting vegetation. You cannot just throw seed on a steep hill and hope for the best. You need to break the kinetic energy of the water. This is achieved by installing terracing or riprap. The goal is to slow the water down and give it a path of least resistance that does not involve your topsoil.
The Engineering Logic of Soil Stabilization
Effective soil stabilization relies on the Revised Universal Soil Loss Equation (RUSLE), which calculates erosion based on rainfall, soil erodibility, and slope length. In hardscaping, we focus on the ‘LS’ factor: length and steepness. The longer the slope, the more velocity the water gains. The more velocity it gains, the more ‘scouring’ power it has. To fight this, we use Geotextiles and Geogrids. These are not ‘weed barrier’ fabrics from a big-box store. These are high-tenacity polyester grids that lock the soil particles in place. If you are building a wall over 3 feet tall, you must use geogrid. It turns the entire soil mass into a reinforced gravity block.
“Soil erosion is a process of detachment and transport of soil particles by erosive agents, primarily water and wind.” – Penn State Agricultural Extension
| Material Method | Slope Limit | Primary Function | Longevity |
|---|---|---|---|
| Turf Grass | <25% | Surface Binding | High (with maintenance) |
| Erosion Control Blankets | 25-50% | Temporary Stabilization | 2-5 Years |
| Riprap (Stone Armor) | 50-70% | Kinetic Energy Dissipation | Permanent |
| Segmental Retaining Walls | Vertical | Structural Retention | 50+ Years |
The Step-by-Step Remediation Process
Remediating a failing slope starts with hydrological management before a single shovel touches the dirt. First, you must divert point-source water. If your downspouts are dumping onto the top of the slope, you have already lost. Pipe those downspouts to the bottom of the hill using solid-wall HDPE pipe. Next, assess the soil. Heavy clay requires more drainage than sandy loam. If you are installing a retaining wall, your leveling pad must be at least 6 inches of compacted #57 stone. No sand. Sand washes out. Behind the wall, you need a 12-inch wide column of clean, angular gravel and a 4-inch perforated drain pipe ‘daylighted’ to a safe exit point. This relieves the hydrostatic pressure that causes walls to blow out. Don’t skip the drainage. It is the most important part of the build.
What is the best ground cover for steep slopes?
The best ground cover for steep slopes is deep-rooted native perennials like Panicum virgatum (Switchgrass) or woody shrubs such as Rhus aromatica (Fragrant Sumac) because their root systems reach depths of 6 to 10 feet. Traditional turf grass has a root zone of only 3 to 4 inches. On a steep grade, turf grass is just a green carpet sitting on a slippery floor. It will slide. You need ‘living rebar.’ Native plants are adapted to your local climate and require less supplemental irrigation, which is crucial because over-watering a slope only increases the risk of a landslide.
The Professional Slope Assessment Checklist
- Measure the Slope: Use a laser level to find the exact rise and run.
- Identify Water Sources: Check for neighbor runoff, downspouts, or underground springs.
- Soil Texture Test: Determine if you are dealing with silty clay, sandy loam, or rocky fill.
- Utility Check: Call 811 to mark underground lines before any excavation.
- Zoning Review: Check for local municipal codes regarding walls over 36 inches.
- Check for Base Compaction: Use a hand tamper or plate compactor; the tool should bounce off the ground when compaction is reached.
Maintaining Your Slope After Installation
Maintenance is not optional after a slope project is finished. During the first year, you must monitor for piping failure, which is when water finds a tiny hole in your defense and begins carving a tunnel. If you see a small hole, fill it immediately with bentonite clay or compacted soil. Ensure your mulch isn’t washing away. Use ‘triple-shredded’ hardwood mulch; it knits together and stays on slopes better than wood chips or pine nuggets. If you used erosion control blankets, do not remove them. They are designed to biodegrade once the root systems of your plants have taken over the heavy lifting. This usually takes two full growing seasons. Don’t be impatient. Biology takes time.
![Build a $500 2026 Flagstone Fire Pit Circle [DIY]](https://lawnmajesty.com/wp-content/uploads/2026/05/Build-a-500-2026-Flagstone-Fire-Pit-Circle-DIY.jpeg)
![Build a $50 2026 Rain Barrel System [Save Water]](https://lawnmajesty.com/wp-content/uploads/2026/07/Build-a-50-2026-Rain-Barrel-System-Save-Water.jpeg)

![Build a $250 Stone Retaining Wall [DIY 2026]](https://lawnmajesty.com/wp-content/uploads/2026/06/Build-a-250-Stone-Retaining-Wall-DIY-2026.jpeg)