Build a $300 2026 Stone Path with Sand Joints
The $300 Budget: Reality vs. Retail
To build a $300 stone path in 2026, you must source local natural flagstone or reclaimed pavers, utilizing a 4 inch compacted gravel base and sand-filled joints to ensure structural longevity without the high cost of professional excavation equipment or expensive polymeric stabilizers. Efficiency and material sourcing are the keys to this price point. If you walk into a big-box store and buy bagged stone, you will fail. You need to go to the quarry or a landscape supply yard. Every dollar counts.
The Apprentice Lesson: Soil Grading First
I always drill into my new crew members: if you don’t fix the soil grading first, every plant you put in the ground is just expensive compost. The same applies to stone. If your subgrade is not pitched at 2% away from your home foundation, that $300 path will be a $3,000 drainage nightmare by next spring. I have seen it happen. New guys want to just throw stone on dirt. That is a rookie mistake. Soil moves. Water moves it. You have to be smarter than the water. Gravity is the only contractor that never takes a day off. You have to work with it, not against it.
The Physics of the Base Layer
A path is only as good as what is under it. You are not building a surface; you are building a foundation. We use #2A modified crushed limestone for the base. This material contains both 3/4-inch stone and ‘fines’ or dust. When compacted, the dust fills the voids between the larger stones, creating a nearly impenetrable layer.
“A retaining wall does not fail because of the stone; it fails because of the water trapped behind it.” – Hardscape Engineering Axiom
This principle applies to paths too. Water must move through or away from the base. If you use rounded pea gravel, the stones will roll like ball bearings. Your path will shift. It will become a tripping hazard. Stick to angular, crushed stone. [IMAGE_PLACEHOLDER]
How much modified gravel do I need for a stone path?
To calculate modified gravel needs, multiply the path’s length by width, then by the depth in feet (0.33 for 4 inches): divide this total by 27 to get cubic yards, then multiply by 1.5 to convert to tons required for proper compaction. Most 12-foot paths require approximately 1 ton of base material.
The Material Breakdown for 2026
Building for $300 requires tactical purchasing. Prices in 2026 for raw aggregates are expected to rise, but savvy contractors know where to find value.
| Material | Quantity | Estimated Cost (2026) | Purpose |
|---|---|---|---|
| #2A Modified Stone | 1 Ton | $55 | Structural Base |
| Natural Flagstone (Irregular) | 15 sq ft | $160 | Walking Surface |
| Coarse Concrete Sand | 6 Bags | $45 | Setting Bed and Joints |
| Geotextile Fabric (Class 2) | 15 Linear Ft | $40 | Soil Separation |
Is polymeric sand better than regular sand for stone joints?
While polymeric sand provides a chemical bond that resists weeds and ants, coarse concrete sand is more cost-effective for a $300 budget and allows for better hydrostatic pressure relief in DIY stone paths. If your stone joints are wider than one inch, polymeric sand often cracks. Sharp, angular sand ‘locks’ together through friction. It is a mechanical bond. It is old-school. It works.
The Installation Protocol
First, excavate. You need to go 6 inches down. If you hit clay, go deeper. Native soil is your enemy if it is wet. Once excavated, you must compact the subgrade. Use a hand tamper. Your shoulders should hurt. If they do not, you are not hitting it hard enough. Next, lay your geotextile fabric. This prevents the expensive gravel from sinking into the mud. It is a filter. It is mandatory. Do not skip this. Lay your 4 inches of base stone in 2-inch ‘lifts.’ Compact each lift. The tamper should literally bounce off the stone when it is ready. If it feels soft, keep hitting it.
“Soil compaction is the most critical and most neglected part of the civil engineering process in residential landscaping.” – Penn State Agricultural Extension
Setting the Stone
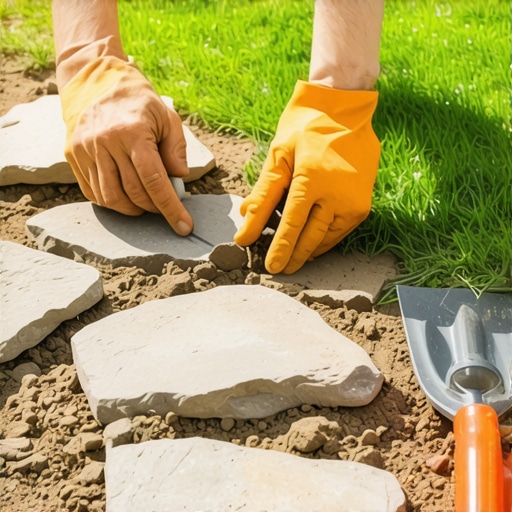
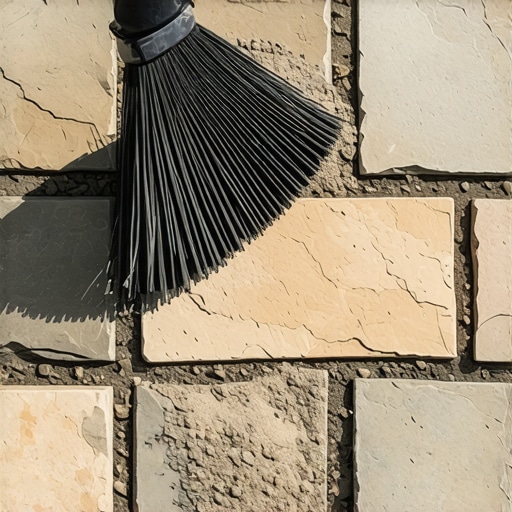
Lay a 1-inch bed of coarse sand over the compacted stone. This is your ‘screed’ layer. Do not walk on it. Place your flagstones. Use a rubber mallet. Each stone must be level with its neighbor. No ‘toe-kickers.’ A toe-kicker is a stone that sits 1/4 inch higher than the rest. It is a liability. It is the mark of a hack. Once set, sweep sand into the joints. Water it down lightly to settle the sand. Repeat. Sweep again. The sand grains must wedge themselves together. This is called interlock. It is the same principle that keeps the Pyramids standing.
Maintenance and Longevity
In year one, you will see some settling. This is normal. Add more sand to the joints. Do not use salt in the winter. Salt eats stone. Use sand for traction. If a stone wobbles, lift it, add a handful of sand to the setting bed, and reset it. Hardscaping is a living thing. It breathes with the freeze and thaw cycles. Respect the physics, and the path will outlast your mortgage.
![Build a $350 Flagstone Path in One Weekend [DIY 2026]](https://lawnmajesty.com/wp-content/uploads/2026/05/Build-a-350-Flagstone-Path-in-One-Weekend-DIY-2026.jpeg)