Build a $350 2026 Brick Walkway for Garden Entry
The Reality of the $350 Budget Garden Entry
Building a $350 brick walkway in 2026 requires a shift from aesthetic dreaming to hardcore engineering and resourcefulness. To hit this price point for a standard 20-foot garden entry, you must focus on structural sub-base integrity and source reclaimed clay pavers rather than high-end retail stones. Most DIY failures occur because homeowners spend 90% of their budget on the bricks and 10% on the foundation. In professional hardscaping, that ratio is reversed. Your walkway is only as stable as the compacted aggregate beneath it.
The Hardscape Autopsy: Why Cheap Installs Fail
I recently got called out to tear up a $30,000 patio that was sinking because the previous contractor ignored hydrostatic pressure and used organic topsoil as a base. Within two seasons, the freeze-thaw cycles turned that expensive stone into a roller coaster. When we excavated, we found the ‘base’ was barely two inches of uncompacted stone dust. It was a mess. If you don’t fix the soil grading first, every plant or brick you put in the ground is just expensive compost. For your $350 project, we aren’t cutting corners on the base. We are going to build it to ICPI (Interlocking Concrete Pavement Institute) standards, even on a shoestring budget.
“A retaining wall or walkway doesn’t fail because of the stone; it fails because of the water trapped behind or beneath it.” – Hardscape Engineering Axiom
Step 1: Engineering the Site and Excavation
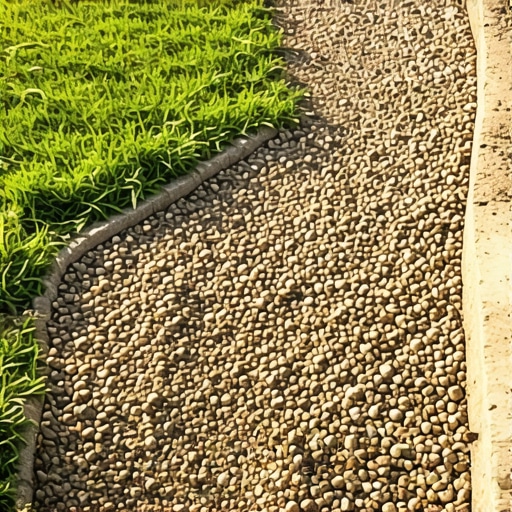
Successful hardscaping begins with a transit level and a sharpshooter spade, not a pallet of bricks. You must excavate deep enough to accommodate 4 inches of modified gravel (21A or 57 stone), 1 inch of bedding sand, and the thickness of the brick itself (usually 2.25 inches). This means a total depth of roughly 7.25 inches. [IMAGE_PLACEHOLDER_1]
How much modified gravel do I need for a walkway?
To calculate your gravel volume, multiply the length by width by depth in feet, then divide by 27 to get cubic yards. For a 20’x3′ walkway at a 4-inch depth, you need approximately 0.75 cubic yards of CR-6 or 21A modified stone. Buying this in bulk from a local quarry rather than in bags at a big-box store is the only way to stay under a $350 budget. Bulk stone usually costs $30-$50 per yard, whereas bagged stone will triple your costs. Don’t pay for the plastic bag.
Step 2: Soil Subgrade and Compaction Logic
Once you reach your subgrade, you cannot simply pour stone. You must compact the raw earth. Soil is full of pore space. If you leave those air pockets, the first heavy rain will cause differential settlement. Use a plate compactor—rent one for $80 of your budget. It is non-negotiable. You are aiming for 98% Standard Proctor Density. If the ground is bone dry, mist it with a hose. Water acts as a lubricant, allowing soil particles to slide past each other into a tighter matrix. But don’t over-saturate it, or you’ll create a mud slurry that will never stabilize.
| Material Item | Estimated Bulk Cost | Quantity (60 sq ft) | Source Strategy |
|---|---|---|---|
| Modified 21A Stone | $45.00 | 1 Cubic Yard | Local Quarry Bulk |
| Concrete Sand (C33) | $40.00 | 0.5 Cubic Yard | Local Quarry Bulk |
| Reclaimed Bricks | $150.00 | 270 Units | FB Marketplace / Salvage |
| Edge Restraints | $60.00 | 40 Linear Feet | PVC Snap-Edge |
| Polymeric Sand | $55.00 | 1 Bag | Professional Grade |
Step 3: The Bedding Layer and Screeding
The bedding sand is not for leveling; it is for seating. Use ASTM C33 washed concrete sand. Avoid ‘play sand’—it is too fine and round, which leads to liquefaction under pressure. Lay down two 1-inch screed pipes (conduit works well), pour your sand, and draw a straight board across them. This creates a perfectly flat 1-inch bed. Do not walk on it. If you step on the sand, you compress it, and the bricks in that spot will eventually sit lower than the rest. It is a one-shot deal.
What is the best sand for brick pavers?
For the bedding layer, always use coarse angular sand like concrete sand, which allows for interlocking friction. For the joints, use polymeric sand. Polymeric sand contains chemical binders that activate with water, turning the sand into a flexible ‘glue’ that prevents weed growth and ant hills. It is the single best investment for long-term maintenance. It will save you hours of lawn care and weeding later.
Step 4: Laying the Bricks and Pattern Selection
For a garden entry, a Running Bond or Herringbone pattern is best for structural interlock. A 90-degree Herringbone is the gold standard for preventing lateral shifting. Start at the lowest point of your slope and work your way up. Use a dead-blow hammer to set the bricks. If a brick is wobbling, don’t just hit it harder. Remove it, adjust the sand, and reset. Precision at this stage prevents the ‘drifting’ effect where gaps get wider as you go. Keep your joints between 1/16 and 1/8 of an inch. [IMAGE_PLACEHOLDER_2]
“Surface drainage must be managed by a minimum 2% slope away from any building foundation to prevent hydrostatic buildup.” – Agricultural Extension Building Code
Step 5: Edge Restraints and Final Set
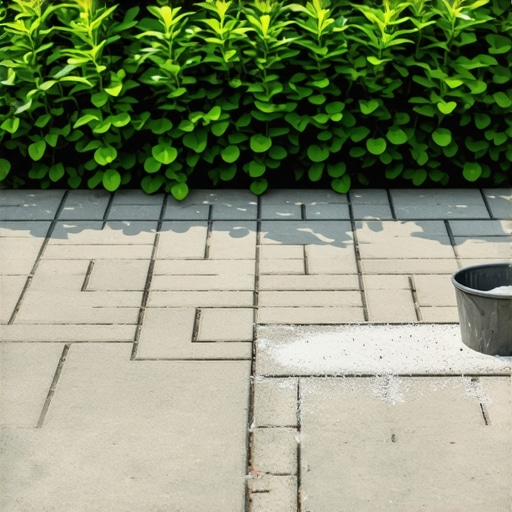
A walkway without edge restraints is just a pile of bricks waiting to migrate into your lawn. Use professional-grade PVC edging secured with 10-inch steel spikes every 12 inches. Once the edges are locked, sweep polymeric sand into the joints. Run the plate compactor over the bricks with a protective mat. This vibrates the sand into the full depth of the joint and seats the bricks into the bedding layer. Sweep off the excess perfectly—any residue will stain the bricks once wet. Mist it lightly with a garden hose. Not a blast, a mist. You want to hydrate the polymers without washing them out of the joints.
The 2026 Maintenance Checklist
- Bi-Annual Inspection: Check for polymeric sand washout after heavy spring rains.
- pH Balancing: Ensure your lawn care fertilizers (which are often acidic) don’t sit on the clay bricks, as they can cause efflorescence.
- Vegetation Management: Keep encroaching turf trimmed back from the edge restraints to prevent root heave.
- Drainage Check: Ensure the exit point of your walkway’s slope isn’t becoming a mud hole. Use a small French drain if necessary.
Conclusion: Why Engineering Beats Aesthetics
You can buy the most expensive hand-molded bricks in the world, but if they are sitting on uncompacted silt, they will fail. By spending your $350 budget on high-quality bulk aggregate and a rented compactor, and sourcing your bricks through secondary markets, you create a garden entry that lasts decades. This is hardscaping. It is about density, drainage, and friction. Do the dirty work correctly, and the beauty will take care of itself. Don’t skip the tamper. Your back will hurt, but the bricks won’t move.
![Fix Sinking Garden Steps with Poly-Sand [2026 DIY]](https://lawnmajesty.com/wp-content/uploads/2026/06/Fix-Sinking-Garden-Steps-with-Poly-Sand-2026-DIY.jpeg)