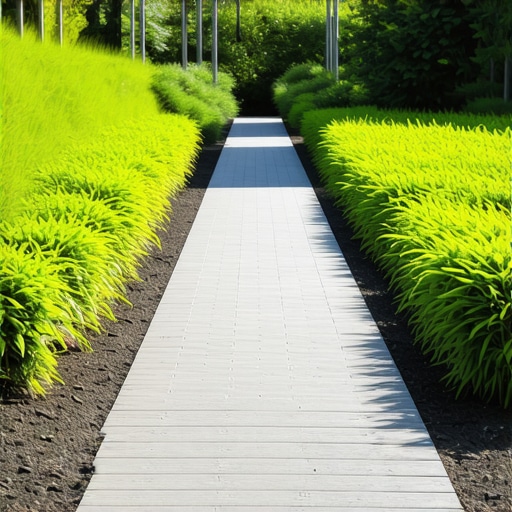
Build a $200 2026 Stone Path for Shaded Side Yards
The Engineering Reality of Shaded Side-Yard Paths
To build a durable stone path in a shaded side yard, you must prioritize hydrostatic drainage and sub-grade compaction. Shaded areas retain moisture longer, leading to soil heave and moss growth that destabilize poorly installed stones. This guide focuses on a $200 budget using locally sourced materials and professional engineering principles. I recently got called out to tear up a $30,000 patio that was sinking because the previous contractor used ‘stone dust’ as a base instead of a proper modified aggregate. In the shade, stone dust acts like a sponge, holding water until the first freeze-thaw cycle turns your expensive masonry into a jigsaw puzzle of cracked joints. I saw $30k literally wash away because of a $500 drainage mistake. If you think your $200 path doesn’t need a proper base, you are just building expensive compost. Side yards are the most neglected zones in landscaping, often acting as drainage sluices for the entire property. When you build a path here, you aren’t just making a walkway; you are managing a watershed.
“A retaining wall doesn’t fail because of the stone; it fails because of the water trapped behind it. The same logic applies to every paver and stepping stone in a high-moisture environment.” – Hardscape Engineering Axiom
How much modified gravel do I need for a stone path?
Calculating your sub-base aggregate requires multiplying the length, width, and depth (at least 4 inches) of your trench to determine cubic yardage. For a standard 15-foot side-yard path, you typically need 0.5 to 0.75 cubic yards of 2A modified stone to ensure structural integrity. Don’t eyeball this. Measure. Under-calculating means you will end up using native soil to fill gaps, which is the fastest way to guarantee a sunken path. Side yards are often high-traffic areas for utility crews and equipment; a thin base will fail under the first heavy load.
What is the best stone for a shaded walkway?
For a shaded garden design, choose high-density natural flagstone or textured concrete pavers with a high Solar Reflectance Index (SRI) if you want to brighten the space, though in 2026, we focus on slip resistance. Avoid polished stones or slate, which become treacherous when wet or covered in biofilm. Shaded areas are breeding grounds for algae. You need a stone with a ‘Cleft’ finish. This provides the mechanical grip necessary when the surface is inevitably damp. If you use a smooth stone, you are building a slip-and-slide, not a walkway.
The $200 Material Breakdown for 2026
In the current economy, hardscaping on a budget requires sourcing from local quarries rather than big-box retail stores. Bulk materials are 70% cheaper than bagged goods. Here is how we allocate a $200 budget for a 15-linear-foot path.
| Material | Quantity | Estimated Cost | Purpose |
|---|---|---|---|
| 2A Modified Stone (Crushed Limestone) | 0.5 Cubic Yard | $45.00 | Structural Sub-base |
| Screened Mason Sand | 4 Bags | $20.00 | Leveling/Bedding Layer |
| Irregular Stepping Stones (Natural Fieldstone) | 300 lbs | $95.00 | Primary Wear Surface |
| Polymeric Sand (High-Humidity Grade) | 1 Bag | $35.00 | Joint Stabilization |
| Marking Paint/Stakes | N/A | $5.00 | Layout and Grading |
The Ground-Up Build: Step-by-Step Installation
Success in lawn care and path construction starts with the soil. You must excavate deep enough to remove the O-Horizon (organic matter) and reach the A-Horizon (mineral soil). If you lay stone on top of grass or mulch, it will rot. Don’t skip the excavation. Use a flat-head shovel to keep the trench walls vertical. This prevents the ‘lateral spread’ of your base material. Once excavated, you must check your grade. A path in a side yard must slope away from the foundation at a rate of 1/4 inch per foot. Failure to do this will result in a flooded basement.
- Call 811: Never put a shovel in a side yard without marking utility lines. Gas and electric often run shallow here.
- Excavation: Dig to a depth of 6 inches. This allows for 4 inches of base, 1 inch of sand, and 2 inches of stone.
- Compaction: Use a hand tamper or a rented plate compactor. The ground should be hard enough that a screwdriver won’t easily penetrate it.
- Base Layer: Add 2A modified stone in 2-inch ‘lifts.’ Compact each lift separately.
- Bedding: Screed your mason sand flat. Do not walk on it after leveling.
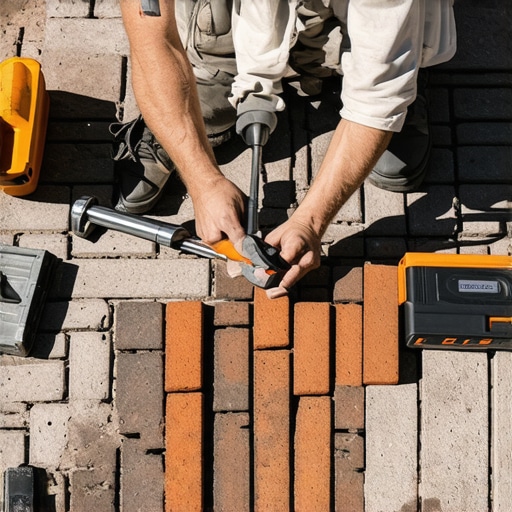
- Setting: Place stones with 2-inch gaps. Twist them into the sand to ‘set’ the seat.
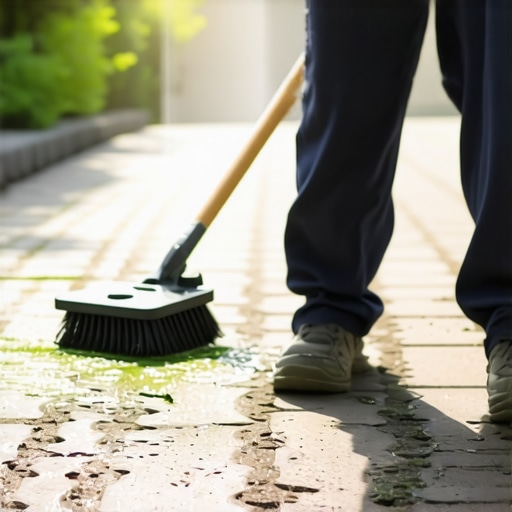
- Jointing: Sweep polymeric sand into the cracks. Mist with water to activate the polymers.
“Soil compaction is the most critical and most neglected phase of any hardscape project. Without reaching 95% Standard Proctor Density, the path is temporary.” – USDA Soil Engineering Manual
How do I stop moss from growing on my stone path?
To prevent moss and algae on shaded stones, you must improve sub-surface drainage and ensure the path is slightly elevated above the surrounding grade. Using polymeric sand with built-in fungicides and maintaining a soil pH of 6.5 to 7.0 in the surrounding area can also inhibit moss spores from taking hold. Moss loves acidic, compacted, and wet soil. By installing a gravel base, you break the capillary action that keeps the surface wet. If you see moss, your drainage is failing. Fix the grade, don’t just scrub the stone.
The Information Gain: Why Landscape Fabric is a Scam
Most DIY blogs will tell you to lay landscape fabric under your stones to stop weeds. They are wrong. In a shaded side yard, landscape fabric acts as a filtration barrier that eventually clogs with fine soil particles (silt and clay). Once clogged, it creates a ‘perched water table,’ keeping your base layer saturated and mushy. Instead of fabric, use a graduated aggregate base. The different sizes of crushed stone naturally interlock, creating a filter that allows water to pass while preventing soil migration. It is physics, not a plastic sheet, that keeps a path stable. Weeds don’t come from the bottom; they come from seeds dropping into the joints from above. Polymeric sand handles that; fabric does nothing but cause drainage failure. Don’t waste your $200 budget on trash. Spend it on better stone.