Build a $400 2026 Stone Fire Pit Seating Spot
Why Most DIY Fire Pits Fail Within Two Seasons
Building a $400 stone fire pit seating area requires a focus on soil compaction, base material selection, and thermal dynamics to ensure the structure survives freeze-thaw cycles without shifting. Most failures occur because homeowners ignore hydrostatic pressure and proper excavation depths, leading to sunken stones and cracked masonry.
I recently got called out to tear up a $30,000 patio that was sinking because the previous contractor skipped the geotextile fabric and used rounded pea gravel instead of angular modified stone. The whole thing was a swamp. If you are working with a $400 budget for 2026, you do not have room for those mistakes. You have to get the physics right the first time. We are talking about a sub-grade that can support the weight of the stone and the people sitting on it without turning into a mud pit after the first spring thaw. You are not just laying stones on the ground; you are building a miniature civil engineering project. It starts with the dirt.
The Critical Physics of the Base Layer
The base layer for any fire pit seating area must consist of compacted angular aggregate (typically #21A or 411 crushed stone) at a minimum depth of four to six inches to prevent sinking. This layer provides the structural integrity and drainage necessary to keep the seating area level during soil expansion.
“A retaining wall doesn’t fail because of the stone; it fails because of the water trapped behind it.” – Hardscape Engineering Axiom
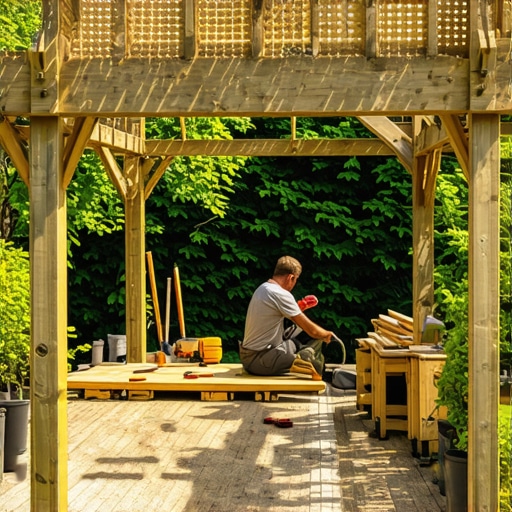
The same logic applies to your seating area. If water sits under your pavers, it will freeze, expand, and heave your stones. You need a 4-inch deep trench for the seating area. Go deeper if you have heavy clay. Dig it out. Use a hand tamper. It should feel like concrete when you are done. The tamper should literally bounce off the compacted base. If it feels soft, keep hitting it. Your hands will be calloused. That is the price of a professional finish. [image_placeholder]
How much modified gravel do I need for a patio base?
To calculate the amount of modified gravel needed, multiply the square footage of your seating area by the depth of the base (usually 0.33 feet for 4 inches) and divide by 27 to get cubic yards. A standard 10-foot diameter circle requires approximately 1.25 tons of crushed stone for a stable foundation.
2026 Material Cost Breakdown and Strategy
Managing a $400 budget for a hardscape project requires sourcing natural fieldstone or clearance pavers while prioritizing spending on structural components like polymeric sand and base rock over aesthetics. Cheap stones on a great base look better than expensive stones on a failing base. Do not buy your stone from big-box stores if you can avoid it. Go to a local quarry. They sell by the ton, and it is almost always cheaper.
| Material Item | Quantity / Spec | Estimated Cost (2026) |
|---|---|---|
| Crushed Stone Base (#411) | 1.5 Tons | $65.00 |
| Natural Fieldstone / Pavers | 60 sq ft | $220.00 |
| Fire Brick (Internal Liner) | 12-15 Bricks | $45.00 |
| Polymeric Sand | 2 Bags | $50.00 |
| Geotextile Fabric | 1 Roll (Heavy Duty) | $20.00 |
Notice I allocated $45 for fire bricks. Never build a fire pit with standard landscaping blocks alone. They are not rated for 900-degree temperatures. They will trap moisture, expand, and eventually explode or crack. This is a safety issue. Use fire bricks to line the interior. It is the only way to ensure the longevity of the structure.
The Step-by-Step Installation Protocol
The installation process for a stone seating area involves excavation, base compaction, leveling, and joint stabilization using polymeric sand to prevent weed growth and stone shifting. Each step must be verified with a four-foot level to ensure proper water runoff away from the fire pit center.
- Mark the center and scribe a 10-foot or 12-foot circle using a stake and string.
- Excavate the entire area to a depth of 6 inches. Remove all organic matter and grass.
- Lay down a heavy-duty geotextile fabric to separate the soil from the gravel.
- Add crushed stone in 2-inch lifts, compacting each layer thoroughly.
- Set your fire pit ring or fire bricks in the center first.
- Lay the seating area stones from the fire pit outward.
- Sweep polymeric sand into the joints and mist with water to lock everything in place.
What stones are safe for a fire pit?
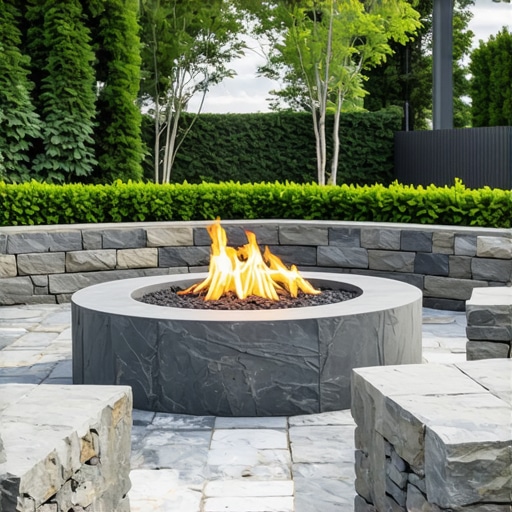
The safest stones for a fire pit are kiln-fired fire bricks for the interior and dense natural stones like granite, slate, or flagstone for the exterior seating area. Avoid river rocks or porous limestones, as trapped moisture inside these stones can turn to steam and cause the rock to shatter or explode when heated.
“Soil compaction is the most overlooked aspect of residential landscaping, yet it dictates the lifespan of every structural element in the garden.” – Agronomy Field Manual 4th Ed.
Do not skip the geotextile. If you put stone directly on dirt, the dirt will eventually swallow the stone. It is a slow process, but it is inevitable. The fabric acts as a bridge. It keeps your expensive gravel from disappearing into the sub-grade. It is the cheapest insurance policy you can buy for your yard. [image_placeholder]
Drainage and Long-Term Maintenance
Proper drainage for a fire pit area is achieved by creating a 1-percent slope away from the center to prevent water pooling and structural degradation. In heavy clay environments, a small French drain or a sump pit filled with #57 stone under the fire pit can prevent the area from becoming a basin. Clean the ash out regularly. Ash becomes lye when wet, and it will eat through your stone joints over time. It is caustic. Keep it clean. Expect the stones to settle slightly in the first year. This is normal. If you compacted it right, it will move as a single unit rather than individual stones popping up. Don’t use a pressure washer on the joints. You will blast out the sand. Just use a leaf blower. Keep it simple. Build it once. Build it right.
![Build a $400 Flagstone Fire Pit [2026 Weekend Project]](https://lawnmajesty.com/wp-content/uploads/2026/06/Build-a-400-Flagstone-Fire-Pit-2026-Weekend-Project.jpeg)