Build a $400 2026 Brick Walkway for Large Garden Entries
The Hardscape Autopsy: Why Most Walkways Fail
I recently got called out to tear up a $30,000 patio that was sinking because the previous contractor thought he could skip the compaction phase and use stone dust as a base. It was a swamp within two seasons. When you are looking at building a $400 brick walkway in 2026, you don’t have the luxury of making $30,000 mistakes. Most DIYers and low-bid hacks focus on the surface, but a walkway is an engineering project that happens underground. If you don’t respect the soil, the soil will eat your investment. Water is the enemy. It will move your stone, crack your joints, and heave your pavers. You have to design for the 2026 climate, which means heavier rain events and more erratic freeze-thaw cycles. This isn’t about aesthetics; it’s about physics.
“A retaining wall doesn’t fail because of the stone; it fails because of the water trapped behind it.” – Hardscape Engineering Axiom
Planning Your $400 Garden Entry Path
Building a $400 brick walkway requires a strategic approach to material sourcing and site preparation to ensure long-term durability in a large garden setting. You cannot walk into a big-box store and buy individual pavers for a large entry on this budget; you must source bulk 2A modified gravel and reclaimed clay bricks to maintain structural integrity without exceeding your financial limits. Plan for a 4-inch minimum base depth. Anything less is a sidewalk to nowhere. Don’t eyeball the slope. You need a 2% pitch—that is a 1/4-inch drop for every foot of width—to shed water away from your foundation or garden beds. If water sits on the brick, the brick will spall. It will rot. Do not skip the layout phase. Use stakes and masonry line. Trust the line, not your eyes. Your eyes will lie to you when the ground is uneven.
The Critical Materials Breakdown
To hit a $400 budget for a hardscape project, you must understand the mass-to-cost ratio of your aggregates and the ASTM C902 standards for pedestrian-grade clay pavers. In 2026, material prices have stabilized, but logistics costs are high, making bulk delivery the only viable option for a large-scale garden entry. Local quarries are your best friend. Avoid the bags. One ton of 2A modified stone in bulk costs a fraction of what you would pay for individual bags at a hardware store. For the bricks, look for local demolition sites or classifieds. Reclaimed bricks offer a higher compressive strength than modern cheap concrete alternatives. Look for ‘severe weather’ (SW) rated bricks if you live in a northern climate. Non-SW bricks will flake and crumble after the first hard freeze.
| Material Item | Estimated Quantity | Projected 2026 Cost |
|---|---|---|
| 2A Modified Gravel (Base) | 3 Tons (Bulk) | $110.00 |
| Concrete Sand (Bedding) | 1 Ton (Bulk) | $45.00 |
| Reclaimed Clay Bricks | 450-500 Units | $180.00 |
| Polymeric Sand (Joints) | 2 Bags | $65.00 |
[image_placeholder_1]
How much modified gravel do I need for a patio base?
Determining the volume of 2A modified stone depends on the square footage of your walkway and the California Bearing Ratio (CBR) of your subgrade soil. For a standard 4-foot wide garden entry that is 20 feet long (80 sq ft), a 4-inch base requires approximately 1.5 tons of gravel, though ordering 2 tons is recommended to account for the **20% compaction factor** required for a stable foundation. You are looking for ‘modified’ stone because it contains ‘fines’—small particles that fill the voids between larger stones. This allows it to lock together under pressure. Clean stone will never compact. It will shift under your feet like marbles. Use a plate compactor. Do not use a hand tamper for anything larger than a few square feet. Your back will break before the base is solid. The tamper should literally bounce off the ground when you hit the 95% Proctor density mark.
What type of brick is best for outdoor walkways?
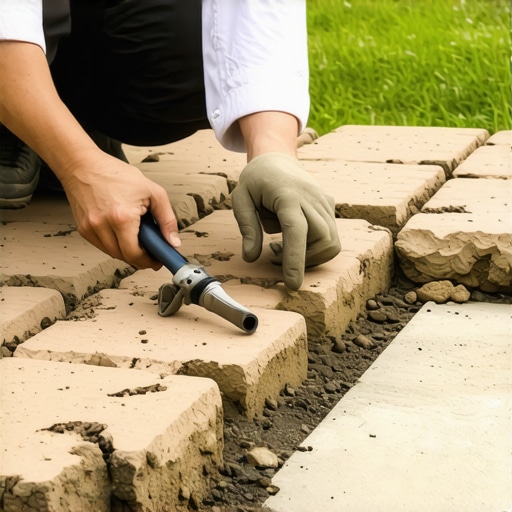
The best material for a durable garden path is a kiln-fired clay paver that meets ASTM C902 specifications for pedestrian traffic and weather resistance. Unlike standard face bricks used on houses, these pavers are fired at higher temperatures to reduce porosity, which prevents water absorption and subsequent cracking during freeze-thaw cycles. Concrete pavers are an option, but they fade over time as the pigment leaches out. Clay is color-fast. A hundred years from now, that clay brick will be the same color it is today. If you source reclaimed bricks, check for mortar. You must scrape the old mortar off. If you don’t, the bricks won’t sit flush. This creates trip hazards. Hacks leave the mortar on. Professionals don’t.
The Installation Process: Excavation to Edging
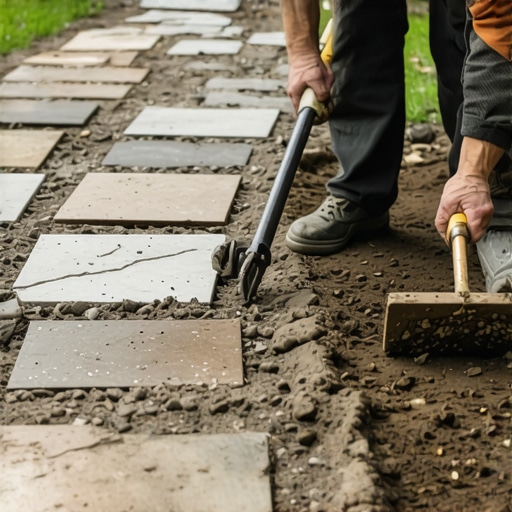
Successful hardscape installation begins with a subgrade excavation that reaches 8 inches below the finished grade to allow for the geotextile fabric, gravel base, and bedding sand. If you are digging in heavy clay, you must use a non-woven geotextile fabric between the dirt and the gravel. If you skip the fabric, the gravel will eventually sink into the clay. This is basic soil science. After the fabric, add your gravel in 2-inch ‘lifts.’ Compact each lift. If you throw 4 inches of gravel in a hole and try to compact it all at once, the bottom 2 inches will remain loose. The walkway will fail. Once the base is rock hard, use 1-inch outside diameter (OD) PVC pipes as screed rails. Spread your concrete sand between them. Run a straight 2×4 board across the pipes to create a perfectly flat bed. This is the only way to get a smooth surface. Don’t walk on the sand once it is screeded. It is sacred ground.
“Base preparation is 90% of the work. The pavers are just the skin on the body.” – ICPI Installation Guide
- Step 1: Call 811. Don’t be the guy who hits a gas line for a $400 walkway.
- Step 2: Excavate to 8 inches. Throw the soil in a low spot or haul it away.
- Step 3: Lay non-woven geotextile fabric. It prevents ‘pumping’ of the subgrade.
- Step 4: Install 4 inches of 2A modified stone in two lifts, compacting each.
- Step 5: Screed 1 inch of concrete sand. Do not use stone dust; it holds water.
- Step 6: Lay bricks in a running bond or herringbone pattern. Snap a chalk line.
- Step 7: Install edge restraints. Use plastic or aluminum spikes every 12 inches.
- Step 8: Sweep in polymeric sand. Follow the manufacturer’s wetting instructions.
Maintaining the Structural Integrity
Proper lawn care near a walkway involves managing soil moisture levels and preventing root intrusion from nearby shrubs that can heave the brick surface. In 2026, we see more aggressive weed varieties due to shifting hardiness zones; therefore, using a high-quality polymeric sand in the joints is mandatory to prevent seed germination between the bricks. If you see a crack in the sand, fix it immediately. Water gets in the crack, freezes, and moves the brick. It’s a chain reaction. Every few years, you may need to top off the sand. Check your drainage. If the garden entry becomes a stream during rain, you need a French drain nearby. Don’t let the walkway become the drain. It wasn’t built for that. Respect the engineering, and it will last a lifetime.