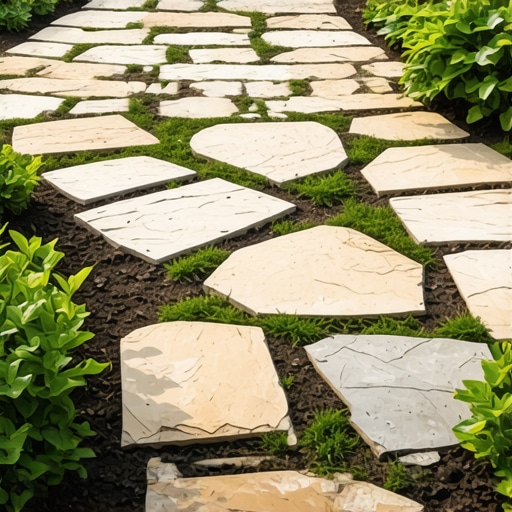
Build a $300 2026 Stone Path with Sand Joints [DIY]
Why Most DIY Stone Paths Fail Before the First Winter
Building a $300 stone path requires prioritizing structural engineering over aesthetics to ensure the installation survives the 2026 season and beyond. Success depends on base compaction, hydrostatic pressure management, and selecting high-friction jointing sand that prevents lateral stone migration. I recently got called out to tear up a $30,000 patio that was sinking because the previous contractor used a shallow sand base over uncompacted silt. It was a disaster. The freeze-thaw cycles had heaved the stones by three inches, creating a literal minefield of tripping hazards. This happens when you ignore the soil mechanics. If you do not fix the soil grading and sub-base first, every expensive flagstone you lay down is just glorified debris. Ground prep is 80% of the job. Don’t skip it.
“A retaining wall doesn’t fail because of the stone; it fails because of the water trapped behind it.” – Hardscape Engineering Axiom
The Materials Breakdown: Designing for a $300 Budget
Achieving a professional-grade garden design on a $300 budget necessitates sourcing local quarry screenings and irregular flagstone rather than expensive big-box store kits. Focus on 2A modified stone for the base and sharp masonry sand for the joints to maximize interlock and drainage efficiency. You need to be a hawk on Craigslist or Facebook Marketplace. Look for people getting rid of ‘free’ stone. If you buy new, go to a landscape supply yard, not a home improvement warehouse. You want irregular natural stone, roughly 1.5 to 2 inches thick. Thinner stones will crack under point-loading. You also need a roll of non-woven geotextile fabric. This is the barrier between your expensive gravel and the native soil. It prevents the ‘sink’ effect.
| Material | Quantity (for 20 linear ft) | Estimated Cost |
|---|---|---|
| Irregular Flagstone | 1/2 Ton (Reclaimed) | $150 |
| 2A Modified Crushed Stone | 1.5 Tons | $60 |
| Sharp Masonry Sand | 10 Bags | $50 |
| Geotextile Fabric | 25 Linear Ft | $30 |
| Edge Restraints | 40 Linear Ft | $10 |
How much modified gravel do I need for a patio base?
To calculate gravel volume, multiply the path’s square footage by the compacted depth (usually 4 inches) and divide by 324 to get cubic yards. For a standard 20-foot path, 1.5 tons of crusher run ensures a stable, non-shifting foundation for your hardscaping project. Do not guess. If your base is too thin, the path will migrate. If it is too thick, you are wasting money. Most DIYers fail here. They use 1 inch of sand. That is a mistake. Sand is for leveling, not for structural support. You need the angularity of crushed stone to lock together. It forms a bridge. Use a plate compactor. It is worth the $80 rental fee. Hand tamping is for amateurs. It will settle unevenly.
Sub-Base Engineering: The Foundation of Longevity
Engineering a stable sub-base involves excavating to a depth of 6-8 inches and installing a non-woven geotextile to separate the aggregate from the native subgrade. This prevents fine-particle migration and maintains the structural integrity of the 4-inch compacted stone base required for 2026 climate resilience. You are fighting physics. Water wants to move your stone. You must give it a path to go somewhere else. Ensure the trench has a 1% to 2% slope away from any structures. This is called the ‘pitch.’ If you build a flat path against a house, you are asking for a flooded basement. Use a transit level or a long 2×4 with a bubble level. Precision is your best friend here. If the base is wrong, the path is junk. It is that simple.
What is the best sand for stone path joints?
The best jointing material for a 2026 stone path is sharp masonry sand or polymeric sand, which utilizes high-polymer binders to resist erosion and weed growth. For a $300 budget, coarse sand provides excellent drainage and interlocking friction between irregular stones, preventing shifting during heavy rain. Avoid ‘play sand.’ It is too round. Round grains act like ball bearings. Your stones will slide. You want angular grains that bite into each other. Polymeric sand is great, but it is expensive. If you use regular sand, you will have to top it off every year. That is the trade-off. It is part of lawn care and path maintenance. Expect it. Deal with it.
The Installation Process: Leveling and Setting
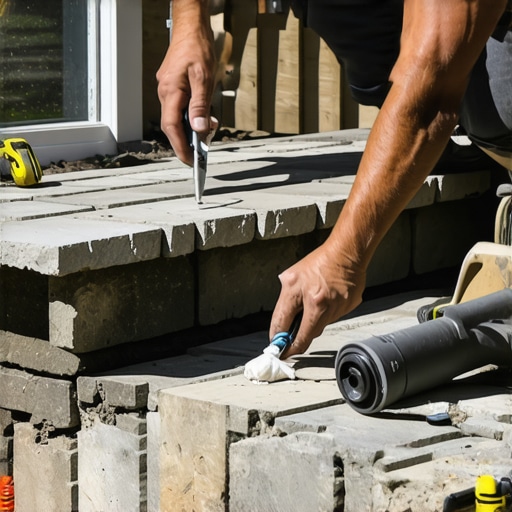
Setting natural stone requires a 1-inch sand bedding layer placed over the compacted aggregate to allow for the varying thickness of the flagstone. Each stone must be individually seated using a rubber mallet to ensure no rocking occurs, maintaining a flush surface for the landscaping layout. Place your largest stones first. These are your ‘anchors.’ Work from the center out. If you have a stone that is too thick, scrape away some sand. If it is too thin, add more. Never bridge a stone over a gap in the base. It will snap. I have seen $200 flagstones crack like glass because someone was too lazy to level the sand. Take your time. This is the slow part. Check every stone. If it wobbles, it stays until it doesn’t. No exceptions. This is the difference between a pro job and a hack job.
“Proper compaction of the subgrade is the single most important factor in the long-term performance of any segmental pavement system.” – ICPI Tech Spec Number 2
- Mark the path: Use utility marking paint and string lines to define the edges.
- Excavate: Remove 8 inches of soil. Check for 811 utility marks first.
- Fabric: Lay down the geotextile. Overlap joints by 12 inches.
- Base: Add 2 inches of stone, compact, add 2 more inches, compact again.
- Screed: Spread 1 inch of sharp sand as your leveling bed.
- Set: Lay stones with 1/2 inch to 1 inch gaps.
- Sweep: Fill joints with sand. Mist with water to settle. Repeat.
The 2026 Maintenance Schedule: Protecting Your Investment
Maintaining a DIY stone path involves an annual sand top-off and checking for hydrostatic displacement at the path’s lowest elevation point. By managing soil pH near the edges and preventing turf encroachment, you ensure the hardscaping remains a functional part of the property for decades. Do not let grass grow in the joints. The roots will expand and pop the stones. Use a vinegar-based weed killer or a propane torch. Avoid heavy chemicals that leach into the groundwater. Check the edges. If the soil is washing away, add a French drain or more aggregate. Your path is a living thing. It moves with the earth. Respect the movement. If a stone settles, lift it, add sand, and reset it. Five minutes of work now saves five hours of repair later. Stay on top of it. Your yard will thank you.
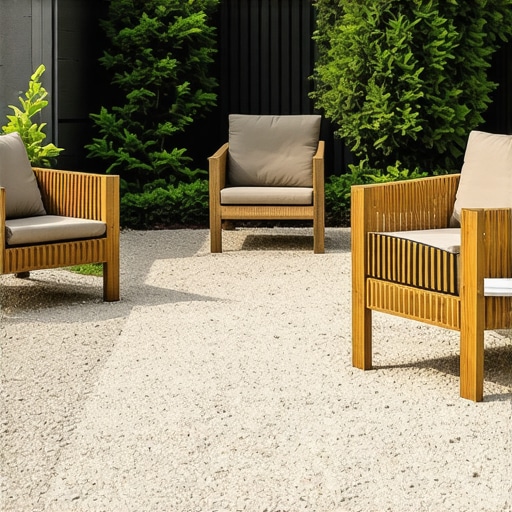
![Build a $200 2026 Gravel Path with Brick Edging [Quick DIY]](https://lawnmajesty.com/wp-content/uploads/2026/07/Build-a-200-2026-Gravel-Path-with-Brick-Edging-Quick-DIY.jpeg)