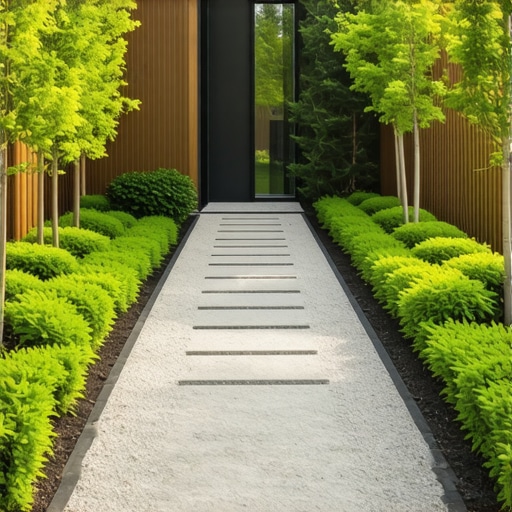
Build a $350 2026 Brick Walkway for Side Garden Entry Path
The Foundation of Durable Side Garden Entry Paths
Building a side garden brick walkway for under $350 requires more than just manual labor; it requires value engineering and an understanding of soil mechanics. A successful path depends 80% on what you cannot see: the sub-grade and the base compaction. In 2026, material costs have stabilized, but quality remains non-negotiable. Don’t use ‘free dirt’ as a base. It will sink.
I recently got called out to tear up a $30,000 patio that was sinking because the previous contractor used stone screenings instead of an ASTM D2940 compliant modified aggregate for the base. Within two freeze-thaw cycles, the hydrostatic pressure trapped moisture under the pavers, causing the entire surface to heave and crack. The homeowner thought they were saving money. They weren’t. For your $350 project, we are going to avoid these engineering failures by focusing on the hardscaping fundamentals of drainage and compaction. If you don’t fix the soil grading first, every brick you put in the ground is just expensive debris.
How deep do I need to dig for a brick walkway?
For a standard garden design entry path, you must excavate to a depth of 7 to 9 inches to accommodate the base layer, bedding sand, and the brick thickness itself. This depth ensures that the hardscaping structure sits below the organic layer of the soil, preventing microbial decomposition from undermining your path’s stability. Dig deep. It matters.
“A retaining wall doesn’t fail because of the stone; it fails because of the water trapped behind it.” – Hardscape Engineering Axiom
The Physics of Sub-Base Compaction
Your side garden isn’t just grass; it’s a complex ecosystem of pore spaces and moisture. When you excavate, you are disturbing the natural lawn care equilibrium. You must reach the ‘sub-grade,’ which is the native soil below the topsoil layer. If you encounter heavy clay, you must be careful. Clay retains water. Water expands when frozen. This is how walkways become rollercoasters. You need a 4-inch layer of 21A or 3/4-inch minus crushed stone. This isn’t just rocks; it is a structural matrix designed to distribute weight across the soil surface. Use a plate compactor. A hand tamper is often insufficient for achieving the 98% Standard Proctor density required for long-term stability.
| Material Type | Purpose | Estimated 2026 Cost (60 sq ft) |
|---|---|---|
| 21A Modified Stone | Structural Base | $65.00 |
| ASTM C-33 Concrete Sand | Bedding Layer | $45.00 |
| Reclaimed Brick Units | Surface Layer | $180.00 |
| Edge Restraints/Spikes | Lateral Stability | $40.00 |
| Polymeric Sand | Joint Stabilization | $20.00 |
How much modified gravel do I need for a patio base?
To calculate the modified gravel needed, multiply the square footage by the desired depth in feet, then divide by 27 to get cubic yards, and multiply by 1.5 to convert to tons. For a 60-square-foot garden design path with a 4-inch base, you will need approximately 1.2 tons of stone. Order extra. You will need it.
What is the best sand for brick walkway joints?
The best sand for hardscaping joints is a high-quality polymeric sand that contains specialized binders to prevent washout and weed growth. Unlike play sand, polymeric sand creates a semi-rigid joint that allows for thermal expansion while blocking invasive root systems from your landscaping efforts. Don’t buy cheap sand.
Step-by-Step Installation Protocol
- Mark the path using layout strings and stakes to ensure a consistent width.
- Call 811 to mark underground utilities before you break ground.
- Excavate the area to a depth of 8 inches, maintaining a 2% slope away from the house foundation.
- Compact the sub-grade using a mechanical plate compactor until it no longer yields to foot pressure.
- Install 4 inches of crushed stone in 2-inch lifts, compacting each lift thoroughly.
- Set your edge restraints using 10-inch steel spikes every 12 inches.
- Screed a 1-inch layer of washed concrete sand (ASTM C-33) over the compacted base.
- Lay your bricks in a running bond or herringbone pattern, keeping joints tight.
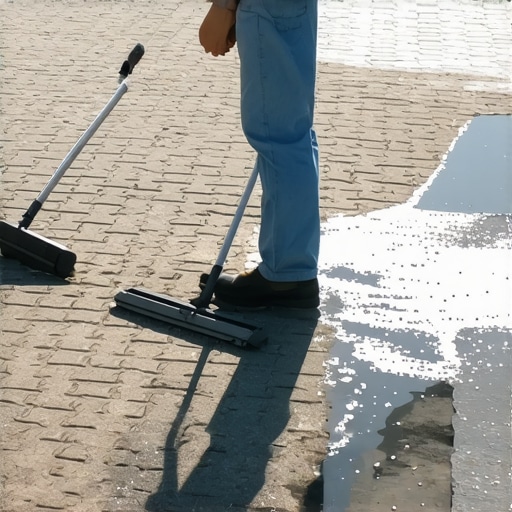
- Sweep polymeric sand into the joints and vibrate the bricks with the compactor to set them.
- Mist the path with water to activate the polymers in the sand.
“Proper drainage is the difference between a legacy project and a maintenance nightmare.” – Penn State Agricultural Extension
Soil Logic and Environmental Factors
In 2026, we must account for increased precipitation intensity. If your side garden sits in a low-lying area, a standard brick path will act as a dam. You may need to incorporate a French drain adjacent to the walkway. This involves a perforated pipe wrapped in geotextile fabric, buried in a trench of clean 57 stone. It moves water. It saves paths. Also, consider the USDA hardiness zone of your landscaping. In colder climates, the freeze-thaw cycle is more aggressive. In these regions, a thicker stone base is mandatory to provide a ‘cushion’ against the expanding earth. Cheap contractors skip the stone. The path fails. Every time.
Maintaining the 2026 Entry Path
Once the path is set, lawn care near the edges becomes critical. Do not let grass clippings accumulate on the bricks; the organic matter will break down and provide a medium for weed growth in the joints. Check your edge restraints annually. If a spike has backed out due to frost heave, drive it back in immediately. Use a pH-neutral cleaner for any moss or algae growth. Harsh chemicals can degrade the brick’s face. If you see white powdery residue, that is efflorescence. It is natural salt migrating to the surface. It will wash away. Be patient. Your walkway is a living part of your home’s civil engineering.