Build a $400 2026 Brick Walkway for Backyard Patios
The Anatomy of a $400 Brick Walkway
Building a $400 brick walkway for 2026 backyard patios requires a compacted 4 inch sub-base of 2A modified gravel, a 1 inch bedding layer of coarse washed concrete sand, and weather resistant pavers that meet ASTM C902 specifications. Success depends entirely on managing soil compaction and hydrostatic pressure rather than the aesthetic of the brick itself.
I recently got called out to tear up a $30,000 patio that was sinking because the previous contractor thought two inches of uncompacted pea gravel was a foundation. It was a disaster. The freeze-thaw cycles of the local soil had turned a premium installation into a dangerous, wavy mess within two seasons. I spent three days excavating their failure. If you do not respect the physics of the earth beneath your feet, your hardscaping project is just expensive compost. In this guide, I am going to show you how to do it right for four hundred bucks without cutting corners on the engineering. We are focusing on the ground-up build because eighty percent of the work happens before a single brick touches the dirt. If you want a walkway that lasts twenty years, you start by digging deeper than you think you need to. Hardscaping is not about laying stones; it is about managing water and gravity.
Site Preparation and Soil Mechanics
To prepare a site for a brick walkway, you must excavate the soil to a depth of 7 inches to allow for a 4-inch gravel base, a 1-inch sand bed, and the 2.25-inch thickness of the brick. This process removes organic matter that will eventually rot and cause the path to settle unevenly.
“A retaining wall or walkway doesn’t fail because of the stone; it fails because of the water trapped behind or beneath it.” – Hardscape Engineering Axiom
Soil is a living, moving entity. When you dig your trench, you are looking for the subsoil layer. If you see dark, loamy topsoil, keep digging. You need a stable, mineral-based substrate. In many regions, this means hitting clay or silty loam. Do not skip this. Once excavated, you must use a plate compactor. A hand tamper is for amateurs and will lead to a 10 percent settling rate within the first year. You want a machine that delivers at least 2,500 pounds of centrifugal force. This forces the air out of the soil. It makes the ground rock hard. It is the only way.
How much modified gravel do I need for a patio base?
Calculating gravel volume requires the formula (Length x Width x Depth in feet) / 27 to determine the cubic yards needed for a stable foundation. For a 20-foot by 3-foot walkway with a 4-inch base, you will need approximately 0.75 cubic yards of 2A modified stone.
| Material Item | Estimated Quantity | Cost Estimate |
|---|---|---|
| 2A Modified Gravel | 1 Ton | $45.00 |
| Concrete Sand | 0.5 Ton | $35.00 |
| ASTM C902 Bricks | 250 Units | $250.00 |
| Polymeric Sand | 1 Bag | $35.00 |
| Edge Restraints | 40 Feet | $35.00 |
The Engineering of the Sub-Base
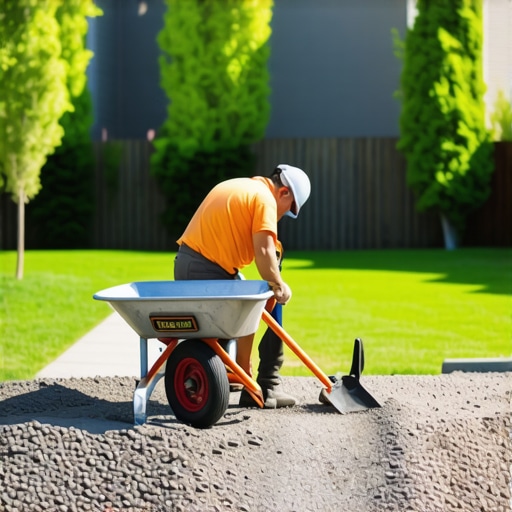
The sub-base of a walkway must consist of angular crushed stone ranging from 3/4 inch to dust, known as 2A modified or CR-6, to ensure maximum interlocking and load-bearing capacity. This layer acts as the skeletal system of your path and must be compacted in 2-inch lifts to prevent future shifting.
When you dump your gravel, do not do it all at once. Spread two inches. Wet it down. Run the compactor. This is called a lift. Water acts as a lubricant, allowing the smaller particles of dust to slide between the larger stones. This creates a solid mass that resists the upward pressure of frost heaves. If you dump four inches and compact the top, the bottom remains loose. It will fail. Use a transit level or a simple line level to ensure a 2 percent slope away from your home’s foundation. This is exactly 1/4 inch of drop per foot of width. Gravity is your friend if you direct it. If you don’t, water will pool under your bricks and pop them out like corks during the first freeze.
“Base thickness and compaction density are the primary factors in the longevity of interlocking concrete or brick pavements in residential applications.” – ICPI Tech Manual
What is the best sand for a brick walkway?
The best sand for a brick walkway is coarse, washed concrete sand because its angular grains lock together under pressure and allow for superior drainage. Avoid play sand or masonry sand, as their rounded grains act like ball bearings and will cause the bricks to shift over time.
Laying the Surface and Joint Stabilization
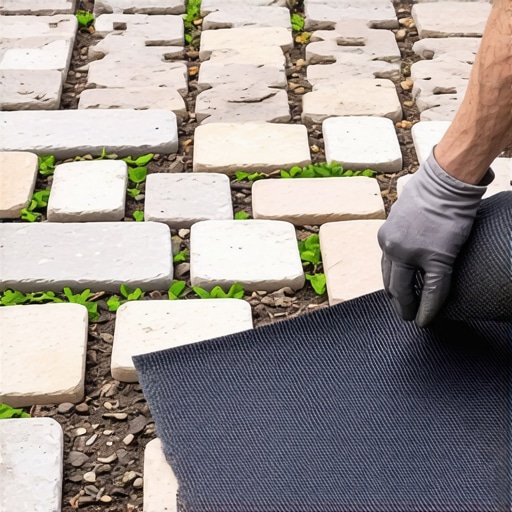
To lay the bricks, you must screed a 1-inch layer of uncompacted sand using one-inch PVC pipes as guides to create a perfectly level bedding plane. Once the bricks are set in your desired pattern, they must be swept with polymeric sand and vibrated into the bed to lock them in place.
- Excavate 7 inches deep.
- Compact the subsoil.
- Install 4 inches of 2A modified gravel in two lifts.
- Install plastic or aluminum edge restraints.
- Screed 1 inch of concrete sand.
- Lay bricks in a running bond or herringbone pattern.
- Cut end bricks with a wet saw.
- Sweep polymeric sand into joints.
- Compact the bricks with a carpet-protected plate compactor.
- Mist with water to activate the polymer.
The edge restraints are the most overlooked part of the $400 budget. Without them, the outer bricks will migrate into the lawn. Secure them with 10-inch steel spikes every 12 inches. Do not use plastic stakes; they are useless in rocky soil. When you finally lay your bricks, keep the joints tight. A 1/16 to 1/8 inch gap is ideal. After the bricks are down, the polymeric sand serves as the glue. This is a high-tech mix of sand and polymers that hardens when wet. It prevents weed growth and keeps ants from mining out your foundation. It is a mandatory investment for a low-maintenance garden design. Your lawn care routine will be easier without weeds growing through the path.
Maintenance and Long-Term Durability
The first year of a new walkway is the settling period. You might see some minor efflorescence, which is a white salty residue rising to the surface of the brick. Do not panic. It is a natural chemical reaction. Wash it off with a mild acid cleaner or let the rain handle it. Do not use salt on your bricks in the winter. Salt will eat the face off a clay brick and destroy the integrity of the joints. Use sand for traction instead. Check your edge restraints every spring to ensure no spikes have been pushed up by frost. This is a professional grade install for a DIY price. Respect the soil. Manage the water. The bricks are just the skin on a very complex skeleton.
![Repairing Cracking Concrete Walkways [Fast Fix]](https://lawnmajesty.com/wp-content/uploads/2026/09/Repairing-Cracking-Concrete-Walkways-Fast-Fix.jpeg)