How to Repair Cracked Pavers Without Tearing Up the Patio
How to Repair Cracked Pavers Without Tearing Up the Patio: A Forensic Guide to Hardscape Restoration
I recently got called out to tear up a $30,000 patio that was sinking because the previous contractor decided that stone dust was an acceptable bedding layer. It was a disaster. The water had no place to go, the fines washed out, and the entire surface looked like a topographical map of the Andes. A cracked paver is rarely just a broken piece of concrete; it is a physical manifestation of a failure happening six inches underground. Most homeowners think they need to rip the whole thing out, but if your sub-base is still 90% intact, we can perform a surgical strike. You do not need a bulldozer; you need a pry bar, a cold chisel, and an understanding of ASTM-C936 standards.
Identifying the Root Cause of Paver Fractures
Identifying the root cause of cracked pavers requires examining structural stressors like hydrostatic pressure, sub-base compaction failure, or freeze-thaw cycles. Before attempting a repair, you must determine if the fracture is a material defect or a symptom of a collapsing aggregate base that requires deeper intervention. If the crack is localized to one or two stones, it is likely an impact or a manufacturing flaw. If there is a linear crack across multiple stones, your earth is moving. You must address the movement first. Stop the water. Fix the grade. Then fix the stone.
How much modified gravel do I need for a patio base?
For a standard pedestrian patio, you need a minimum of 4 to 6 inches of compacted 2A modified gravel (also known as CR617). This base must be compacted in 2-inch lifts using a plate compactor to reach at least 95% Proctor density. If you are dealing with heavy clay soil, increase that depth to 8 inches to account for the lack of natural drainage. Don’t eyeball it. Use a string line. If the base isn’t right, the pavers will heave. It is physics. You cannot argue with gravity.
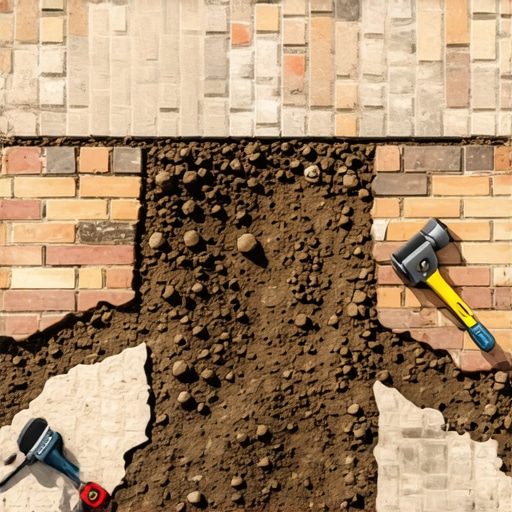
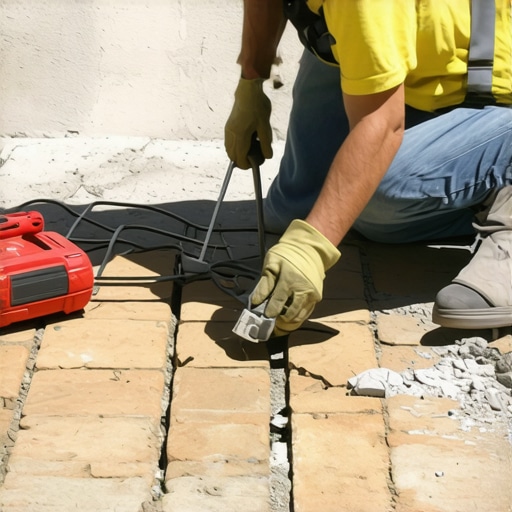
The Surgical Removal Technique for Individual Pavers
Replacing individual cracked pavers involves breaking the interlocking bond of the surrounding units without disturbing the underlying sand bedding layer. By using two flat-head screwdrivers or a specialized paver extractor tool, you can lift the damaged unit vertically after clearing the polymeric sand from the joints. If the paver is stubborn, you may need to sacrifice it. Take a hammer and a chisel. Break it into pieces. Remove the shards carefully. Do not disturb the adjacent stones. If you move them, you break the interlock. Once the stone is out, inspect the sand. If it is wet and mushy, you have a drainage problem. Dry it out before proceeding.
| Material Type | Durability Rating | Primary Failure Mode | Repair Complexity |
|---|---|---|---|
| Concrete Pavers | High (8,000+ PSI) | Surface Spalling | Moderate |
| Clay Brick | Medium | Cracking/Shearing | High |
| Natural Flagstone | Variable | Delamination | High |
| Permeable Pavers | High | Clogging/Settling | Low |
“A retaining wall doesn’t fail because of the stone; it fails because of the water trapped behind it.” – Hardscape Engineering Axiom
Addressing the Base Layer Without Full Excavation
Repairing the sub-base beneath a cracked paver without a full tear-out involves localized excavation and the addition of coarse bedding sand to restore the level. You must ensure the compacted aggregate is not contaminated with soil, which leads to pumping and rutting under load-bearing pressure. If you find a void, fill it with modified gravel and hand-tamp it until the tool bounces. That bounce is the sound of compaction. If the tool sinks, keep tamping. Use a 1-inch PVC pipe as a screed rail to ensure your sand bed is perfectly flat and consistent with the surrounding area. Never use more than 1 inch of sand. Too much sand leads to shifting.
What is the best way to fill cracks in patio pavers?
The best way to fill cracks and stabilize joints is using high-quality polymeric sand that meets ASTM C-144 specifications. Unlike regular play sand, polymeric sand contains organic binders that harden when misted with water, creating a flexible but durable seal that prevents weed growth and insect infestation. Sweep it in when the pavers are bone dry. Vibrate the pavers to settle the sand. Sweep again. Mist it, don’t soak it. If you soak it, you wash the polymers out. Follow the manufacturer instructions to the letter.
“Joint sand is the most critical component for maintaining interlock; without it, the pavers are just individual blocks of concrete.” – ICPI Technical Manual
The 10-Point Restoration Audit
- Inspect for edge restraint failure. If the plastic edging is popping up, the patio will spread.
- Check the pitch. You need 1/8 inch of drop per foot of length.
- Identify organic growth. Moss means the area is staying too wet.
- Test for ‘rockers.’ If a paver moves when stepped on, the base is uneven.
- Evaluate joint sand levels. Sand should be 1/8 inch below the chamfer edge.
- Look for white powder (efflorescence). This is salt leaching out.
- Measure the gap width. Joints should be between 1/16 and 3/16 inches.
- Check for tree root intrusion. Roots will win every time.
- Assess the sealer condition. If it’s peeling, it was applied too thick.
- Verify utility marks. If you are digging deeper than 6 inches, call 811.
Post-Repair Maintenance and Sealing
Maintaining your repaired patio requires annual inspections of the jointing material and the application of a breathable silane-siloxane sealer every three to five years. This prevents moisture penetration and protects the concrete from de-icing salts and UV degradation which can weaken the structural integrity of the paver surface. Clean the surface first. Use a pressure washer, but keep the nozzle at a 45-degree angle. Do not blast the sand out of the joints. Let it dry for 48 hours. Then seal it. If you skip the sealer, you are inviting the elements to destroy your hard work. It is cheap insurance for an expensive asset.
![Build a $200 2026 Gravel Path with Brick Edging [Quick DIY]](https://lawnmajesty.com/wp-content/uploads/2026/07/Build-a-200-2026-Gravel-Path-with-Brick-Edging-Quick-DIY.jpeg)