Build a $150 2026 Cedar Trellis for Privacy
Building a Durable Cedar Privacy Screen
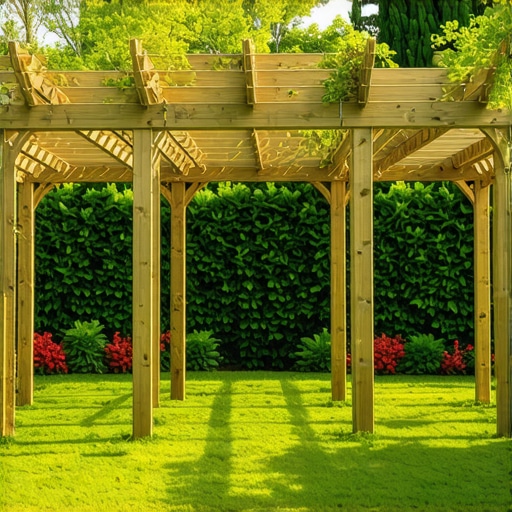
Building a $150 cedar trellis for privacy involves using rot-resistant Western Red Cedar, specialized exterior fasteners, and deep-set footings to create a structural barrier that resists wind shear and biological decay. This budget targets high-grade 1×2 slats and 4×4 posts designed for longevity in varied climates.
I always drill into my new crew members: if you don’t fix the soil grading and drainage first, every plant or structure you put in the ground is just expensive compost. I’ve seen $10,000 installations lean and rot within three seasons because some hack didn’t understand the hydrostatic pressure of the local clay or the simple biology of wood-to-earth contact. When we talk about a $150 trellis, we aren’t talking about the flimsy, stapled-together lattice you find at big-box retailers. We are talking about a structural asset built with the same engineering principles used in high-end deck construction. This project focuses on 2026 economic realities where material costs are volatile, necessitating a lean, efficient design that doesn’t compromise on cellular integrity.
“A retaining wall doesn’t fail because of the stone; it fails because of the water trapped behind it.” – Hardscape Engineering Axiom
How do I stop my wood trellis from rotting in the ground?
To prevent rot, you must isolate the wood from direct soil contact or use Western Red Cedar, which contains natural thujaplicins—organic compounds that act as natural fungicides. For the longest life, set your 4×4 posts in 12 inches of compacted 57-stone gravel rather than pouring concrete directly against the wood grain. This allows moisture to drain away from the post base, preventing the anaerobic conditions that fuel fungal growth.
The Engineering of Vertical Privacy
A trellis is effectively a sail. In a 40-mph gust, a 6-foot-tall privacy screen faces significant lateral force. Engineering this for $150 requires a balance between slat spacing and structural rigidity. If you gap your 1×2 cedar slats at 1.5 inches, you achieve 50% opacity, which is sufficient for visual privacy while allowing enough airflow to reduce the wind load on your footings. We use 304-grade stainless steel screws because the tannins in cedar will react with galvanized fasteners, causing ugly black streaks known as tannin bleed. This is chemistry, not just aesthetics.
Materials and Cost Breakdown
| Material Item | Quantity | Estimated 2026 Cost | Purpose |
|---|---|---|---|
| 4x4x8 Western Red Cedar Post | 2 | $52.00 | Main structural vertical support |
| 1x2x8 Cedar Slats | 12 | $72.00 | Privacy screening members |
| #8 2-inch Stainless Steel Screws | 1 Box | $18.00 | Corrosion-resistant fastening |
| 57-Stone Gravel (0.5 cu ft bags) | 2 | $8.00 | Drainage base for footings |
Don’t be fooled by cheap pressure-treated pine. While the initial ticket price is lower, the copper-based chemicals used in modern ACQ (Alkaline Copper Quaternary) treatment are highly corrosive to standard fasteners. Furthermore, pine has a higher rate of checking and warping as it loses moisture. Cedar’s hygroscopic stability means it expands and contracts less, keeping your privacy screen straight and true for a decade or more.
What is the best spacing for trellis slats for privacy?
The optimal spacing for a privacy trellis is between 0.5 inches and 1.5 inches. This range provides a visual break that prevents the eye from focusing on the background while maintaining the structural integrity of the screen by limiting wind resistance. Closer spacing increases the weight and cost, often exceeding the $150 budget, while wider spacing fails the primary mission of privacy.
The Step-by-Step Installation Protocol
- Step 1: Site Analysis. Check for underground utilities via 811. Determine the frost line. In northern climates, your footings must go deeper than the freeze-thaw zone to prevent heaving.
- Step 2: Excavation. Dig holes 24 inches deep and 10 inches wide. A narrow hole requires less backfill and offers better lateral stability.
- Step 3: The Drainage Layer. Pour 4 inches of 57-stone gravel into the bottom. Tamp it until the tamper literally bounces off the compacted base.
- Step 4: Post Setting. Level your 4×4 posts. Use a string line to ensure perfect alignment. If your posts are out of plumb by even 1 degree, the horizontal slats will look like a disaster.
- Step 5: Slat Attachment. Start from the top. Use a spacer block to ensure consistent gaps. Pre-drill every hole. Cedar splits easily at the ends; skipping the pre-drill is a rookie mistake.
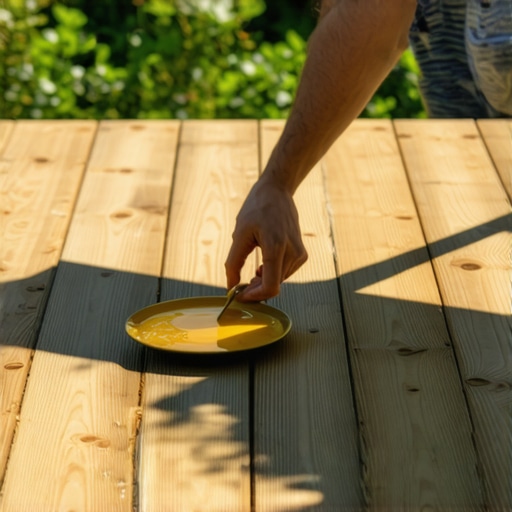
- Step 6: Finishing. Apply a paraffin-based UV-inhibitor. Do not use film-forming stains. They will peel. A penetrating oil is the only way to go.
“Soil compaction is the foundation of all structural longevity in the landscape; without a stable base, the surface is irrelevant.” – Agronomy Manual for Site Prep
Botanical Load and Vine Selection
If you plan to grow plants on your $150 trellis, you must account for biological weight. A mature Wisteria or Trumpet Vine can weigh hundreds of pounds and exert enough force to snap 1×2 slats. For a cedar trellis of this scale, stick to lighter climbers like Clematis or annual vines like Morning Glory. These plants utilize thigmotropism—the touch-sensitive growth habit—to wind around the slats without crushing the wood fibers. Avoid invasive species that use aerial rootlets, like English Ivy, which will trap moisture against the cedar and accelerate the decay of the lignin. Maintaining a dry wood surface is the secret to a 20-year lifespan. It won’t rot if it can breathe. Don’t skip the spacing. Keep your hands off the ‘mow-and-blow’ shortcuts. Build it right the first time.