Build a $150 Natural Stone Path in a Weekend
Mastering the Fundamentals of a Budget-Friendly Garden Path
Building a natural stone path for under $150 requires a strategic focus on local material sourcing, proper excavation depth, and meticulous soil compaction to ensure long-term structural integrity without the need for expensive heavy machinery or high-end imported pavers. Success depends entirely on the base preparation. If you skip the grading, your stones will shift within a single season.
I always drill into my new crew members: if you don’t fix the soil grading first, every stone you put in the ground is just an expensive tripping hazard. Last summer, I was called to a property where a homeowner had spent three days laying beautiful Pennsylvania blue-stone directly onto topsoil. It looked decent for exactly two weeks. Then the first heavy rain hit. The soil saturated, turned into a slurry, and those heavy stones sank unevenly. By the time I arrived, it looked like a jagged obstacle course. We had to rip the whole thing out. The lesson? You cannot fight gravity and hydro-static pressure with hope. You fight it with a compacted sub-base and proper drainage. If you are building on a budget, your sweat equity must replace the money you aren’t spending on contractors.
“The integrity of any segmental pavement depends entirely on the stability of the subgrade and the compaction of the base materials used to distribute loads.” – ICPI Tech Spec 2
The Science of Site Selection and Soil Mechanics
Choosing the right location for a stone path involves analyzing surface water runoff patterns and identifying subsurface soil composition to prevent future heaving or sinking caused by the freeze-thaw cycle. You must find the high point. Never run a path through a natural swale unless you plan on installing a 4-inch perforated drain pipe underneath it. Most residential yards consist of either heavy clay, which retains water and expands, or sandy loam, which drains fast but shifts easily. You need to know what you are digging into before you buy a single shovel. In heavy clay environments, you must over-excavate by at least 2 inches to allow for a thicker gravel capillary break. This prevents water from wicking up and freezing directly under your stones.
How much modified gravel do I need for a path base?
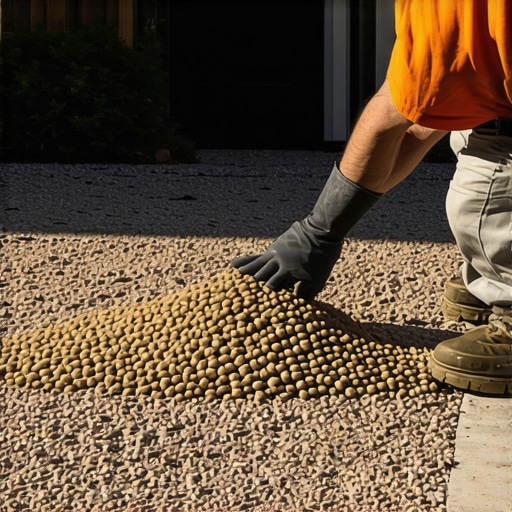
For a standard 30-foot path that is 3 feet wide, you will need approximately 0.5 to 0.75 cubic yards of compactable aggregate to create a stable 3-inch base layer. Do not use rounded pea gravel. It acts like ball bearings. You need angular, crushed stone, often called 21A or 3/4-inch minus, which contains various sizes of rock down to a fine dust. This dust, or “fines,” is what locks the larger stones in place during compaction. At a local quarry, this material is incredibly cheap, often less than $40 per ton if you haul it yourself in a pickup truck. This is where you save your $150 budget.
| Material Type | Estimated Cost (DIY) | Structural Role | Durability Rating |
|---|---|---|---|
| Crushed Limestone (Base) | $30 – $45 | Load distribution and drainage | High |
| Local Fieldstone/Flagstone | $60 – $90 | Walking surface and aesthetics | High |
| Polymeric Sand/Stone Dust | $15 – $25 | Joint stabilization | Medium |
| Landscape Fabric (Non-woven) | $10 – $15 | Soil separation | Essential |
The Forensic Breakdown of Path Excavation
Effective path excavation involves removing vegetative organic matter and digging down to a compactable sub-base at a depth of 4 to 6 inches depending on the stone thickness. Grass is the enemy. Any organic material left under your path will rot. As it rots, it creates air pockets. Air pockets lead to sinkholes. You need to strip the sod and at least 3 inches of topsoil until you hit the harder, lighter-colored subsoil. Use a flat-head spade for the edges to keep them crisp. This is manual labor in its purest form. It will be exhausting. Do not skip this part. Once excavated, you must use a hand tamper. The dirt should feel like concrete before the first piece of stone goes in. If you can push a screwdriver more than an inch into the dirt with your hand, it is not compacted enough.
What is the best stone for a cheap natural path?
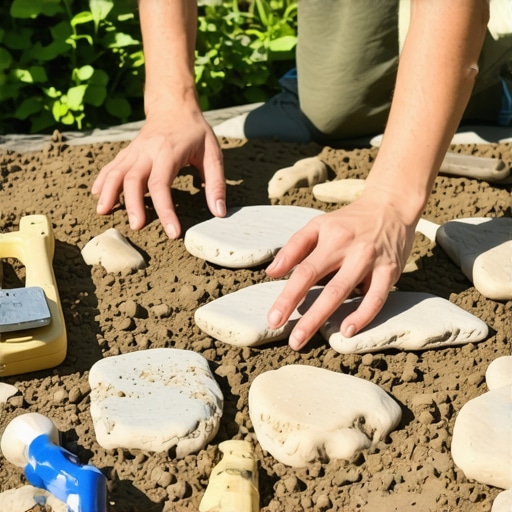
The most cost-effective option is irregular flagstone or local fieldstone sourced directly from a landscape supply yard rather than a big-box retail store. Ask for “seconds” or pallet remnants. Often, these yards have broken pieces or leftovers from large commercial jobs that they will sell at a steep discount. For a $150 budget, you are looking for stones that are at least 1.5 to 2 inches thick. Thinner stones, like 1-inch thick slate, will crack under the weight of a person if the base isn’t 100 percent perfect. Thick stones are more forgiving. They use their own mass to stay seated in the grit. It is simple physics.
Installation: The “Bedding and Setting” Process
Laying the stones requires a 1-inch leveling course of coarse sand or stone screenings to allow for micro-adjustments in the height and pitch of each individual rock. Spread your sand over the compacted gravel base. Do not walk on it. Start at the highest point of your path and work your way down. Place each stone and give it a firm twist. Use a rubber mallet to set it. You want the stone to feel “dead” when you hit it. If it bounces or makes a hollow sound, there is an air gap underneath. Lift it up, add a handful of sand to the low spot, and reset it. Check the pitch. Every path should have a 1 to 2 percent slope away from house foundations to manage water shedding.
- Strip sod and 4 inches of soil.
- Tamp the bare earth until firm.
- Lay non-woven geotextile fabric.
- Add 3 inches of crushed stone base and tamp.
- Spread 1 inch of leveling sand.
- Set stones with a 1/2 inch gap.
- Fill joints with stone dust or polymeric sand.
“A path is only as good as its drainage; water is the primary cause of pavement failure in residential landscapes.” – Agronomy Handbook for Hardscapes
Managing the Joint Fill and Finishing Touches
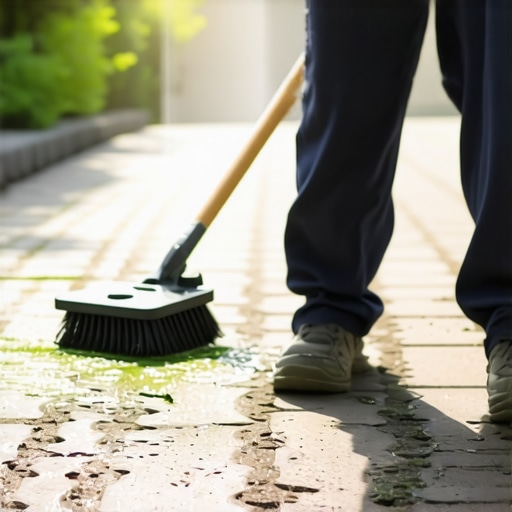
Stabilizing the joints between stones with polymeric sand or decomposed granite prevents weed germination and stops the base material from washing away during heavy rain events. For a $150 build, you might be tempted to just throw some dirt in the cracks. Don’t do it. Dirt carries weed seeds. Within two months, your path will be a garden of crabgrass and dandelions. Use stone dust or a single bag of polymeric sand. Polymeric sand contains an additive that hardens when wet, essentially gluing the stones together while remaining flexible enough to handle ground movement. Sweep it into the cracks, pack it down, and sweep off the excess before misting it with water. It will lock the stones into a monolithic structure.
Long-Term Maintenance and Structural Care
Maintaining a stone path requires annual joint inspections and periodic replenishing of infill material to protect the underlying base from hydraulic erosion. Over time, the environment will try to reclaim the path. Ants will tunnel under the stones. Wind will blow silt into the cracks. Every spring, walk the path. If a stone wobbles, lift it, add a bit of screenings, and re-set it. If you see weeds, pull them immediately. Do not let roots establish themselves under the stones, or they will heave the entire section. Landscaping is not a one-time event; it is a relationship with the biology of your yard. Respect the soil, and the path will stay flat for decades.
![Build a $1000 2026 Flagstone Patio [DIY Step-by-Step]](https://lawnmajesty.com/wp-content/uploads/2026/05/Build-a-1000-2026-Flagstone-Patio-DIY-Step-by-Step.jpeg)
![Why Your 2026 Concrete Driveway is Cracking [Fix]](https://lawnmajesty.com/wp-content/uploads/2026/06/Why-Your-2026-Concrete-Driveway-is-Cracking-Fix.jpeg)