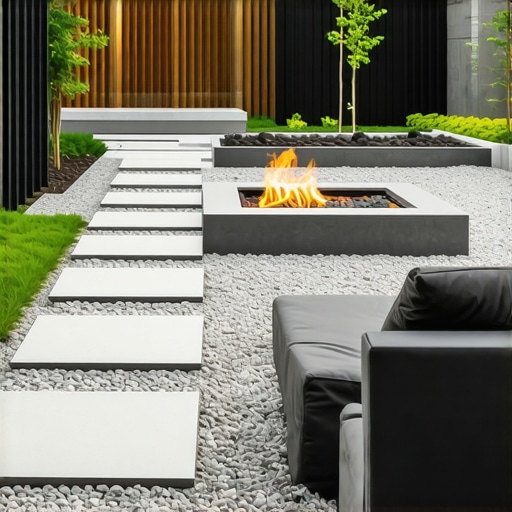
Build a $300 2026 Retaining Wall from Logs
The Hardscape Autopsy: Why Cheap Walls Fail
I recently got called out to tear up a $30,000 patio that was sinking because the previous contractor decided that a few inches of sand was a sufficient base for a five-ton installation. It was a structural disaster. The pavers were heaving, the polymeric sand was cracked, and the homeowner was out of a small fortune. This is the reality of the industry: if you do not respect the physics of the earth, the earth will win every single time. Whether you are spending thirty grand or trying to build a $300 2026 retaining wall from logs, the engineering remains identical. You cannot cheat the soil. You cannot ignore hydrostatic pressure. Most DIY projects fail because they focus on the aesthetics of the timber rather than the compaction of the sub-base and the management of water. Soil is a living, moving fluid over long time scales. If you treat it like a static object, your wall will be on the ground in three seasons. I have seen 4×4 pine posts rot out in eighteen months because someone forgot to peel the bark or used the wrong gravel. We are going to build this right, using raw materials and high-level engineering to ensure that $300 investment stands the test of time.
Planning Your Log Retaining Wall
To build a $300 2026 retaining wall from logs, you must prioritize site drainage, timber selection, and structural anchoring to prevent rot and soil collapse. This budget requires sourcing raw hardwood logs or reclaimed sleepers while investing heavily in 3/4-inch clean gravel for backfill. Planning begins with a site survey. You need to know exactly where your water is coming from. If you have a slope dumping thousands of gallons of runoff toward your wall, a stack of logs will not hold it back without a dedicated trench. You also need to call 811. I do not care if you think you know where the lines are. A gas line strike will turn your $300 weekend project into a $50,000 liability. We also have to look at the soil type. Heavy clay holds water like a sponge and exerts massive pressure when it freezes. Sandy loam drains well but lacks the internal friction to stay put without help. You are not just stacking wood: you are building a gravity-retaining system. The weight of the logs and the friction of the backfill are your only defense against gravity.
“A retaining wall doesn’t fail because of the stone; it fails because of the water trapped behind it.” – Hardscape Engineering Axiom
How much modified gravel do I need for a patio base?
For a standard log wall base, you need at least six inches of compacted 2A modified or 3/4-inch clean stone. To calculate the volume, multiply the length of your trench by the width (usually 12 to 18 inches) and the depth (0.5 feet). Divide the total cubic feet by 27 to get the cubic yardage required. Do not guess. If your base is thin, the first frost-heave cycle will tilt your logs like a row of dominoes. Compaction is the key. You should use a hand tamper until the tool literally bounces off the surface of the gravel. If it feels soft, keep hitting it. Your goal is 95 percent Proctor compaction. Anything less is just an invitation for the wall to settle and fail.
The Material Strategy: Log Selection and Soil Chemistry
Selecting the right species for your hardscaping project determines whether your wall lasts five years or twenty five years because lignin and cellulose breakdown varies by wood density. For a $300 budget, you cannot afford kiln-dried pressure-treated timbers, so you must source Black Locust, White Oak, or Eastern Red Cedar logs locally. These species contain natural tannins and oils that resist fungal decay. If you use Pine or Poplar, you are just making expensive compost. Basidiomycetes, the fungi responsible for wood rot, thrive in moist, low-oxygen environments. When you bury a log in the dirt, you are feeding the fungus. You must debark every log. Bark acts as a moisture trap, keeping the wood damp and providing a highway for wood-boring insects. Use a drawknife or a spade to get down to the clean wood. This is the difference between a professional install and a hack job. Below is a comparison of materials you might consider for a $300 budget.
| Material Type | Estimated Cost | Expected Lifespan | Engineering Benefit |
|---|---|---|---|
| Raw Black Locust Logs | $150 – $200 | 20+ Years | High Rot Resistance |
| Reclaimed RR Ties | $200 – $300 | 15 Years | Heavy Mass/Stability |
| 3/4 Inch Clean Stone | $60 – $80 | Permanent | Hydrostatic Relief |
| Geotextile Fabric | $30 – $40 | 50 Years | Soil Separation |
Engineering the Log Stack: Deadmen and Tie-backs
A successful log wall requires structural anchoring through the use of deadmen timbers and rebar spikes to counteract the lateral pressure of the soil wedge. The wall must have a batter, which means it should lean back into the slope at a rate of at least one inch for every foot of height. Never build a wood wall perfectly vertical. Gravity is pulling the soil forward; you must use physics to push back. Every six to eight feet, you need to install a ‘deadman.’ This is a log laid perpendicular to the wall face, extending three to four feet back into the hillside. At the end of the deadman, you bolt a cross-member timber. The weight of the soil sitting on top of this T-structure holds the face of the wall in place. Without deadmen, the wall will eventually ‘belly’ out and collapse. Use 12-inch galvanized spikes or half-inch rebar to pin the logs together. Drill pilot holes. If you try to sledgehammer rebar through solid Oak, you will just bend the steel and lose your mind. You need the steel to bite into the log below to create a monolithic structure.
“Effective soil stabilization requires the integration of organic materials and proper drainage to mitigate the effects of slope failure.” – USDA Forest Service Engineering Manual
How deep should a retaining wall footer be?
Your footer should be buried deep enough to bypass the organic topsoil layer and sit on firm mineral subsoil. For a log wall under three feet high, a trench 12 inches deep is the minimum. This allows for six inches of compacted stone and six inches of the first course of logs to be buried. Burying the first course is vital. It acts as a ‘key’ that prevents the bottom of the wall from sliding outward. If your first course is sitting on top of the grass, the wall will fail before the end of the first winter. You are fighting the ‘angle of repose’ of the soil. By burying the base, you are shifting the pivot point of the wall lower into the earth, providing greater leverage against the weight of the hill.
The Installation Process: Step-by-Step
- Excavation: Dig a trench 18 inches wide and 12 inches deep. Level the bottom of the trench with a laser level or string line.
- Base Layer: Fill the trench with 6 inches of 3/4-inch clean stone. Compact until the stone is immobile.
- First Course: Lay your heaviest logs in the trench. Level them perfectly from end to end and front to back.
- Anchoring: Drive 2-foot lengths of rebar through the first course into the virgin soil below. This prevents lateral sliding.
- Stacking: Offset the joints between logs, just like a bricklayer. Do not line up the ends of the logs.
- Drainage: Place a 4-inch perforated PVC pipe behind the first course. Cover it with a ‘burrito wrap’ of geotextile fabric and clean stone.
- Backfilling: Fill the space behind the logs with stone, not dirt. Compact the stone in 4-inch lifts.
The Information Gain: Why Soil Science Matters
The biggest mistake people make is backfilling with the dirt they just dug out of the hole. Native soil, especially if it has high clay content, expands when wet and shrinks when dry. This cyclic movement is what destroys hardscaping. By using clean stone for the entire backfill zone (the ‘active wedge’), you create a zone where water can fall straight down to your drain pipe rather than pushing against the wood. This also prevents hydrostatic pressure from building up. Water weighs 62.4 pounds per cubic foot. If that water is trapped behind your logs, it will exert thousands of pounds of force. Let the water escape. Your wall is a sieve, not a dam. If you see water leaking out between the logs after a rainstorm, that is a good sign. It means the system is working. If the area behind the wall stays soggy for days, you have a failure in your drainage layer. You should also consider the pH levels of your soil. Highly acidic soil can accelerate the corrosion of galvanized spikes. If you are in an area with acidic pine needles, use stainless steel or high-grade coated timber screws to ensure the fasteners do not disappear before the wood does.

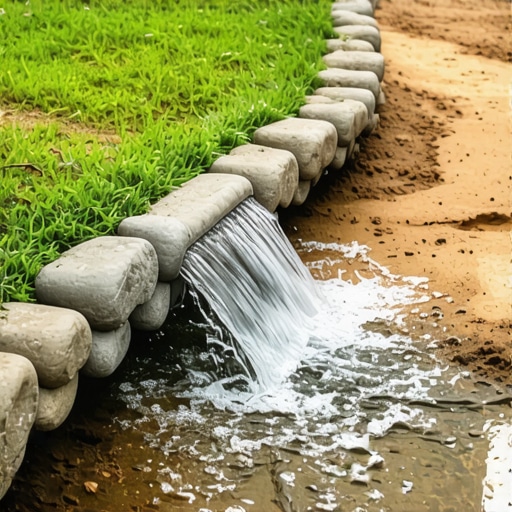
![Stop Hillside Soil Washout for $200 [2026 DIY Fix]](https://lawnmajesty.com/wp-content/uploads/2026/05/Stop-Hillside-Soil-Washout-for-200-2026-DIY-Fix.jpeg)
![Build a $200 Modern Trellis for 2026 Privacy [DIY]](https://lawnmajesty.com/wp-content/uploads/2026/06/Build-a-200-Modern-Trellis-for-2026-Privacy-DIY.jpeg)