Build a $400 2026 Brick Walkway for Large Garden Entry
The Engineering Reality of a $400 Garden Entry
To build a $400 brick walkway for a large garden entry in 2026, you must prioritize structural integrity over aesthetics by using reclaimed pavers and a properly compacted 4-inch 2A modified gravel base to prevent shifting and ensure long-term drainage performance. Most homeowners think they can just slap bricks on dirt. They are wrong. It will fail. If you want a path that lasts until 2040, you have to look at the geology beneath your boots.
The Hardscape Autopsy: Why Cheap Paths Fail
I recently got called out to tear up a $30,000 patio that was sinking because the previous contractor used ‘play sand’ as a base layer instead of crushed angular stone. It was a swampy mess within two years. Water sat under those pavers, froze in the winter, and heaved the entire surface. When you are working with a tight $400 budget, you cannot afford to do it twice. You have to understand hydrostatic pressure. Water is the enemy. It must move through the base, not sit in it. I tell my crew every day: if the base isn’t solid, the bricks are just expensive trash. We are not just laying stones; we are managing fluid dynamics and soil mechanics.
“A walkway doesn’t fail because of the stone; it fails because of the water trapped behind it.” – Hardscape Engineering Axiom
The Ground-Up Build: Materials and Sourcing
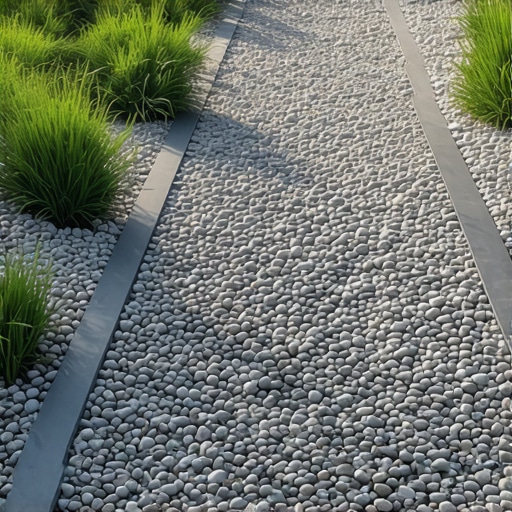
A $400 budget for a 20-foot garden walkway requires sourcing reclaimed bricks or ‘contractor seconds’ and buying bulk aggregates rather than bagged materials from a big-box retailer. In 2026, inflation has made $400 a challenge, but it is achievable if you avoid the markup at retail centers. Go to a local stone yard. Buy 2A modified (crushed limestone with fines) for your base and masonry sand for your bedding. Do not use pea gravel. Pea gravel is round and rolls like ball bearings. It provides zero structural interlock.
Walkway Material Cost Breakdown (2026 Estimates)
| Material | Quantity | Estimated Cost (Bulk) | Function |
|---|---|---|---|
| 2A Modified Gravel | 2 Tons | $120 | Structural Base |
| Masonry Sand | 0.5 Tons | $60 | Bedding Layer |
| Reclaimed Brick | 250 Units | $150 | Surface Layer |
| Polymeric Sand | 1 Bag | $40 | Joint Stabilization |
| Landscape Fabric | 20 LF | $30 | Soil Separation |
How deep should I dig for a brick walkway?
You must excavate exactly 7 to 9 inches deep to account for 4 inches of compacted gravel base, 1 inch of uncompacted bedding sand, and the thickness of the brick itself. Digging too shallow is the primary cause of trip hazards. If you leave organic topsoil under your path, it will rot. Roots will grow. The path will buckle. You must reach the mineral sub-grade before you start your build. Don’t skip the geotextile fabric. It keeps the gravel from migrating into the clay. It is a one-way filter for your engineering.
The Installation Process: Precision and Compaction
The installation of a garden walkway begins with mechanical compaction of the sub-grade followed by 2-inch lifts of modified gravel, each vibrated until the base literally bounces back. You can’t just stomp on it. Use a plate compactor. If you don’t have one, rent one. The density of your base determines the lifespan of your entry. After the base is set, you lay your screed pipes. These are 1-inch thick rails that you use to level your bedding sand. Once that sand is screeded, do not walk on it. Not even once. If you step on it, you create a soft spot. That spot will become a puddle in three years. Lay your bricks from the top down. Keep your joints tight. Use a dead-blow rubber mallet to set each stone.
Pre-Installation Checklist
- Utility marking (Call 811) – Do not hit a gas line for a $400 path.
- Determine the ‘High Point’ – You need a 2% slope for drainage.
- Calculate Square Footage – Total area x 4.5 bricks per sq ft.
- Set String Lines – Use stakes to define your finished height.
- Check Soil Moisture – If the soil is mud, you cannot compact it.
What is the best base material for garden paths?
The best base material is a well-graded aggregate like 2A modified or 3/4-inch minus crushed stone because the varying sizes of rock lock together to create a rigid, permeable foundation. Avoid using 100% sand bases in freeze-thaw climates. Sand shifts. Angular stone stays put. Professional hardscapers use the ‘hand-clump test.’ If the wet gravel stays in a ball when squeezed, it has enough fines for compaction. If it falls apart, it’s too dry.
“Proper compaction of the subgrade and base materials is the single most important factor in the longevity of any segmental pavement system.” – ICPI Tech Manual
The Finishing Touches: Joint Stabilization
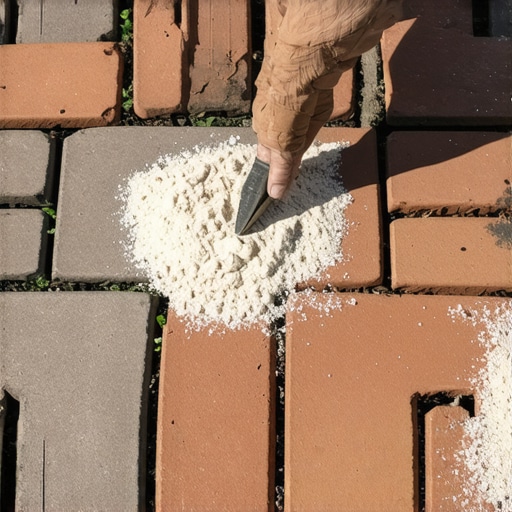
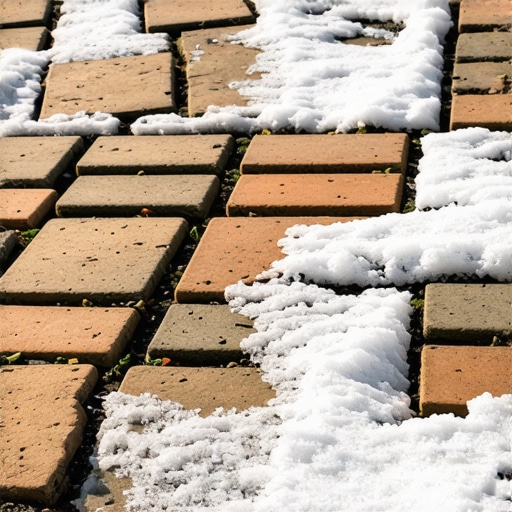
Applying polymeric sand to the joints is the final critical step, as it hardens to prevent weed growth and insect infestation while remaining flexible enough to handle thermal expansion. Sweep the sand in when the bricks are bone dry. If they are damp, the polymers will stick to the surface and ruin the look. Once swept, use a leaf blower to remove excess dust. Then, mist it. Do not soak it. You want the water to penetrate about an inch down to activate the binder. It will set like mortar but won’t crack. This is how you beat the ‘mow-and-blow’ hacks who just leave dirt in the cracks. You are building for the long haul. Year one will see some settling. That is normal. If you built the base right, it will move as one unit. Keep it clean. Don’t use salt in the winter. Salt eats bricks. Use sand for traction instead. Respect the material.
![Build a $400 Flagstone Walkway in One Weekend [DIY]](https://lawnmajesty.com/wp-content/uploads/2026/06/Build-a-400-Flagstone-Walkway-in-One-Weekend-DIY.jpeg)