Build a $150 2026 Cedar Trellis for Garden Entry Arch
The Hard Truth About Garden Structures and Structural Integrity
Building a cedar trellis that actually lasts until 2026 and beyond requires more than just a hammer and a few nails. A professional garden entry arch must be engineered to withstand wind loads, moisture cycles, and the physical weight of mature woody vines. I always drill into my new crew members: if you do not fix the soil grading and post-anchoring first, every piece of lumber you put in the ground is just expensive compost waiting to happen. Most DIY kits you buy for $150 are made of Chinese fir that rots in two seasons. To build a real arch for that price, you have to source raw Western Red Cedar and use precise joinery. It is about physics. If the structure is not plumb, gravity will tear it apart before the first clematis reaches the top rail. We are talking about soil compaction, moisture-wicking, and grain orientation.
Selecting the Right Cedar Grade for Your Garden Design
For a $150 budget, you must prioritize structural Western Red Cedar over aesthetic clear grades to ensure the trellis survives regional weather shifts. Look for STK (Select Tight Knot) grade lumber which offers the best balance of rot resistance and price point for landscaping projects.
“Western Red Cedar heartwood is naturally resistant to decay and insect attack, a property attributed to the presence of natural extractives known as thujaplicins.” – Forest Products Laboratory, USDA Forest Service
Avoid sapwood at all costs. Sapwood is the lighter colored outer layer of the tree; it lacks the chemical preservatives found in the heartwood. It will rot in months. Go for the darker, reddish-brown heartwood. This is non-negotiable for ground-contact or near-ground elements.
What is the best wood for a DIY garden arch?
The gold standard for any permanent garden structure is Western Red Cedar or Black Locust. While pressure-treated pine is cheaper, the chemicals used in the ACQ process can sometimes leach into the soil, affecting sensitive garden design plant palettes. Cedar provides a natural alternative that handles 100% humidity and freezing cycles without warping like cheaper softwoods. It stays straight. It stays strong.
Material Breakdown and Budget Allocation
Staying under a $150 price point requires a strict bill of materials and zero waste. You cannot afford to miscut a single 4×4 post.
| Quantity | Material Item | Estimated Cost |
|---|---|---|
| 2 | 4x4x8 Rough-Sawn Cedar Posts | $52.00 |
| 3 | 2x4x8 Western Red Cedar Boards | $36.00 |
| 10 | 1x2x8 Cedar Lath (for trellis) | $35.00 |
| 1 lb | 3-inch Stainless Steel Deck Screws | $18.00 |
| 2 bags | Fast-Setting Structural Concrete | $9.00 |
| Total | Professional Grade Materials | $150.00 |
This budget assumes you have basic tools like a miter saw, a level, and a post-hole digger. Do not use galvanized nails. The tannins in cedar react with zinc, causing ugly black streaks. Use stainless steel or high-quality ceramic-coated screws only.
Engineering the Foundation: More Than Just a Hole
A garden arch acts like a sail in a windstorm. If your posts are only six inches deep, the first thunderstorm will lay your trellis flat on your lawn care. You need to get below the frost line. Excavate your post holes to a minimum depth of 24 inches and use a 6-inch base of crushed modified gravel to ensure drainage away from the post bottom. This prevents the wood from sitting in a structural sponge. Most people fail because they pour concrete directly around the wood. This is a mistake. The wood shrinks, a gap forms, water enters, and the post rots. Instead, wrap the post base in a heavy-duty flashing tape before pouring the concrete collar. Use a level on two axes. It must be perfect.
How deep should garden trellis posts be buried?
To ensure lateral stability, posts should be buried at least one-third of their total height. For an 8-foot arch where 6.5 feet is above ground, you need at least 2 feet of depth. In high-wind areas or heavy clay soils, increasing the diameter of the concrete bell to 12 inches is necessary to prevent heaving during freeze-thaw cycles. Do not skip the gravel base. Water must move.
Step-by-Step Construction Process
First, cut your 4×4 posts to length. Do not assume they are square from the yard. Trim the ends. Second, notch the top of your posts to accept the 2×4 headers. This is called a lap joint. It transfers the weight of the roof directly into the post rather than relying on the shear strength of a screw.
“The durability of an outdoor joint is determined by its ability to shed water and minimize end-grain exposure.” – Structural Wood Engineering Standards
Third, assemble the side trellis panels using the 1×2 lath. Space them exactly 4 inches apart. Use a spacer block. Consistency is what separates a pro job from a hack. Fourth, set the posts in the holes using the gravel and concrete method. Brace them with scrap wood until the concrete cures. Finally, attach the top rafters and the overhead trellis. Check for squareness one last time. If it is off by half an inch now, it will look like two inches once the vines grow in.
Hardscaping Integration and Final Soil Grading
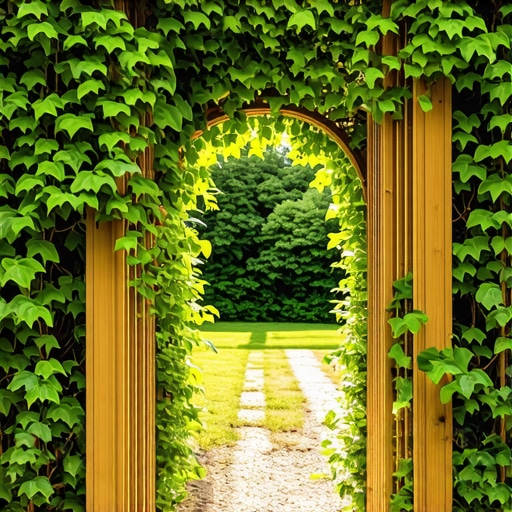
Once the structure is up, you must address the ground around it. This is where the landscaping part comes in. Do not leave raw dirt at the base. Install a small decorative stone border or a heavy mulch layer to prevent string trimmers from hitting the cedar posts and causing mechanical damage. This is the number one killer of garden arches. A weed-whacker will strip the bark or the protective wood fibers in seconds. Grade the soil so water flows away from the entry point. You do not want a puddle forming exactly where people walk. It is bad engineering. It is bad design. [IMAGE_PLACEHOLDER] After the structure is set, wait two weeks before applying any stain or sealer. Cedar needs to “breathe” and reach equilibrium with the local humidity before it will take a finish properly. Skip the big-box store clear coats. Use a high-quality paraffin-based penetrating oil. It will protect the wood from UV degradation without peeling like a cheap film-forming stain. This is how you build a legacy piece for $150.