Build a $400 2026 Natural Stone Retaining Wall
The $400 Budget Reality: Sourcing and Selection
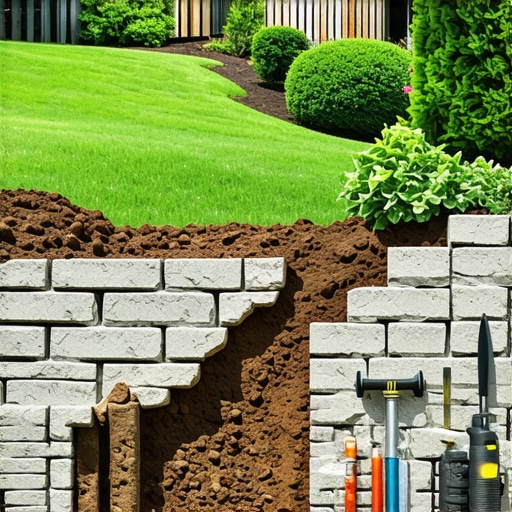
To build a $400 natural stone retaining wall, you must focus on sourcing local fieldstone and performing all labor yourself. This budget covers approximately 15 to 20 linear feet of a low garden wall, provided you prioritize structural drainage and a compacted gravel base over expensive imported masonry or professional labor costs.
You cannot walk into a high-end stone yard with four hundred dollars and expect to leave with premium Pennsylvania Bluestone. You have to be smarter. I have spent two decades fixing walls that failed because the owner spent their whole budget on the ‘pretty’ stones and zero dollars on the dirt work. A wall is an engine that manages gravity and water. If you do not respect the physics of the soil, your wall will be a pile of rubble in three winters. We are going to build a ‘gravity wall’ using dry-stack techniques. This means no mortar, no expensive concrete footings, and no ‘mow-and-blow’ hack shortcuts. You need to hunt for local quarries or farmers who have rock piles in their back-forty. Fieldstone is often free or cheap if you have a truck and a strong back. That is how you stay under the $400 mark in 2026. Forget the big-box store bags of gravel. Buy in bulk from a local yard. You need 2A modified crushed stone. It locks together. Round stones roll. Angular stones stay put. This is the first law of hardscaping.
The Hardscape Autopsy: Why Cheap Walls Fail
Hardscape failures almost always originate in the subgrade and drainage layers, leading to hydrostatic pressure that pushes stones out of alignment. I recently got called out to tear up a $30,000 patio that was sinking because the previous contractor used rounded pea gravel as a base instead of angular crushed stone. The stones rolled like ball bearings. The wall holding it up was bowing out like a belly. It was a disaster. The homeowner thought they were getting a deal. Instead, they got a demolition bill. For your $400 wall, we are not making that mistake. We are using 3/4-inch minus angular limestone. It has the ‘fines’ in it. When you hit it with a hand tamper, it turns into a sidewalk. It does not move. Water can still migrate through it, but the structure remains rigid. If you skip the compaction, your wall is dead on arrival. Don’t skip this.
“A retaining wall doesn’t fail because of the stone; it fails because of the water trapped behind it.” – Hardscape Engineering Axiom
Engineering the Foundation: Excavation and Base
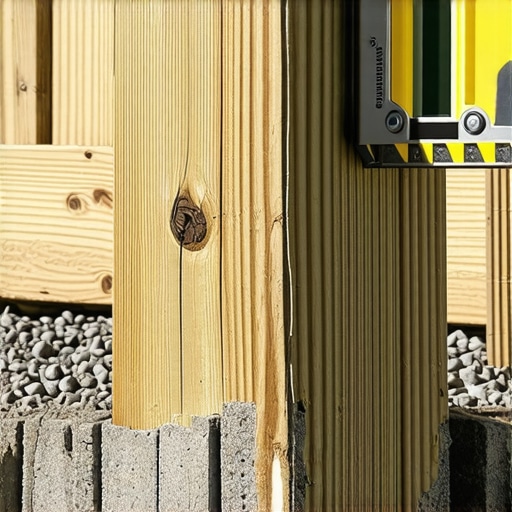
A retaining wall foundation requires a trench depth of 6 to 12 inches to accommodate a compacted gravel base and the first course of buried stone. This is where the work happens. You are fighting the freeze-thaw cycle. In 2026, we see more volatile weather patterns. Your soil is going to expand and contract. If your wall sits on top of the grass, the first frost will heave it. You need to dig. Mark your line with a garden hose or marking paint. Dig out the sod. Go down at least 8 inches. The width of your trench should be twice as wide as your largest stone. This gives you room for the drainage pipe and the ‘heel’ of the wall. Level the bottom of the trench. If you have heavy clay soil, you need to dig deeper. Clay holds water. Water turns to ice. Ice expands with 30,000 PSI of force. Your wall cannot fight that. It must sit on a ‘floating’ base of gravel that allows the water to drain away before it freezes.
| Material | Estimated Quantity (20ft Wall) | Estimated Cost (2026) |
|---|---|---|
| Local Fieldstone | 2 Tons (Self-Hauled) | $200 |
| 2A Modified Gravel | 1.5 Tons (Bulk) | $85 |
| #57 Clean Stone | 0.5 Tons (Bulk) | $45 |
| Non-woven Geotextile | 25 Linear Feet | $30 |
| Perforated Drain Pipe | 20 Feet | $40 |
How deep should a retaining wall base be?
For a wall under 2 feet tall, a 6-inch compacted gravel base is the minimum standard for structural stability. You must bury at least one full course of stone below the finished grade to prevent the bottom of the wall from kicking out under the weight of the backfill soil.
Managing Hydrostatic Pressure: The Drainage Core
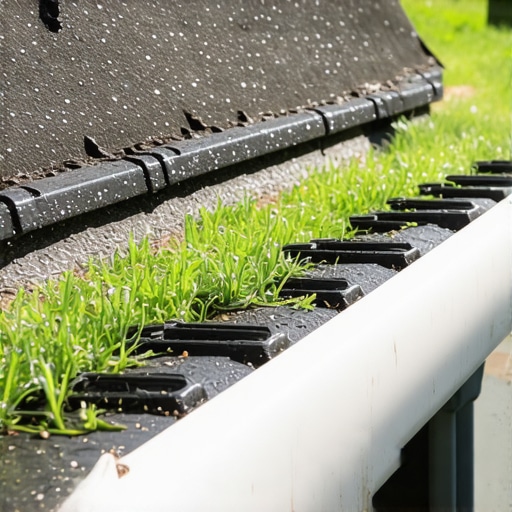
The drainage core of a retaining wall consists of clean 3/4-inch stone and a perforated pipe wrapped in geotextile fabric to prevent soil clogging. Water is the enemy. When it rains, the soil behind your wall gets heavy. It turns into mud. That mud exerts ‘lateral earth pressure.’ If that water has nowhere to go, it pushes the stones out. You need a French drain. Behind your first course of stone, lay down a piece of non-woven geotextile fabric. Do not use the cheap plastic weed barrier from the garden center. Use the heavy-duty stuff that feels like felt. Place your perforated pipe on top of the gravel base, sloping it 1 inch for every 10 feet toward an exit point. Cover that pipe with ‘clean’ stone (stone with no dust). This creates a chimney for water to fall straight down into the pipe and out of the wall system. It stays dry. It stays stable. It lasts forever.
“Soil saturation increases lateral pressure on a retaining structure by a factor of three compared to dry backfill.” – Penn State Agricultural Extension
The Dry-Stack Technique: Friction and Gravity
The dry-stack method utilizes gravity and stone-to-stone friction to create a flexible masonry structure that can withstand soil movement without cracking. This is an ancient art. No mortar. Mortar cracks. Dry-stack breathes. When you set your stones, you must follow the ‘one-over-two, two-over-one’ rule. Never have a vertical seam that runs through two layers. That is a fault line. It will fail. Every stone should be tilted slightly back toward the hill. This is called ‘batter.’ For every foot of height, the wall should lean back at least 1 inch. This uses the weight of the hill to hold the wall in place rather than fighting against it. Use ‘deadmen’ stones. These are long stones that reach deep into the hillside. They act like anchors. Every 4 feet of length, you should have one deadman stone. This ties the face of the wall into the earth behind it. If you are just stacking thin slices of stone like a deck of cards, your wall will tip. It needs depth. It needs weight.
What is the best stone for a DIY retaining wall?
Local weathered fieldstone or quarry scrap is the best choice for a $400 budget because it provides natural friction and weather resistance. Avoid rounded river rock for walls higher than 12 inches, as the lack of flat surfaces prevents the stones from locking together securely.
- Step 1: Excavate the trench to a depth of 8-10 inches.
- Step 2: Compact the subgrade soil until it is rock hard.
- Step 3: Add 6 inches of 2A modified gravel in 2-inch ‘lifts,’ compacting each layer.
- Step 4: Lay the largest, flattest stones as your base course.
- Step 5: Install the drainage pipe and backfill with clean stone.
- Step 6: Stack subsequent courses with a 1-inch batter.
- Step 7: Fold the geotextile fabric over the top of the drainage stone before adding the final capstones.
The Settling Period and Maintenance
A natural stone wall will undergo a settling period during the first seasonal freeze-thaw cycle. This is normal. Because we built a dry-stack wall, the stones can shift slightly without compromising the structural integrity. If a stone settles too much, you can simply lift it and shim it with a small piece of flat stone (a ‘screed’). This is the beauty of the system. It is repairable. A concrete wall that cracks is a permanent eyesore. A dry-stack wall is a living thing. Keep the drainage outlets clear of debris. Don’t let weeds grow in the joints, as their roots can eventually wedge stones apart. If you see ‘efflorescence’ (white salty powder) on the stones, that means water is moving through them. That is fine. It means your drainage is working. You have built a professional-grade structure for the price of a cheap lawnmower. It will outlast you if you did the dirt work right. Focus on the base. Respect the water. Use the batter. That is the secret to a $400 wall that looks like a $4,000 masterpiece.
![Build a $200 Gravel Path for Wet Side Yards [Fast]](https://lawnmajesty.com/wp-content/uploads/2026/06/Build-a-200-Gravel-Path-for-Wet-Side-Yards-Fast.jpeg)