
Build a $50 2026 Stone Path in One Afternoon
The Hardscape Autopsy: Why Cheap Paths Fail
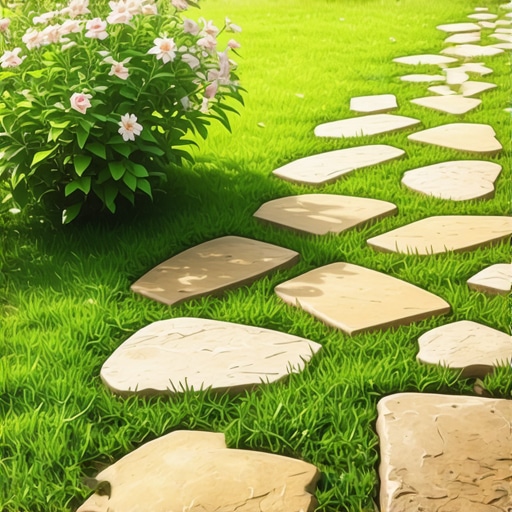
I recently got called out to tear up a $30,000 patio that was sinking because the previous contractor failed to understand the relationship between hydrostatic pressure and base compaction. The homeowner thought they were getting a deal, but what they got was a giant sponge. The pavers were swimming in a sea of stone dust that trapped water, leading to a massive frost heave that displaced the entire north quadrant. If a $30,000 install can fail that spectacularly, imagine what happens to a $50 DIY path if you don’t respect the physics of the ground. Building a stone path for $50 requires using locally sourced natural flagstone or recycled concrete chunks set into a shallow-excavated trench lined with professional-grade geotextile and a compacted leveling bed of coarse sand or crushed stone fines to prevent settling and frost heave. You don’t need a massive budget, but you do need to follow the laws of civil engineering on a micro-scale. Every stone you lay is a small bridge. It needs a foundation. It needs drainage. It needs a plan.
The Physics of the Sub-Grade
Before you touch a shovel, you must understand what is happening 4 inches below the grass. Most homeowners make the mistake of laying stones directly on top of the turf or a thin layer of topsoil. This is a recipe for disaster. Topsoil is organic matter. Organic matter rots. When it rots, it shrinks. When it shrinks, your stone tilts. We call this the settling phase, and it’s avoidable. You must excavate down to the sub-soil, typically the B-horizon, which has less organic material and higher mineral content. This layer can actually support a load. If you are dealing with heavy clay, your drainage requirements double. Clay holds water like a bucket. In winter, that water freezes and expands by 9 percent, pushing your stones up. When it melts, they drop into the resulting void. We call this the freeze-thaw pump. Stop it before it starts.
“A retaining wall doesn’t fail because of the stone; it fails because of the water trapped behind it.” – Hardscape Engineering Axiom
The $50 Material Strategy
To hit a $50 price point in 2026, you cannot walk into a big-box store and buy palletized Pennsylvania Bluestone. You have to be tactical. Search local marketplaces for “free fill” or “leftover flagstone.” Many contractors will let you haul away off-cuts for free just to save them the dump fee. For the base, skip the expensive bagged leveling sand. Go to a local quarry and buy a half-yard of crushed stone fines or AASHTO #10. It will cost you $15 if you have a pickup truck. The remaining $35 goes toward a 4-ounce non-woven geotextile fabric and a single bag of polymeric sand for the joints. Don’t use the cheap plastic weed barrier. It’s garbage. It clogs with silt and prevents vertical drainage, which leads to moss and slime. Use the real stuff.
| Material Component | Estimated Cost | Purpose in Engineering | Stability Rating |
|---|---|---|---|
| Crushed Stone Fines | $15.00 | Load-bearing leveling bed | High |
| Recycled Flagstone | $0.00 | Traffic surface (The Tread) | Variable |
| Non-Woven Geotextile | $20.00 | Soil separation and drainage | Critical |
| Polymeric Sand (1 bag) | $15.00 | Joint stabilization and weed lock | Medium |
Step-by-Step Installation Protocol
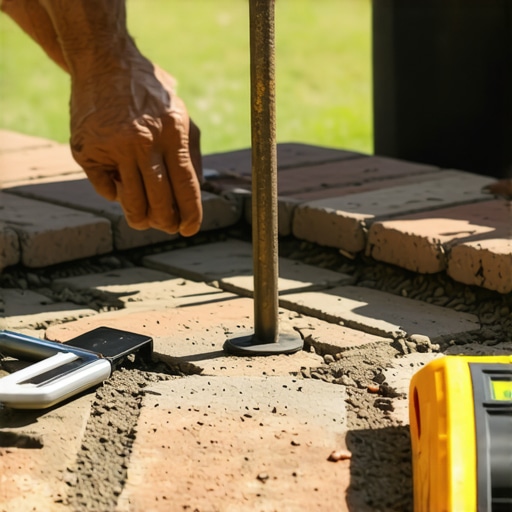
Start by marking your path with a garden hose to get natural curves. Avoid sharp 90-degree angles. They look amateur and are harder to mow around. Excavate the entire path to a depth of 4 inches. This isn’t a suggestion. It is a requirement. Use a flat-head spade to keep the edges vertical. Once excavated, you must compact the sub-grade. Use a hand tamper. If the tamper doesn’t bounce off the dirt, the dirt isn’t ready. Lay your geotextile fabric. Make sure it goes up the sides of the trench slightly. This creates a ‘burrito wrap’ effect that keeps your base material from migrating into the surrounding soil. Pour 2 inches of your crushed stone fines. Use a 2×4 board to screed the material flat. This is the most important 10 minutes of the job. If the base isn’t flat, the stones will wobble. There is no middle ground. Set your stones. Use a rubber mallet to seat them into the base. Do not hit them with a metal hammer. You will fracture the internal structure of the stone. Check each stone for ‘trip hazard’ height. Every stone must be within 1/8th of an inch of its neighbor.
How much modified gravel do I need for a path base?
To calculate your base material, multiply the length of the path by the width, then by the depth in feet. For a 20-foot path that is 2 feet wide with a 2-inch base, you need 6.6 cubic feet of material. Since a cubic yard is 27 cubic feet, you need about a quarter-yard. Always over-order by 10 percent to account for compaction shrinkage. When you hit the base with a tamper, the volume will decrease as the air is pushed out. This is called the Proctor density. You want to hit at least 95 percent compaction. If you skip the compaction, the first rainstorm will do it for you, and your path will look like a roller coaster.
How do I stop weeds from growing between my stones?
The secret isn’t chemicals; it’s joint density. Weeds don’t usually grow from the bottom up; they grow from seeds that land in the dirt on top. By using polymeric sand, you create a hard, pH-neutral barrier that resists seed germination. Once you sweep the sand into the joints, mist it lightly with water. This activates the polymers, turning the sand into a flexible, mortar-like substance. It keeps the ants out and the stones in. Don’t over-water the sand during activation or you’ll wash the polymers out, leaving you with regular, useless sand. Follow the manufacturer’s instructions to the letter. It will save you hours of weeding later. This is the difference between a landscaper and a guy with a lawnmower.
“Compaction is the foundation of all structural longevity in the built environment.” – Penn State Agricultural Extension
The Maintenance Reality
Even a perfectly built path needs an eye. Every spring, check for stones that have shifted due to hydrostatic pressure. If a stone is loose, don’t just shove dirt under it. Lift it, add a handful of base material, re-tamp, and re-set. Keep the edges trimmed. If the grass is allowed to overgrow the stone, the roots will eventually find their way into the joints and break the polymeric seal. Use an edger once a month. It takes five minutes. It saves the path. Landscaping is not a one-time event. It is a continuous management of biological and physical forces. Treat it with respect, and your $50 afternoon project will still be there in 2040.
![Repairing Cracking Concrete Walkways [Fast Fix]](https://lawnmajesty.com/wp-content/uploads/2026/09/Repairing-Cracking-Concrete-Walkways-Fast-Fix.jpeg)
![Build a $150 Natural Stone Path [2026 Step-by-Step]](https://lawnmajesty.com/wp-content/uploads/2026/07/Build-a-150-Natural-Stone-Path-2026-Step-by-Step.jpeg)