Build This DIY Cedar Planter Box for Less Than $40
The Hard Truth About Container Engineering
I always drill into my new crew members: if you don’t fix the soil grading first, every plant you put in the ground is just expensive compost. This applies to containers too. A planter box isn’t just a box; it is a structural vessel designed to manage hydrostatic pressure and chemical decomposition. Most DIY guides tell you to slap some scrap wood together and call it a day. That is how you end up with a rotting, bloated mess by next season. We are building this for longevity, using the same principles I apply to $50,000 hardscape installs. It is about wood chemistry, fastener shear strength, and the rhizosphere. Don’t skip the details. They are the only thing keeping your $40 investment from becoming trash.
The $40 Cedar Strategy for Maximum Durability
Building a DIY cedar planter box for under $40 requires utilizing rough-sawn cedar fence pickets and corrosion-resistant fasteners. By selecting specific grades of western red cedar and optimizing cut lists, you can create a professional-grade container that resists rot without the cost of dimensional kiln-dried lumber. Rough-sawn pickets are typically 5/8 of an inch thick, which is plenty for a 24-inch or 36-inch box. You are leveraging the natural tannins of the cedar to fight off fungal pathogens. It is efficient biology. It is cheap engineering. Use it correctly.
| Material | Quantity | Estimated Cost |
|---|---|---|
| 5/8″ x 6″ x 6′ Cedar Pickets | 4 | $16.00 |
| 2″ x 2″ x 8′ Furring Strip (Internal Bracing) | 1 | $3.50 |
| 1-1/4″ Deck Screws (Box) | 1lb | $7.00 |
| Titebond III Exterior Glue | 8oz | $8.00 |
| Total | — | $34.50 |
The Structural Blueprint: Designing for Soil Pressure and Drainage
The engineering of a planter box must account for hydrostatic pressure and substrate expansion. Using corrosion-resistant screws and pre-drilling holes prevents splitting, while internal corner bracing ensures the box does not blow out when the soil freezes and expands in the winter months. When you saturate 2 cubic feet of soil, you are looking at nearly 150 pounds of weight pushing against the sidewalls. Without 2×2 internal corner blocks, those pickets will pull away from the end grain. It is a failure of physics. Don’t let it happen.
“A retaining wall doesn’t fail because of the stone; it fails because of the water trapped behind it.” – Hardscape Engineering Axiom
This axiom applies to planters too. If the water can’t get out, the wood will fail from the inside out, regardless of how ‘rot-resistant’ the cedar claims to be.
How much drainage does a cedar planter need?
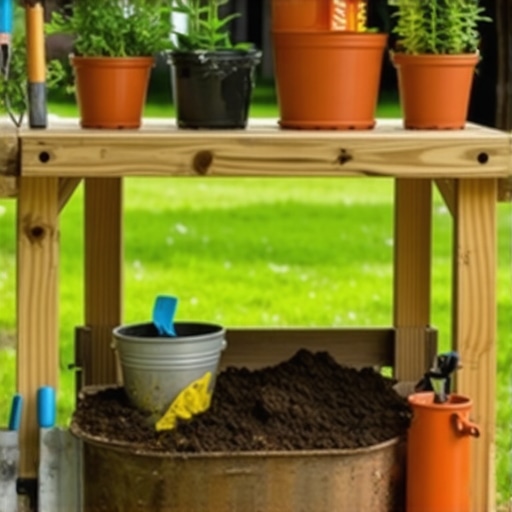
A professional-grade planter box requires 1/2-inch diameter drainage holes spaced every 6 inches across the bottom panel to prevent root rot. These holes must be covered with a geotextile fabric or fine mesh to allow water to exit while retaining the soil media and fine particles. If you don’t provide a clear exit path, you create a bathtub effect. The roots will drown in anaerobic conditions. They will die. Your plant becomes compost. Drill the holes. Don’t be lazy. [image_placeholder]
Step-by-Step Assembly: Engineering a Durable Root Environment
The assembly process is where most hacks fail because they don’t account for wood movement. Cedar pickets will expand and contract based on the ambient humidity and internal soil moisture. You need to leave a 1/16-inch gap between the bottom slats to allow for this expansion. If you butt them tight, the floor will buckle. It is simple thermodynamics. Follow this checklist for a successful build:
- Cut List: 4 pieces at 24 inches (sides), 4 pieces at 12 inches (ends), and 2×2 bracing cut to 10 inches.
- Pre-drilling: Always use a countersink bit to prevent the cedar from splitting at the ends.
- Adhesive: Use Titebond III. It is the only waterproof wood glue I trust for soil contact.
- Internal Lining: Line the sides (not the bottom) with 6-mil plastic to keep the wood dry.
- Leveling: Ensure the box sits on feet or spacers to prevent ground-contact rot.
Soil Science: What You Put Inside Matters More Than the Box
The biggest mistake homeowners make is filling their new cedar box with ‘garden soil’ from a bag. That stuff is too heavy and lacks the porosity needed for container gardening. You need a soilless mix consisting of peat moss or coconut coir, perlite for aeration, and finished compost for nutrient density. We are looking for a bulk density that allows oxygen to reach the roots. Oxygen is the most underrated nutrient in landscaping.
“Optimal plant growth in containers is limited by the air-filled porosity of the substrate, which should remain between 10% and 20% after drainage.” – Agronomy Extension Standards
I see people put rocks in the bottom of their planters. Stop doing that. It does not improve drainage. It actually raises the perched water table, bringing the saturated zone closer to the roots. It is a fundamental misunderstanding of capillary action. Use uniform soil media from top to bottom. That is how you grow a plant that actually thrives.
What is the best way to seal a cedar planter box?
To maximize the lifespan of a cedar planter, apply a food-safe raw linseed oil or a high-quality paraffin-based sealer to the exterior only. Avoid film-forming finishes like polyurethane, which will crack and peel as the wood breathes, trapping moisture underneath and accelerating rot. Raw cedar will turn a silvery-gray over time due to UV degradation of the lignin. That is fine. It is aesthetic. But if you want that warm cedar look, you have to maintain the oil. Do it every two years. Or don’t, and let it age. The cedar doesn’t care. It will still outlast any pressure-treated junk from a big-box store.
The Long-Term Maintenance Schedule
Your job isn’t done when the last screw is driven. Every spring, check the integrity of the fasteners. Soil is acidic and will eventually eat through cheap galvanized coatings. Use stainless steel if you have the budget. Clean out any debris from the drainage holes. If the soil has settled more than 2 inches, top it off with fresh compost to recharge the microbial activity. Remember: you are managing a living ecosystem inside a wooden shell. Treat it like engineering, not a hobby. Your plants will thank you with vigorous growth. The box will thank you by not falling apart. Hard work pays off. Shortcuts cost money. Get to work.