Fix 2026 Yard Drainage: My $100 Dry Well Installation
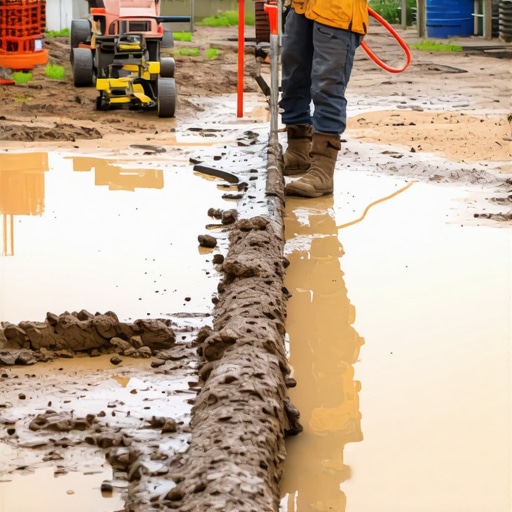
That squishy, anaerobic stench rising from your lawn after a half inch of rain is not just a nuisance: it is a structural threat. When water sits, it destroys soil structure and rots root systems through oxygen deprivation. I recently got called out to tear up a $30,000 patio that was sinking because the previous contractor ignored the hydrostatic pressure building up in the clay sub-base. They did not install a single weep hole or a drainage basin. The freeze-thaw cycle did the rest, heaving the pavers like a deck of cards. Landscaping is not about aesthetics; it is about managing the 623 gallons of water that fall on every 1,000 square feet of roof during a single inch of rainfall. If you do not give that water a path, it will find its own, usually into your foundation or under your hardscaping. This is where the dry well comes in. For less than $100 in materials, you can create a subterranean exit strategy for storm water that preserves your lawn and protects your home. Stop buying those cheap plastic extensions from big-box stores. They are a temporary fix that fails within a season. You need a permanent, engineered solution that respects the laws of physics and soil science.
The Science of Soil Saturation and Why Your Yard is a Swamp
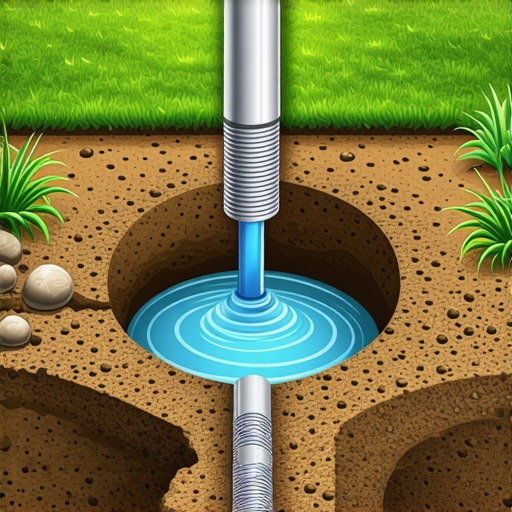
A dry well is an underground structure that disposes of unwanted water by dissipating it into the ground where it merges with the local groundwater through perforated walls and permeable stone layers. It works by converting immediate surface runoff into a slow-release system. Most homeowners struggle with drainage because their soil has a high clay content or has been compacted by heavy equipment. Compaction reduces the pore space between soil particles, leaving no room for water to infiltrate. This leads to standing water, moss growth, and the eventual death of your turf grass. To fix this, we must bypass the compacted surface layer.
“A retaining wall doesn’t fail because of the stone; it fails because of the water trapped behind it.” – Hardscape Engineering Axiom
This axiom applies to your entire yard. Without a vertical drainage path, the water remains in the root zone, causing root rot and fungal pathogens. We are going to build a system that utilizes gravity and hydrostatic pressure to force water down into the deeper, less compacted soil layers.
How deep should a dry well be for yard drainage?
For a standard residential DIY installation, a dry well should be between 3 and 5 feet deep to reach beyond the most compacted topsoil layers. You must ensure the bottom of the well sits at least 2 feet above the local seasonal high water table to allow for proper percolation. If the well is too shallow, it will simply overflow during heavy storms. If it is too deep without reaching a permeable layer, it becomes a stagnant cistern. You need to hit the sweet spot where the soil can actually accept the volume of water you are feeding it. Before digging, you must perform a percolation test. Dig a small hole, fill it with water, and measure how fast it drains. If it takes more than 24 hours to empty, a standard dry well might not be enough without an overflow pipe.
The $100 Material Breakdown: High Performance on a Budget
You do not need a $2,000 pre-fabricated drainage system. A veteran landscaper knows that the most effective tools are often the simplest. We are going to use a heavy-duty, food-grade 55-gallon poly barrel as our core. These can often be found for $20 on the secondary market. The rest of your budget goes into the aggregate and the fabric. Do not skip the fabric.
“Excess soil moisture excludes oxygen from the pore space, leading to root asphyxiation and the buildup of toxic gases.” – Agricultural Extension Service
The following table outlines exactly what you need to purchase to stay under that $100 mark while maintaining professional engineering standards.
| Component | Material Specification | Estimated Cost |
|---|---|---|
| Basin | 50-Gallon Heavy-Duty Poly Barrel | $20.00 |
| Aggregate | 0.5 Ton 3/4 Inch Clean Crushed Stone (AASHTO #57) | $40.00 |
| Separation Layer | 120-lb Non-Woven Geotextile Fabric | $15.00 |
| Conveyance | 4 Inch Triple-Wall Perforated Pipe (10 ft) | $15.00 |
| Hardware | Stainless Steel Screws and PVC Grate | $10.00 |
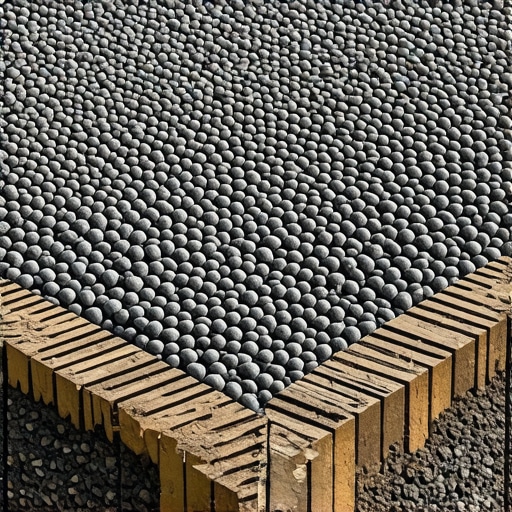
Notice I specified 3/4 inch clean crushed stone. Never use pea gravel or rounded river rock for the structural backfill of a dry well. Rounded stones shift under pressure. Crushed stone has angular edges that lock together, providing structural stability while maintaining a high void ratio. This void space is where the water is stored before it seeps into the earth. You also must use non-woven geotextile. Woven fabric, like the cheap stuff used for weed barriers, will clog with silt in less than two years. Non-woven fabric acts like a filter, allowing water through while keeping soil fines out of your stone reservoir.
Do dry wells attract mosquitoes or pests?
A properly installed dry well does not attract mosquitoes because the water is stored underground and should dissipate within 24 to 72 hours. Mosquitoes require standing water for at least 7 to 10 days to complete their life cycle. By using a closed-top basin and ensuring the inlet pipe is fitted with a debris grate, you prevent pests from entering the system. If your dry well is still holding water after 4 days, your soil’s percolation rate is too low, or the well is undersized for the catchment area. This is a failure of the planning phase, not a flaw in the dry well concept itself.
The Forensic Installation: Step-by-Step Engineering
Before you touch a shovel, call 811. Do not be the guy who slices through a fiber optic line or a gas main. Once you are cleared, identify the lowest point of the problem area. This is where your well will live. You need to excavate a hole that is at least 1 foot wider on all sides than your barrel. For a 2-foot wide barrel, your hole should be 4 feet wide. This extra space is for the drainage envelope of stone. Use a sharp spade to cut the sod and set it aside on a tarp; you will need it later. Dig deep. Your back will hurt, but depth is your friend. If you hit a heavy clay layer, keep going until you find a loamier, sandier soil if possible.
- Step 1: Barrel Preparation. Drill 1 inch holes every 6 inches around the entire surface of the poly barrel. This allows water to exit the basin and enter the stone envelope.
- Step 2: Fabric Lining. Line the entire excavated pit with the non-woven geotextile. Leave enough excess at the top to fold over the finished product like a burrito.
- Step 3: The Base Layer. Pour 6 inches of crushed stone into the bottom of the fabric-lined pit. Tamp it down. This prevents the barrel from settling into the sub-grade.
- Step 4: Positioning. Place the barrel in the center. Connect your 4 inch PVC inlet pipe. Use a level. The pipe must have a minimum 1 percent slope (1/8 inch per foot) toward the well.
- Step 5: The Stone Envelope. Backfill the space between the barrel and the pit walls with the remaining crushed stone. This is your primary reservoir.
- Step 6: Sealing the System. Fold the geotextile over the top of the stone and the barrel lid. This is the most critical step. If soil gets into your stone, the system fails.
- Step 7: Backfill and Sod. Add 6 inches of topsoil over the fabric and replace the sod. Your dry well is now invisible.
Precision matters here. If you skip the fabric, the surrounding soil will eventually migrate into the stone, filling the voids and rendering the well useless. It will fail. Don’t skip it. The tamper should literally bounce off the compacted base if you have done it correctly. We are looking for 95 percent compaction on the soil surrounding the well to prevent future sinkholes, but the stone itself should remain loose enough to hold water.
Long-Term Maintenance and the 2026 Outlook
By the year 2026, weather patterns are predicted to show increased volatility with more frequent high-intensity rain events. A single dry well might not be enough if you are managing a large roof. You can daisy-chain multiple wells together using overflow pipes. Maintenance is minimal but vital. Twice a year, check the catch basin or the grate at the start of your pipe run. Remove leaves, silt, and shingle grit. If this debris enters the dry well, it will eventually clog the perforations. Use a high-pressure hose to flush the lines if you notice a slow-down in drainage. Landscaping is a long game. You are not just fixing a wet spot; you are managing the hydrology of your property. If you respect the math of the runoff and the biology of the soil, your yard will stay firm, your basement will stay dry, and your hardscaping will remain level for decades. Don’t be a hack. Do the work once, do it right, and let the physics do the rest.