How to Build a $150 Natural Stone Path in 2026
The Anatomy of a Low-Cost, High-End Stone Path
Building a natural stone path for $150 requires utilizing local fieldstone or flagstone remnants and a compacted crushed stone base rather than expensive imported pavers. Success hinges on managing soil compaction and hydrostatic pressure to prevent stone shifting or frost heaving during seasonal cycles. Don’t listen to the guys who tell you to just drop stones on the grass. That is a recipe for a twisted ankle within two seasons. I recently got called out to tear up a $30,000 patio that was sinking because the previous contractor thought he could skip the base layer because the soil felt ‘hard enough.’ It wasn’t. The entire surface had turned into a wavy mess of stone and mud. If you do not respect the physics of the ground, the ground will eat your investment. This path build isn’t about decoration; it is about managing geology on a micro-scale. We are going to build this for $150 by being smart about sourcing and ruthless about labor. It will take sweat. It will require precision.
Site Preparation: The War Against Hydrostatic Pressure
Proper site preparation involves excavating 4-6 inches of organic matter to reach the sub-grade where soil density is high enough to support a compacted gravel base. In 2026, we see more extreme weather events, meaning your drainage must be flawless to prevent ‘pumping’ where wet soil displaces your base material. Most homeowners underestimate the power of water.
“A retaining wall doesn’t fail because of the stone; it fails because of the water trapped behind it.” – Hardscape Engineering Axiom
This applies to paths too. If water sits under your stones, they will move. Use a spade to cut a clean edge. Rip out the sod. If you leave a single blade of grass, it will rot and create a void. Voids lead to settling. We are looking for a sub-grade that doesn’t bounce when you jump on it. Use a hand tamper. It should literally bounce off the ground when you hit it. That is the sound of compaction.
How much modified gravel do I need for a patio base?
To calculate your base material needs, multiply the total square footage by the desired depth in feet (usually 0.33 for 4 inches) and then divide by 27 to find the cubic yardage. For a $150 budget, you are likely buying by the bag or sourcing ‘crusher run’ from a local quarry. For a standard 15-foot path, 20 bags of 3/4-inch modified gravel will provide the necessary structural skeleton. Do not use pea gravel. Pea gravel is round; it acts like ball bearings. You need angular stone that locks together under pressure.
“Proper compaction of the aggregate base is the single most important factor in the longevity of any segmental pavement system.” – Interlocking Concrete Pavement Institute (ICPI)
The Material Budget: Sourcing Without Getting Ripped Off
To stay under $150, you cannot buy premium pallets of uniform flagstone. You need to look for ‘boneyard’ sections at local stone yards. These are broken pieces, off-cuts, and odd lots. They are structurally sound but aesthetically ‘imperfect’ to a salesman. To me, they have character. You need roughly 300 pounds of stone for a decent-sized path.
| Material Item | Quantity | Target Cost |
|---|---|---|
| Local Fieldstone/Remnants | 300-400 lbs | $60 – $80 |
| 3/4″ Modified Gravel (Base) | 15-20 Bags | $40 – $50 |
| Polymeric Sand or Stone Fines | 2 Bags | $20 – $30 |
| Geotextile Fabric (Optional) | 1 Roll | $10 – $20 |
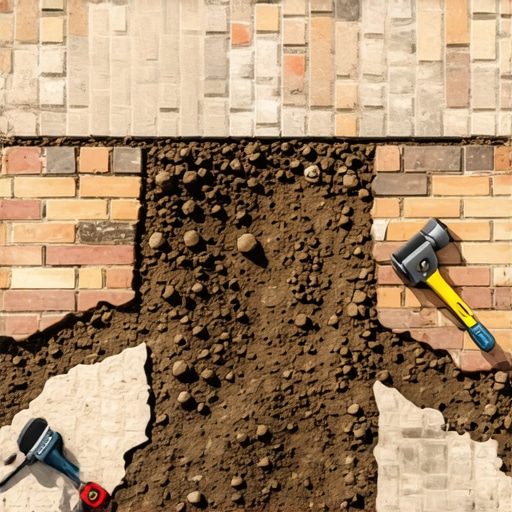
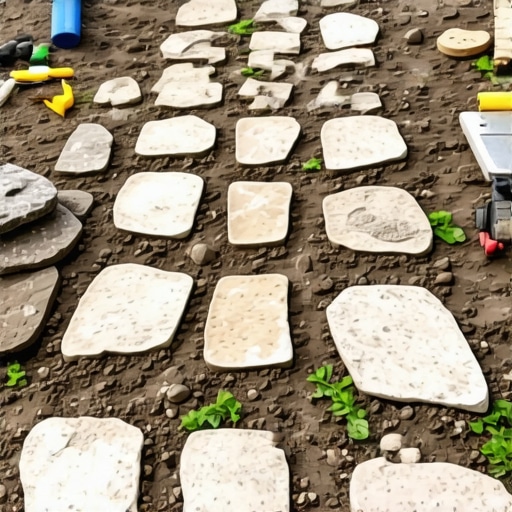
The Engineering Phase: Laying the Base and Setting Stones
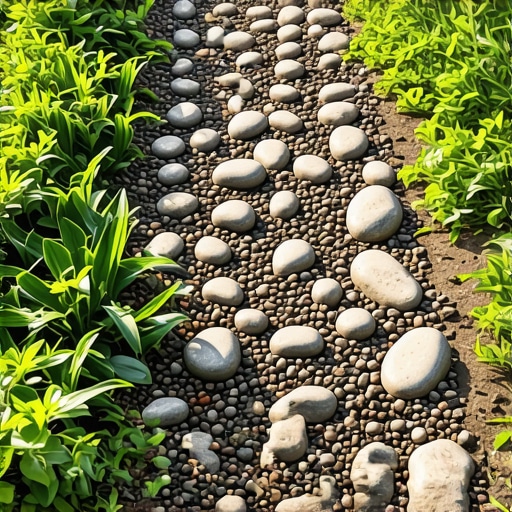
The base is your foundation. Spread your modified gravel in 2-inch ‘lifts.’ If you put 4 inches down at once, you will never get the bottom layer compacted. Dampen the gravel with a mist from your hose. Do not soak it. Use the hand tamper until the surface is rock hard. This is where the work is won or lost. Now, lay your stones. Aim for a ‘puzzle’ fit with gaps no larger than 2 inches. This prevents the path from feeling cluttered. Every stone must be ‘set’ using a rubber mallet. If the stone wobbles, it is wrong. Pull it up. Add a handful of fines. Reset it. There is no shortcut here. Use a level. You want a 1-percent slope away from any structures to handle runoff. It must drain. If it doesn’t drain, it will rot. [image_placeholder_1]
Finishing and Stabilization
Once the stones are set, fill the gaps. In a $150 budget, you might use stone dust, but I recommend stretching the budget for polymeric sand. It contains a binder that hardens when wet, locking the stones in place and preventing weed growth. Sweep it into the cracks. Vibrate the stones by tapping them with the mallet again to settle the sand. Sweep off the excess perfectly. If you leave sand on the stone faces and it gets wet, it will stain. This is a common rookie mistake. Spray a fine mist over the path to activate the polymers. Wait 24 hours. The path is now a monolithic structure. It won’t move.
How do I keep weeds from growing between my path stones?
The most effective way to prevent weeds in stone paths is to use polymeric sand in the joints and maintain a high-density base layer that prevents seeds from reaching the soil. While some believe landscape fabric is a silver bullet, seeds often blow in from above; therefore, a solid jointing material is your primary defense. Check your path twice a year. If you see a crack, fill it immediately. Do not wait for the roots to take hold. Maintenance is cheaper than reconstruction.
The Ground-Up Build Checklist
- Identify utility lines by calling 811 before you dig.
- Excavate to a minimum depth of 4-6 inches.
- Compact the sub-soil until no deflection is visible.
- Install a layer of non-woven geotextile fabric to separate soil from stone.
- Apply modified gravel in 2-inch increments, tamping each layer.
- Select stones with at least one flat face for the walking surface.
- Set stones with a rubber mallet and check for wobbles.
- Fill joints with polymeric sand and mist with water to set.
Your path will settle over the first year. This is normal. If you built the base correctly, it will settle evenly. In 2026, we are seeing more ‘living’ garden designs where people want moss in the cracks. If that is your goal, skip the polymeric sand and use a mix of soil and moss spores. Just know that you are trading stability for aesthetics. For a $150 path, I stick to the hardscape engineering. It lasts longer. It is safer. It works.