How to Create a Native Pollinator Garden on a Budget
Why Most Budget Native Gardens Fail Before the First Sprout
To create a native pollinator garden on a budget, you must prioritize soil preparation, seed selection, and site analysis over aesthetics. By utilizing dormant seeding or native plugs instead of container plants, you reduce costs by 70 percent while ensuring deeper root establishment and long-term ecological stability. Most homeowners fail because they skip the dirty work of site prep.
I always drill into my new crew members: if you don’t fix the soil grading and biology first, every plant you put in the ground is just expensive compost. I have spent 20 years watching people spend five grand on fancy nursery stock only to see it die because they planted a dry-loving species in a low spot where water pools during a rain event. Landscaping is not about decorating; it is about engineering a living system. If you want a garden that actually works for bees, butterflies, and your wallet, you have to stop thinking like a consumer and start thinking like a horticulturalist. We are building an ecosystem from the rhizosphere up. This means looking at the dirt under a microscope and understanding why your current lawn is a biological desert. A real native garden does not need a weekly mow-and-blow crew or synthetic nitrogen. It needs a foundation of science and a healthy dose of patience.
Analyzing Your Site Conditions for Pollinator Success
To analyze site conditions for a native pollinator garden, you must measure sun exposure for six hours daily, evaluate soil texture via a ribbon test, and check drainage rates. Understanding these abiotic factors prevents plant mortality and ensures your budget landscaping project succeeds without constant irrigation or soil amendments.
Before you buy a single seed packet, you need to know your Soil pH. Most native plants have evolved to handle local mineralities, but suburban development often leaves behind 12 inches of compacted subsoil that lacks any organic O-horizon. Grab a shovel. Dig a hole 12 inches deep and fill it with water. If it takes more than four hours to drain, you have a compaction or clay issue that will rot the roots of many milkweed species. You also need to map your light. A true ‘full sun’ site needs at least six hours of unobstructed solar radiation. If you have an oak canopy overhead, you are looking at a woodland garden, not a prairie. Misidentifying your light levels is the fastest way to get leggy, non-flowering plants that eventually succumb to powdery mildew. Don’t guess. Measure. The biology of a plant is a fixed set of requirements, not a suggestion.
“The selection of native plant species should be based on the specific site conditions including soil texture, moisture, and light availability to ensure long-term survivability without supplemental inputs.” – Penn State Extension
Soil Preparation: The Foundation of Ecological Health
Proper soil preparation involves removing turfgrass and addressing compaction without destroying the soil structure. Using sheet mulching or solarization preserves the soil microbiome, providing native plants with the mycorrhizal networks they need to thrive without expensive synthetic fertilizers or chemical weed killers.
I despise the ’tilling’ method. When you till the earth, you wake up a 50-year-old seed bank of invasive weeds and destroy the fungal hyphae that plants use to trade nutrients. For a budget-friendly install, use the lasagna method or sheet mulching. Lay down plain brown cardboard, overlapping by 6 inches to ensure no light reaches the grass. Wet it down. Add 3 to 4 inches of local wood chips from an arborist. This process takes 6 months to kill the grass, but it builds 2 inches of topsoil in the process for zero dollars. If you are in a rush, use clear plastic solarization during the heat of summer. It cooks the weed seeds at a depth of 2 inches, leaving you with a clean slate. Do not buy bagged topsoil from big-box stores. It is usually just sterilized peat and sand with zero microbial life. You want the local dirt to heal itself.
How much does a native garden cost per square foot?
The cost varies based on materials, but a native garden installed by a homeowner typically costs between $0.50 and $3.00 per square foot. This includes native seeds or plugs, cardboard for mulching, and bulk mulch. Professional landscaping installs often exceed $15.00 per square foot due to labor and mature plant stock.
Sourcing Native Plants Without Breaking the Bank
Sourcing native plants on a budget requires looking beyond retail nurseries to wholesale growers, native plant sales, and winter sowing. Buying plugs or seeds instead of containerized stock significantly lowers installation costs while allowing for the high planting density required to outcompete invasive weeds.
The biggest scam in modern landscaping is the 3-gallon pot. You are paying for plastic and the nursery’s water bill. A 2-inch plug, which is essentially a baby plant with a 5-inch root system, will outgrow a 1-gallon pot within two seasons because it hasn’t become root-bound. For a budget build, look for local native plant societies. They often have spring sales where you can get locally ecotyped species for $4.00 a piece. Better yet, try winter sowing. Use old milk jugs as mini-greenhouses, put them outside in January, and let the natural freeze-thaw cycle break the dormancy of the seeds. You can grow 500 plants for the price of one packet of seeds and some recycled plastic. This is how you scale a garden without a massive capital outlay. High density is your friend. You want 1 plant every 12 inches to create a living mulch that shades out weeds.
[image_placeholder]
| Planting Method | Relative Cost | Establishment Speed | Maintenance Level |
|---|---|---|---|
| Native Seed Mix | Very Low | Slow (2-3 years) | High (Weeding) |
| Native Plugs | Moderate | Medium (1 year) | Moderate |
| 1-Gallon Pots | High | Fast (Immediate) | Low |
The Installation Process: From Seed to Stem
The installation process for a pollinator garden focuses on proper spacing and root flare visibility. Whether you are broadcast seeding in late fall or planting plugs in spring, maintaining soil-to-root contact and providing supplemental irrigation during the first growing season is vital for species establishment.
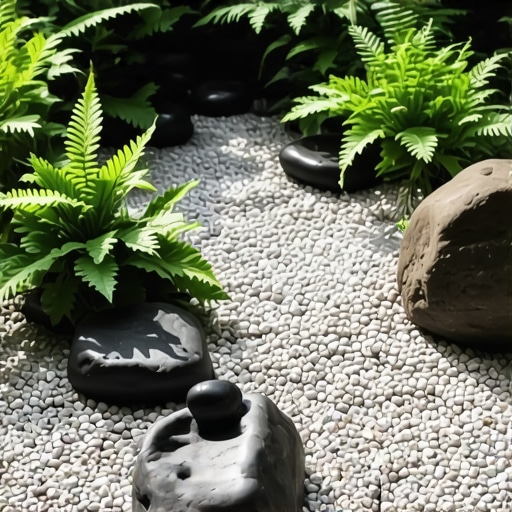
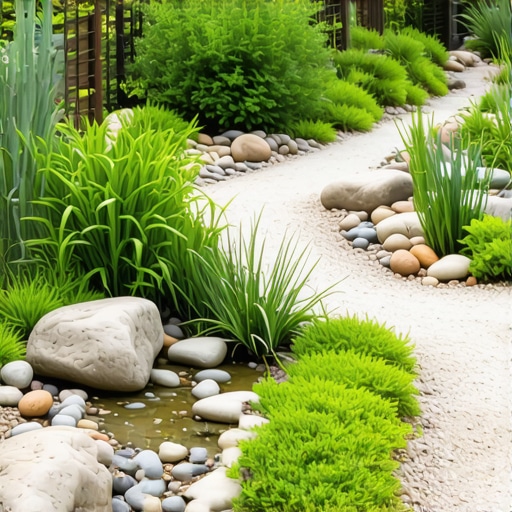
When you are ready to plant, don’t just dig a hole and drop the plant in. If you are using plugs, use a cordless drill with an auger bit. It’s fast and saves your back. Ensure the crown of the plant is level with the soil surface. Plant too deep, and the stem will rot. Plant too high, and the roots will desicate. If you are seeding, you must ensure good seed-to-soil contact. This means you might need to walk over the area or use a water-filled roller. Don’t bury the seeds; most native seeds need light to germinate. Just press them in. Nature doesn’t use a rake. If you are building a small stone path through the garden, ensure you have a 4-inch base of compacted modified gravel to prevent heaving. Even a small budget path needs engineering.
“Proper site preparation is the most critical factor in the success of a native planting project, as it dictates the level of competition from invasive species.” – USDA NRCS
What is the best month to plant native seeds?
The best time for planting native seeds is late autumn or early winter, specifically between October and December. This dormant seeding allows the seeds to undergo natural stratification, which is a cold-moist period required to break seed dormancy and ensure germination in the spring.
The Long-Term Maintenance Schedule
Maintenance in a native garden is about editing, not mowing. During the first year, your job is to identify the weeds that survived your site prep and pull them before they go to seed. Do not fertilize. Native plants are adapted to lean soils; extra nitrogen only helps the weeds and makes the natives grow too fast and flop over. Leave the stems standing in the winter. 70 percent of our native bees nest in the hollow stems of plants like Joe Pye Weed and Elderberry. If you cut them down for ‘neatness,’ you are killing the very pollinators you spent money to attract. Clean up in late spring once temperatures are consistently above 50 degrees Fahrenheit. This is the scientific way to manage a landscape. It isn’t always ‘pretty’ in the traditional sense, but it is functional. And functional is what lasts.
- Conduct a soil test through a local university extension to determine NPK and pH levels.
- Remove 100 percent of existing turfgrass via solarization or sheet mulching.
- Select at least three species for each bloom season (Spring, Summer, Fall).
- Source plugs or seeds from local ecotype providers.
- Install plants with 12-inch spacing to create a ‘living mulch’ canopy.
- Water deeply once a week during the first year only.
- Leave the leaves and dead stems for overwintering habitat.
![Build a $100 Modern Rock Garden for 2026 [DIY]](https://lawnmajesty.com/wp-content/uploads/2026/06/Build-a-100-Modern-Rock-Garden-for-2026-DIY.jpeg)