How to Fix a Leaky Garden Pond Without Draining the Water
Finding and Fixing Pond Leaks Without a Total Drain
To fix a leaky garden pond without draining the water, you must first isolate the leak using the evaporation test and dye markers, then apply underwater-curing MS polymer sealants or sodium bentonite specifically formulated to hydrate and expand upon contact with water. This method preserves the beneficial nitrifying bacteria and prevents the massive biological shock associated with a total water replacement.
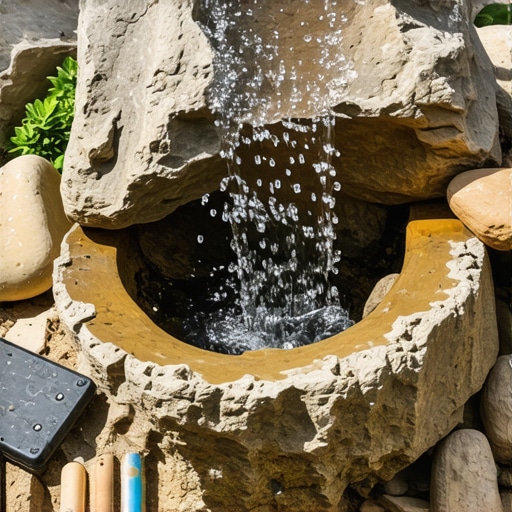
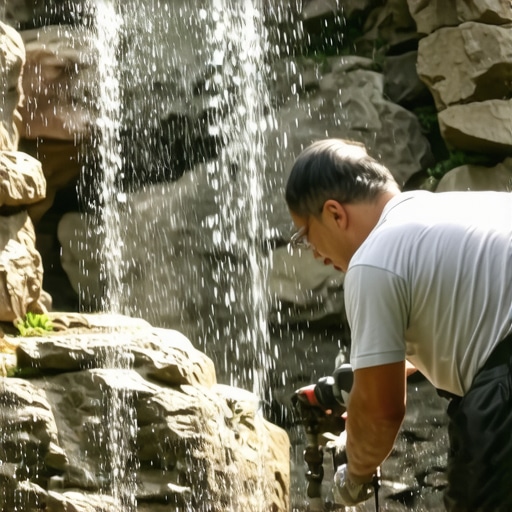
I recently got called out to tear up a $30,000 pond and waterfall system that was losing four inches of water a day. The previous contractor had used standard roofing silicone to ‘fix’ a seam in the EPDM liner, and it had failed within forty-eight hours because he didn’t account for the hydrostatic pressure pushing against the patch. The homeowner was frantic, watching his prize-winning koi gasping in the shallows. I had to perform what I call a Hardscape Autopsy on the waterfall. The failure wasn’t the liner itself, but the capillary action occurring where the filter matting was wicking water over the edge of the berm. This is a common rookie mistake. If you don’t understand how water moves on a molecular level, you’re just throwing money into a hole in the ground. Real pond work is about managing hydraulic head, not just making things look pretty with some river rock.
“Water loss in decorative ponds is often attributed to liner failure, but the majority of structural leaks occur at the interface of the biological filter and the waterfall spillway due to improper compaction of the berm.” – Hardscape Engineering Axiom
How do I find a leak in my garden pond without draining it?
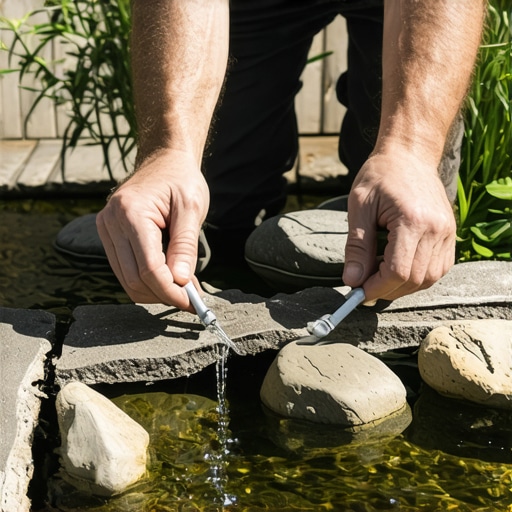
The first step is the Bucket Test. Fill a five-gallon bucket with pond water and set it on a shelf in the pond so the water levels inside and outside the bucket are identical. Wait 24 hours. If the pond level drops more than the bucket level, you have a leak, not just evaporative loss. Once confirmed, you use milk or food coloring. Turn off all pumps to create a static water environment. Squirt small amounts of the dye near suspected areas—usually around the skimmer faceplate, the waterfall weir, or the pond margins. If the dye gets sucked into a specific spot, you’ve found your breach. Don’t rush this. Patience saves you from excavating 2,000 pounds of rock later. You are looking for dynamic flow in a static pool. It is the most reliable diagnostic tool in the industry.
| MS Polymer Sealant | 24 Hours | Yes | Small liner punctures |
| Sodium Bentonite | Instant | Yes | Soil-bottom ponds |
| EPDM Patch Kit | None | No (Needs dry surface) | Large structural tears |
| Expanding Poly Foam | 1 Hour | Partial | Waterfall rock voids |
Can you patch an EPDM liner underwater?
Yes, but you cannot use standard glues. You must use a Silyl Modified Polyether (MS Polymer) sealant. These compounds are engineered to react with moisture to trigger the cross-linking curing process. Unlike silicone, which requires a bone-dry surface for adhesion, MS polymers are hydrophobic during application but bond aggressively to the EPDM or PVC substrate once pressed into place. You must scrub the algae off the liner first. Use a stainless steel brush or a high-grit scouring pad. If you apply sealant over a layer of bio-film, it will fail. Period. Apply a bead of sealant roughly 1/4 inch thick in a circular pattern around the hole, then press a piece of scrap liner onto it. Do not squeeze all the sealant out; you need a gasket effect. It will hold. I have seen these patches last ten years in high-pressure environments.
The Science of Bentonite Injection
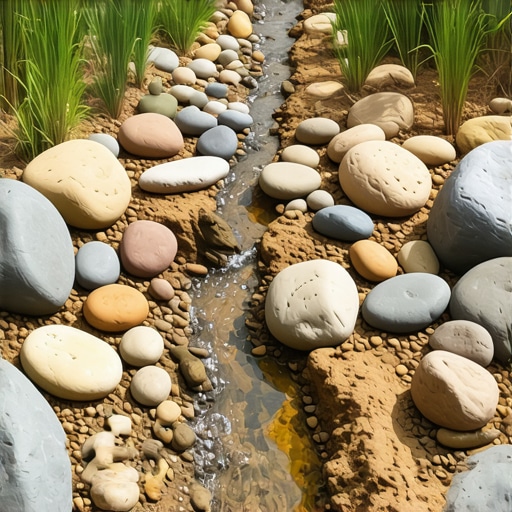
For those of you with natural bottom ponds or clay-lined features, a ‘no-drain’ fix often involves Sodium Bentonite. This is a volcanic ash clay that expands up to 15 times its dry volume when wet. When you pour granular bentonite into the water above a leak, the suction force of the escaping water pulls the clay particles into the crack. Once inside, the clay hydrates and creates an impermeable mineral plug. It is essentially a self-healing gasket. However, don’t just dump it in. You need to target the application. Use a PVC pipe as a delivery chute to drop the granules directly onto the suspect area. This prevents the clay from clouding the entire water column and crashing your biological filtration. It is a surgical strike, not a carpet bomb.
“The integrity of a water-retaining structure is dependent upon the coefficient of permeability of the substrate, typically requiring a value of 1 x 10^-7 cm/sec or less for effective containment.” – Agricultural Engineering Manual
How much water loss is normal in a pond?
In most climates, you can expect 1/4 to 1/2 inch of loss per day due to evaporation and transpiration from aquatic plants. If you’re losing more than an inch, you have a problem. Check your waterfall splash-out first. High-flow pumps create turbulence that can throw micro-droplets over the liner edge. Over time, this saturates the surrounding soil and creates a wicking path. It is physics, not magic. If your soil is damp ten feet away from the pond, your waterfall is the culprit. Adjust your rocks. Divert the flow. Stop the splash. Don’t overcomplicate it. Most ‘leaks’ are actually just misdirected water.
- Turn off the pump: Isolate the pond from the waterfall to see which one is leaking.
- Check the skimmer: Look for cracks in the plastic housing or a loose faceplate.
- Inspect the margins: Look for sunken liner edges where dirt has settled.
- The Milk Test: Use heavy cream or milk near the rocks to track current.
- Patching: Use MS Polymer for underwater liner repairs.
- Bentonite: Use for clay or soil leaks.
- Re-test: Wait 24 hours after the fix to verify the water level holds.
Fixing a leak is about integrity. If you cut corners now, the hydrostatic pressure will find that weakness. It never sleeps. I tell my crew every day: ‘The water wants to get out. Your job is to make that impossible.’ Focus on the seams and penetrations. That is where 90% of failures occur. If you have a waterfall, check the liner transitions. If the liner isn’t tucked high enough behind the rockwork, water will find its way behind it through capillary draw. It will rot the soil underneath and lead to a total structural collapse. Fix it right or don’t fix it at all. The fish are counting on you. Your bank account is too. Stay focused on the engineering, and the landscaping will take care of itself. No more ‘mow-and-blow’ logic. This is water management. Treat it with respect.