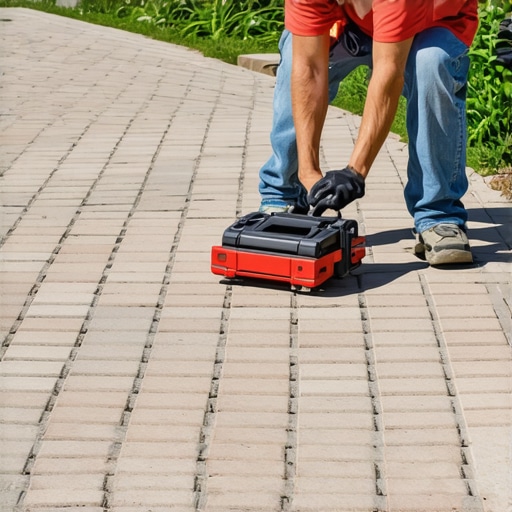
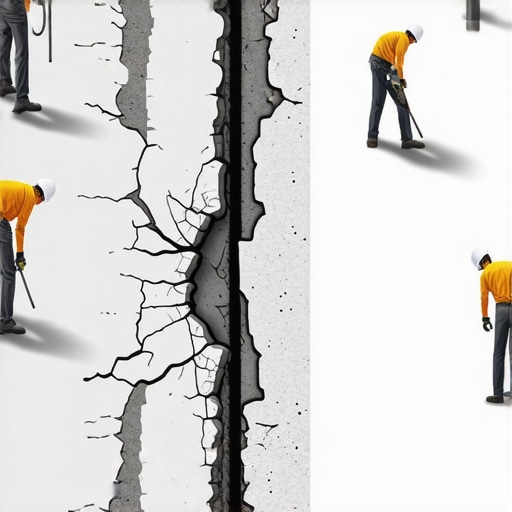
![Repairing Cracking Concrete Walkways [Fast Fix]](https://lawnmajesty.com/wp-content/uploads/2026/09/Repairing-Cracking-Concrete-Walkways-Fast-Fix.jpeg)
Repairing Cracking Concrete Walkways [Fast Fix]
The Forensic Reality of Cracked Concrete
To repair cracking concrete walkways effectively, you must identify if the failure is structural settlement or surface shrinkage, then clean the fissure with a wire brush, apply a polyurethane sealant or epoxy injection, and ensure proper drainage to prevent freeze-thaw cycles from reopening the gap. Most homeowners see a crack and reach for a $5 bag of premixed mortar. This is a mistake. Concrete doesn’t just crack for no reason; it responds to the physics of the earth beneath it. If you don’t address the subgrade, you’re just putting a bandage on a broken bone. I recently got called out to tear up a $30,000 patio that was sinking and spider-webbing because the previous contractor skipped the compaction phase and ignored the hydrostatic pressure building up in the clay soil. The homeowner was furious, but the math doesn’t lie. If the base isn’t 95% compacted, the concrete will fail. Every time.
Diagnosing the Fracture: Why Your Walkway Failed
Concrete failure is usually a symptom of poor hardscaping engineering rather than a defect in the material itself. You need to look at the width and depth of the crack to understand the ‘why’ before you can apply the ‘how.’ Is it a hairline crack caused by rapid evaporation during the initial pour, or is it a structural heave from a frozen water pocket?
“A retaining wall doesn’t fail because of the stone; it fails because of the water trapped behind it.” – Hardscape Engineering Axiom
This same logic applies to walkways. If water sits under that slab, the freeze-thaw cycle will exert thousands of pounds of pressure upward, snapping the concrete like a dry cracker. You also have to consider the soil chemistry. High-clay soils expand when wet, while sandy loams might wash away, leaving a void under your walkway. Neither scenario is fixed by a simple surface patch.
How much modified gravel do I need for a patio base?
For a standard concrete walkway or patio, you require a minimum of 4 to 6 inches of compacted 2A modified gravel to provide adequate drainage and structural support. To calculate the volume, multiply the square footage by the depth in feet (e.g., 0.33 for 4 inches) and divide by 27 to get the total cubic yards needed for the project. Don’t eyeball this. Use a plate compactor.
The Repair Matrix: Comparison of Methods
| Repair Method | Durability Factor | Material Cost | Best Use Case |
|---|---|---|---|
| Polyurethane Sealant | High (Flexible) | Low | Expansion joints and active cracks |
| Epoxy Injection | Very High (Structural) | Moderate | Deep, non-moving structural cracks |
| Polymer-Modified Mortar | Medium | Low | Surface scaling and cosmetic chips |
| Slab Jacking (Mudjacking) | High | High | Sunken sections and major settlement |
The Professional Step-by-Step Remediation Process
Forget the ‘quick fix’ labels at the big-box store. A real repair involves mechanical preparation. First, you must ‘chase’ the crack. Use an angle grinder equipped with a diamond tuck-point blade to widen the crack into a V-shape or U-shape. This creates more surface area for the bonding agent to grab onto. If the crack is thin, the repair material won’t have enough body to hold. Once ground out, blow out the dust with compressed air. Any loose grit will act as a bond-breaker, and the repair will pop out within a year. For cracks deeper than half an inch, you must insert a closed-cell backer rod. This ensures the sealant only bonds to the sides of the crack, allowing it to stretch and contract. If it bonds to the bottom, it will tear when the concrete moves. This is the difference between a five-year fix and a twenty-year solution.
What is the best temperature for concrete repair?
Concrete repair materials should ideally be applied when ambient temperatures are between 50°F and 80°F to ensure proper chemical curing and adhesion. Avoid working in direct sunlight, which can cause flash drying and lead to secondary shrinkage cracks in your patch. Always check the dew point before starting.
Water: The Silent Enemy of Your Garden Design
In garden design, we often focus on the aesthetic, but the engineering of water flow is what preserves that beauty. If your walkway is cracking, look at your downspouts. If they are dumping water within three feet of the concrete, you’ve found your culprit. To fix this, you need to install a French drain or a catch basin to move that water away from the hardscape. In landscaping, we call this ‘grading for success.’ You want a 2% slope away from any hard structure. Without it, you’re just fighting a losing battle against gravity and fluid dynamics. Poor lawn care practices, like over-watering near the edge of a path, can also saturate the subgrade and lead to premature failure. Deep, infrequent watering of the turf is better for the grass and better for your concrete. Keep it dry under the slab.
Materials Checklist for Professional Results
- Angle grinder with 4.5-inch diamond blade
- Pressure washer (minimum 3000 PSI)
- Industrial-grade polyurethane masonry sealant
- Closed-cell backer rods (various sizes)
- Wire brush and shop vac
- Bonding adhesive for cementitious patches
It will rot if you don’t seal it. Don’t skip the cleaning phase. Most contractors get lazy here. They think the sealant will hide the dirt. It won’t. The dirt will just provide a slip-plane for the repair to fail. You need a clean, dry, and sound substrate. If the concrete is ‘punky’ or soft, you have to chip back to solid aggregate. No amount of chemical wizardry can save rotten concrete. This is the hard truth of the trade. Hardscaping is 90% preparation and 10% finish work. If you invert that, you’re a hack. Period. Follow the ASTM standards and treat your walkway like the foundation of a house. It’s the only way to ensure it lasts long enough for the next generation to walk on it.
![Build a $600 Flagstone Patio on a Sand Base [2026 DIY]](https://lawnmajesty.com/wp-content/uploads/2026/05/Build-a-600-Flagstone-Patio-on-a-Sand-Base-2026-DIY.jpeg)