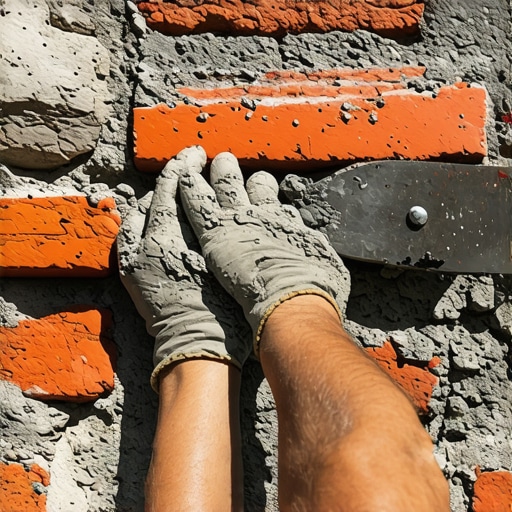
How to Rebuild a 2026 Crumbling Brick Wall
The Hardscape Autopsy: Why Your Wall is Falling Apart
Crumbling brick walls are rarely the result of bad brick; they are the result of failed engineering, specifically hydrostatic pressure and sub-base settlement that occurs when water is trapped behind the masonry. Rebuilding a wall in 2026 requires a forensic approach that addresses the drainage system, the footing depth, and the mortar composition to prevent recurring structural failure.
I recently got called out to tear up a $30,000 project that was sinking because the previous contractor thought he could skip the gravel base. The wall was leaning four inches out of plumb. The homeowner thought it just needed some new mortar. Wrong. The entire foundation was sitting on raw clay. When that clay got wet, it turned into grease. The weight of the wall simply pushed it aside. We had to excavate three feet down just to find stable ground. If you don’t fix the soil grading first, every plant you put in the ground is just expensive compost. It is a hard lesson, but one that defines the difference between a landscaper and a guy with a truck.
“A retaining wall doesn’t fail because of the stone; it fails because of the water trapped behind it.” – Hardscape Engineering Axiom
How do I know if my brick wall is structurally sound?
Determine the structural integrity of your wall by checking for stair-step cracking, efflorescence, and lateral bowing, which indicate that the internal drainage has failed and the masonry units are under extreme stress. If the mortar can be scraped away with a fingernail, the binder has reached its service life. You cannot patch your way out of a foundation problem. You have to go deep.
The Science of Soil and Hydrostatic Pressure
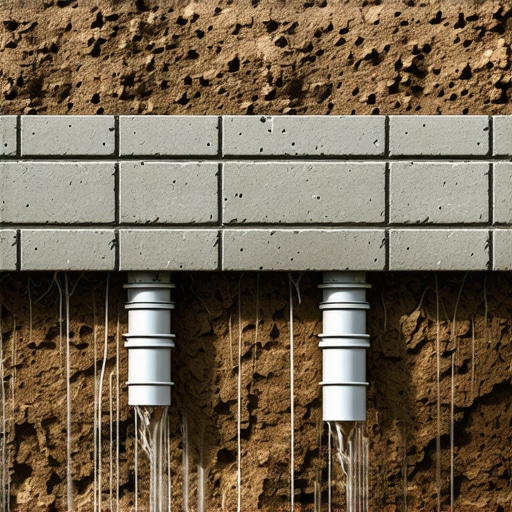
Water is the heaviest thing you will deal with in hardscaping. Saturated soil can exert hundreds of pounds of lateral pressure per square foot. In 2026, with shifting precipitation patterns, we are seeing more hydrostatic surge than ever before. This pressure forces water into the pores of the brick. When the temperature drops, that water freezes and expands. This is spalling. The face of the brick literally pops off. You need a chimney drain. This is a vertical column of #57 clean stone wrapped in geotextile fabric that sits directly behind the wall. It gives the water a path of least resistance down to your perforated pipe.
| Material | Permeability | PSI Strength | Function |
|---|---|---|---|
| #57 Clean Stone | 100% | N/A | Primary Drainage |
| 2A Modified Gravel | 15% | Extreme | Structural Base |
| Type N Mortar | 40% | 750 PSI | Restoration/Flexibility |
| Type S Mortar | 20% | 1800 PSI | Load Bearing Walls |
What is the best mortar for old brick walls?
The best mortar for historic or aging brick is usually Type N mortar, as its lower compressive strength and higher lime content allow the wall to flex without cracking the masonry units themselves. Using a mortar that is harder than the brick is a death sentence for the wall. The brick must be the strongest element, or it will shatter during thermal expansion.
The Step-by-Step Remediation Process
Don’t skip the excavation phase. You need to dig a trench that is at least 12 inches wider than the wall itself. This space is for your drainage aggregate. The trench must reach below the frost line in your region to prevent frost heave. Once excavated, you need to compact the sub-grade using a vibratory plate compactor. If the ground isn’t at 95% Proctor density, the wall will move. Period.
- Excavate: Clear out the failed structure and all organic material.
- Base Layer: Install 6 inches of 2A modified gravel in 2-inch lifts, compacting each one.
- Drainage: Lay a 4-inch SDR-35 perforated pipe at the back of the footing, pitched to daylight.
- Setting the First Course: This must be perfectly level. Use a laser level. No excuses.
- Backfilling: Use clean stone only. Do not use native soil behind the wall.
“The primary cause of masonry deterioration is the presence of moisture within the wall system.” – Brick Industry Association (BIA)
How much modified gravel do I need for a patio or wall base?
Calculate your base material by multiplying the length, width, and depth of your trench in feet, then divide by 27 to get cubic yards; generally, for every 100 square feet of wall, you will need approximately 4 to 6 tons of compacted aggregate. This base is the only thing standing between a professional install and a heaving mess. Most DIYers fail here because they don’t want to shovel 5 tons of stone. Do the work.
The 2026 Material Standard: Beyond the Big Box Store
Stop buying mortar bags from big-box retailers that have been sitting in a humid warehouse for six months. The chemical hydration process starts the moment moisture hits that bag. You want fresh Type S or Type N from a dedicated masonry supply yard. Check the manufacture date. In 2026, we are also seeing the rise of polymeric additives that improve the bond strength and freeze-thaw resistance of traditional mixes. These are worth the extra $10 per bag. It will save you a re-pointing job in five years. Use a concave jointer for your finish. It packs the mortar into the joint and sheds water better than a flush or raked joint. It is a small detail that matters.
Final Curing and Maintenance
A new wall is a living thing for the first 28 days. It is curing. If the weather is over 85 degrees, you need to mist the wall to keep the mortar from drying too fast. If it dries too fast, it won’t spec out to its full PSI. It will be brittle. Once cured, apply a silane-siloxane breathable sealer. This stops liquid water from entering the brick but allows water vapor to escape. Do not use a film-forming sealer; it will trap moisture and cause the brick to rot from the inside out. Inspect your weep holes every spring. If they are clogged, the wall is holding water. Clear them with a stiff wire. It takes five minutes. Do it.