How to Use Lighting to Make Your Small Backyard Look Huge
How to Use Lighting to Make Your Small Backyard Look Huge
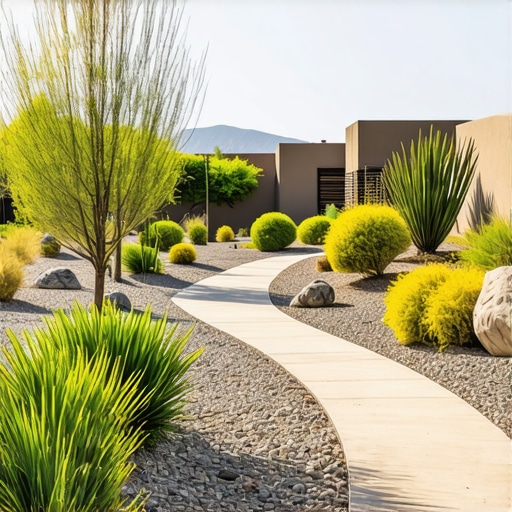
I recently got called out to tear up a $30,000 patio that was sinking because the previous contractor failed to account for hydrostatic pressure, but the real tragedy was the lighting. The homeowner had installed these cheap, blinding solar stakes every two feet like an airport runway. At night, the glare was so intense your pupils would constrict, making the rest of the yard look like a pitch-black abyss. It made a 400-square-foot space feel like a 40-square-foot cell. Most people think landscaping ends when the sun goes down, but if you do not understand light physics and spatial perception, you are wasting half your property value. Lighting is not just about seeing where you walk; it is about manipulating the human eye to perceive depth where none exists. To make a small yard feel massive, you must stop lighting the ground and start lighting the boundaries.
The Science of Visual Depth and Light Layering
Expanding a small yard requires layered lighting that draws the eye to the perimeter. By using focal points and varying beam angles, you create a sense of depth that tricks the human brain into perceiving more space beyond the physical boundaries of the hardscape or garden. If you light only the foreground, the background disappears into a black wall, a phenomenon known as the ‘Cave Effect.’ To combat this, we use the three-layer model: foreground, midground, and background. The foreground should be dim, the midground slightly brighter, and the background (your perimeter fence or trees) should be lit with soft, wide washes. This creates a visual tunnel that stretches the viewer’s field of vision. Do not use high-wattage bulbs. Use low-lumen LEDs with high Color Rendering Index (CRI) values to ensure the colors of your plant material look natural rather than washed out.
“Landscape lighting is 90 percent about what you do not light. The shadows create the depth that defines the space.” – Hardscape Engineering Axiom
How do I choose the right color temperature for backyard lighting?
Selection of color temperature, measured in Kelvin, is critical for spatial perception. For most residential landscapes, a 2700K (Warm White) bulb is the standard because it mimics the warm glow of incandescent bulbs and enhances the natural iron oxides in stone and wood. However, if you have a modern design with concrete or blue-tinted foliage, 3000K provides a crisper, more architectural look. Avoid anything over 4000K; it looks like a gas station parking lot and will make your yard feel cold and sterile. High Kelvin temperatures also disrupt the circadian rhythms of local fauna, which any responsible horticulturist should avoid.
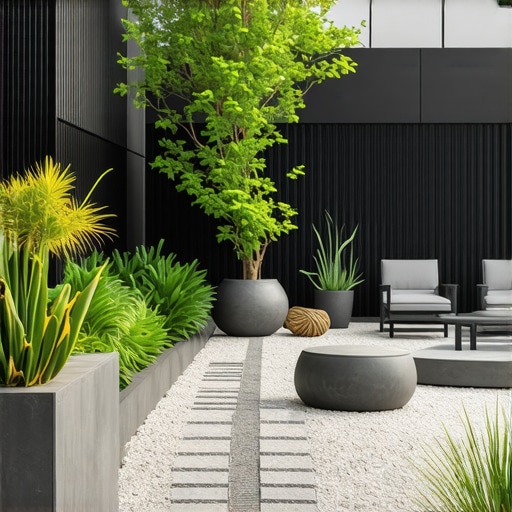
Engineering the Hardscape Glow for Maximum Space
Lighting the hardscape involves hiding sources like under-cap lights or recessed well lights to emphasize textures. Avoid glaring bulbs; instead, focus on grazing masonry surfaces to highlight stone textures, which adds a 3D quality that makes walls feel further away. When you graze a stacked stone wall with a 15-degree beam angle, the shadows cast by the uneven stones create a sense of tactile depth. This is far more effective than a floodlight, which flattens the surface and makes the wall feel like it is closing in on you. I tell my crew: if I can see the bulb, we failed. The source must remain hidden to maintain the illusion of naturally occurring light. For small patios, use micro-fixtures hidden under the lips of seat walls or steps. This keeps the light focused on the walking surface without creating visual noise at eye level.
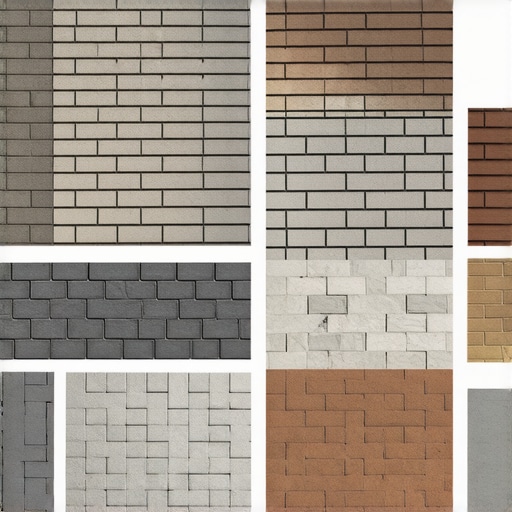
| Surface Material | Recommended Kelvin | Rationale |
|---|---|---|
| Natural Flagstone | 2700K | Enhances warm earth tones and iron oxides. |
| Architectural Concrete | 3000K | Provides a clean, modern look with sharp contrast. |
| Boxwood or Evergreens | 3000K-4000K | Higher Kelvin brings out the deep green/blue pigments. |
| Cedar or Ipe Decking | 2400K-2700K | Complements the amber and red hues of the wood grain. |
What is the best spacing for pathway lights?
The biggest mistake DIYers make is ‘The Soldier Row,’ placing lights in a straight line on both sides of a path. This narrows the path visually. Instead, stagger your fixtures. Place one light every 6 to 8 feet, alternating sides. This forces the eye to move back and forth across the space, effectively ‘widening’ the corridor. Use fixtures with a 100-degree glare cut-off so the light is directed downward onto the path, not into your retinas. We use 12-gauge wire for most runs to prevent voltage drop, ensuring that the last light in the chain is just as bright as the first. If your voltage drops below 10.5V at the fixture, the Kelvin temperature will shift, and your LED lifespan will plummet.
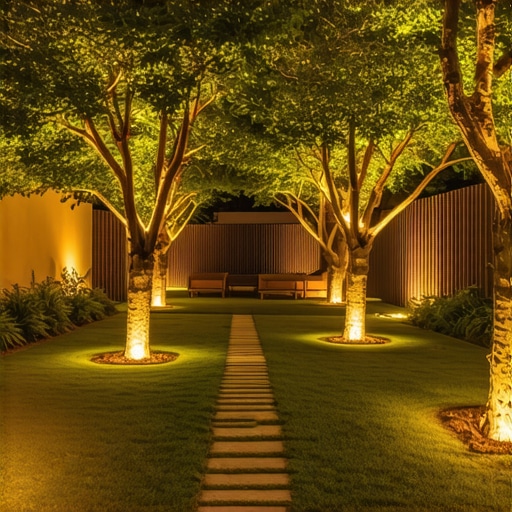
The Peripheral Perimeter Strategy
The key to making a yard look big is the ‘Perimeter Wash.’ By illuminating the furthest reaches of the property, you eliminate the dark void that usually defines the end of a yard. Use 60-degree beam spread fixtures to wash a fence or a line of arborvitae at the back of the lot. This pushes the visual boundary out. If you have a large tree in the corner, use ‘Moonlighting’ techniques: mount a fixture 20 feet up in the canopy, pointing down through the branches. This creates a dappled light effect on the ground that mimics a full moon, providing soft illumination that does not feel artificial. This technique is especially effective for small yards because it utilizes the vertical plane, making the space feel taller and less cramped.
“Poorly designed lighting creates light pollution that interferes with the physiology of plants and the behavior of nocturnal insects and birds.” – Agricultural Extension Agronomy Manual
Technical Installation Checklist
- Calculate Total Load: Ensure your transformer is sized for 20 percent more than your total wattage to avoid over-taxing the unit.
- Check Voltage Drop: Measure the voltage at the furthest fixture; it should stay between 11V and 12V for 12V systems.
- Bury Lines Properly: Dig trenches at least 6 inches deep and use conduit where lines cross under high-traffic hardscape areas to prevent crushing.
- Use Heat-Shrink Connectors: Never use wire nuts. Moisture will enter the connection, corrode the copper, and cause flickering.
- Set Astronomic Timers: Use timers that adjust automatically to sunset and sunrise based on your GPS coordinates.
Landscape lighting is an investment in civil engineering and biology, not just a decorative choice. You have to think about the amp load, the beam spread, and how the light interacts with the chlorophyll in your plants. Don’t buy cheap junk from the big-box stores. It will rot. Invest in brass or copper fixtures that can withstand the soil pH and moisture levels of a working garden. A well-designed system will last 20 years and make your small lot feel like an estate. Skip the gimmicks and focus on the physics of light. That is how you win the game of small-space design.