Fix Cracked Concrete Steps with This $30 Patch Kit
The Anatomy of a Crumbling Entryway
Concrete steps are the silent workhorses of your property’s hardscaping, but they are also the first to succumb to the brutal reality of thermal expansion and poor soil management. I’ve spent two decades watching homeowners pour thousands of dollars into gorgeous garden designs only to have the entire aesthetic ruined by a jagged, spalling staircase. Most people think a crack is just a cosmetic eyesore. It isn’t. It is a structural SOS. In this guide, we aren’t just slapping mud on a hole; we are performing a forensic remediation using high-performance polymer kits.
I recently got called out to tear up a $30,000 patio that was sinking because the previous contractor failed to account for hydrostatic pressure. The steps leading to the patio were snapped clean in half. The homeowner had tried to ‘fix’ it with a bag of standard mortar from a big-box store. Within three months, the patch had popped out like a loose tooth. This happened because they didn’t understand the chemistry of bonding. If you don’t address the mechanical bond and the underlying moisture, you’re just wasting your Saturday. I told him what I’ll tell you: if you don’t fix the soil grading and the preparation, every plant and paver you put down is just expensive compost. Don’t be that guy. Fix it right the first time.
Why Concrete Steps Crack and Spall
Concrete steps fail due to hydrostatic pressure, freeze-thaw cycles, and base-layer compaction failure, leading to tensile stress that the rigid material cannot absorb. Repairing them requires addressing the structural root cause rather than just masking the surface with a cosmetic layer of mortar. To understand the repair, you have to understand the enemy. In most cases, the enemy is water. Specifically, water that enters the microscopic pores of the concrete, freezes, expands by 9%, and shatters the cement paste. This is known as spalling. If the crack is vertical and wide, you likely have a sub-base issue where the soil (often heavy clay) is shifting. If it’s a surface flake, it’s likely salt damage or a poor original finish.
“Surface preparation is 90% of the bond strength in any cementitious repair.” – American Concrete Institute (ACI) Manual of Concrete Practice
How much does it cost to fix concrete steps?
The cost to professionally replace a concrete staircase typically ranges from $1,500 to $5,000 depending on the number of treads and the complexity of the forms. However, a high-quality $30 polymer-modified patch kit can resolve 80% of non-structural cracks if the damage is caught early enough to prevent rebar oxidation. You are paying for the resin. Standard cement doesn’t stick to old concrete. You need the vinyl or acrylic additives found in professional kits to create a chemical bridge between the old substrate and the new material.
| Repair Method | Estimated Cost | Durability | Skill Level |
|---|---|---|---|
| Standard Mortar Mix | $7 – $12 | Low (1 Season) | Novice |
| Polymer-Modified Kit | $25 – $45 | High (5-10 Years) | Intermediate |
| Epoxy Injection | $100 – $300 | Structural Grade | Advanced |
| Full Replacement | $1,500+ | Lifetime | Professional |
Can you use regular mortar to patch concrete steps?
Using regular mortar for thin patches is a guaranteed failure because it lacks the tensile strength and adhesion necessary to bond to an existing slab. Standard mortar requires a thickness of at least two inches to maintain structural integrity, whereas polymer-modified kits allow for “feather-edging” down to 1/16th of an inch without cracking. If you try to use the cheap stuff, it will delaminate. It will rot. Don’t skip the quality materials. The chemistry matters more than your trowel technique.
The Professional Repair Protocol: A Step-by-Step Guide
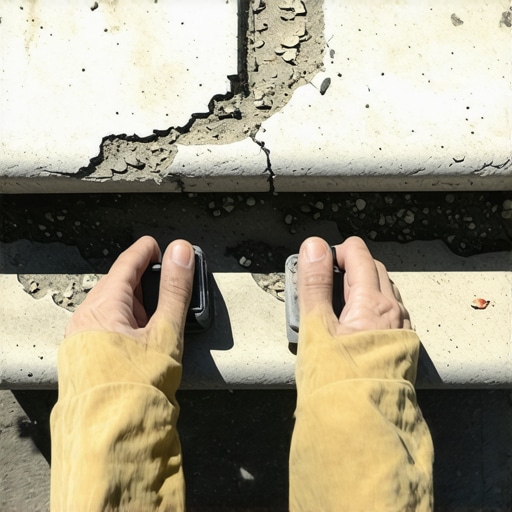
Before you open that $30 kit, you need to prepare the site. This is where the hacks fail. You must remove all ‘laitance’—that weak, dusty top layer of concrete. Use a cold chisel and a four-pound sledge to widen the crack. If the crack is narrow at the top but wide at the bottom, the patch won’t stay. You need to create an ‘inverted V’ shape so the new concrete is mechanically locked in. [IMAGE_PLACEHOLDER]
- Step 1: Mechanical Cleaning. Use a wire brush or a 3000 PSI pressure washer to strip away moss, dirt, and loose aggregate.
- Step 2: Acid Etching (Optional but Recommended). A mild muriatic acid solution opens the pores of the concrete. Neutralize with baking soda and water afterward.
- Step 3: The Bonding Agent. Most $30 kits come with a liquid fortifier. Paint this directly onto the damp (but not dripping) concrete. This is your ‘glue.’
- Step 4: Mixing the Patch. Mix the powder and the liquid resin until you reach a ‘peanut butter’ consistency. Do not over-water. Too much water kills the PSI rating.
- Step 5: Consolidation. Push the material into the crack. Don’t just wipe it over the top. You need to eliminate air pockets. The tamper should literally bounce off the material once it starts to set.
- Step 6: Texturing. Use a damp broom to match the existing non-slip finish of your stairs. A smooth patch on a rough stair is a slip hazard.
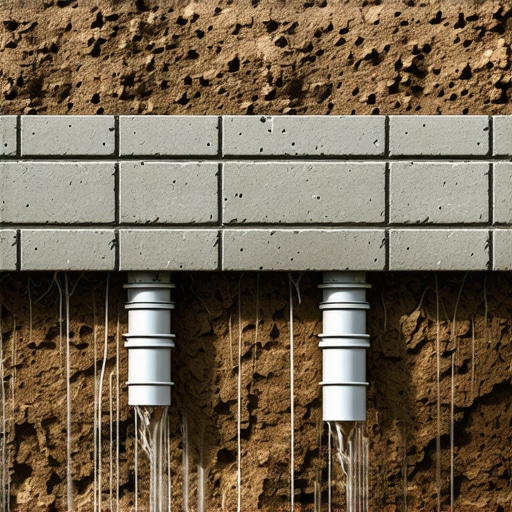
“A retaining wall doesn’t fail because of the stone; it fails because of the water trapped behind it.” – Hardscape Engineering Axiom
Maintaining Your Hardscape Investment
Once the patch is cured (usually 24-48 hours for foot traffic), you aren’t done. The reason the step cracked in the first place—water—is still there. You must seal the entire staircase with a silane-siloxane penetrating sealer. This doesn’t make the steps slippery; it changes the surface tension of the concrete so water beads up and rolls off rather than soaking in. Check your gutters. If a downspout is dumping water near the base of your steps, your $30 repair will fail within two years because the soil will subside. Divert the water at least five feet away using a French drain or an extension. Precision in drainage is the difference between a foreman and a laborer. Don’t be a laborer.