How to Restore Gray Weathered Wood Fences for $40
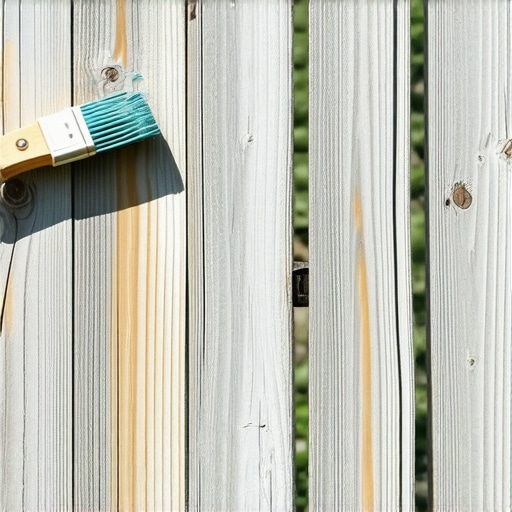
The silver-gray ghost of a fence staring back at you isn’t just an aesthetic eyesore; it is a structural autopsy in progress. When you see that weathered patina, you are looking at the literal disintegration of lignin, the organic polymer that binds cellulose fibers together in wood. Without lignin, your fence pickets become a brittle, porous sponge for moisture. Most homeowners see this and reach for a $1,000 replacement estimate or a high-pressure power washer that will eventually shred the wood into a pulpy mess. I have spent two decades in the dirt and the woodshop, and I am here to tell you that chemistry, not brute force, is how you save a fence for less than the cost of a tank of gas.
Why Wood Fences Turn Gray and How to Stop the Rot
Wood turns gray due to photodegradation, where UV rays break down lignin, the glue holding wood fibers together. This process, combined with moisture cycles and fungal growth, creates a weathered appearance that compromises the structural integrity of your fence posts and pickets by allowing hydroscopic expansion to crack the grain. You aren’t just cleaning; you are performing a chemical reset on the wood’s surface pH.
A homeowner called me in a panic last August after they completely torched their front lawn and their cedar fence by applying undiluted pool chlorine to ‘bleach’ it white. The chlorine didn’t just kill the grass; it underwent a violent reaction with the wood’s extractives, causing delignification. The fence felt like wet cardboard. They didn’t understand that wood is a biological material, not a plastic substrate. When you use the wrong chemicals, you aren’t restoring; you are accelerating the wood’s trip to the compost pile. We had to wait for the wood to dry, sand down the ‘fur’ created by the chemical burn, and neutralize the pH before it could even hold a drop of sealant. Don’t be that guy. Stop treating your fence like a sidewalk.
“Wood is a hygroscopic material, meaning it constantly exchanges moisture with the environment, leading to swelling and shrinking stresses that degrade mechanical properties over time.” – Forest Products Laboratory (USDA)
The $40 Restoration Kit: Chemistry Over Brute Force
Restoring a fence for under $40 requires a focus on sodium percarbonate cleaners and oxalic acid brighteners rather than expensive rentals. These chemicals effectively lift UV-damaged fibers and neutralize the wood’s pH, preparing the surface for long-term protection without destroying the structural integrity of the wood cells or the surrounding landscape. Forget the pressure washer. It is a weapon, not a tool, in the hands of an amateur.
| Material | Estimated Cost | Function |
|---|---|---|
| Sodium Percarbonate (2 lbs) | $15.00 | Oxygen bleach to lift gray fibers and mold. |
| Oxalic Acid (1 lb) | $12.00 | Wood brightener and pH neutralizer. |
| Stiff Bristle Nylon Brush | $8.00 | Mechanical agitation of dead wood cells. |
| Pump Sprayer (Existing or Basic) | $5.00 | Application of chemical solutions. |
How much pressure is too much for a wood fence?
Anything over 1,500 PSI is likely to cause grain elevation or ‘furring’ on softwoods like cedar or pressure-treated pine. If you see wood fibers standing up like a peach, you have gone too far. High pressure forces water deep into the cellular structure, leading to internal rot that you won’t see until the picket snaps in a windstorm. Use a wide fan tip and keep your distance.
The Step-By-Step Forensic Restoration Process
The goal is to remove the dead surface cells and expose the fresh, tannin-rich wood underneath. This is a three-stage operation: Clean, Brighten, and Neutralize. If you skip the brightening stage, your wood will remain a dull, dark brown rather than the ‘honey’ color you expect.
- Saturation: Soak the fence and surrounding grass with plain water. This prevents the grass from soaking up the cleaning chemicals.
- Chemical Application: Mix the sodium percarbonate with warm water (2 ounces per gallon). Spray it on. Let it dwell for 15 minutes. It will foam.
- Agitation: Use the nylon brush. Scrub with the grain. Watch the gray sludge melt off.
- Rinse: Use a standard garden hose. Do not blast it. Just rinse until the water runs clear.
- Brightening: While the wood is wet, apply the oxalic acid solution. This is the magic part. It reverses the graying instantly.
- Final Rinse: Wash away the acid. Check the pH if you’re a pro; otherwise, just rinse thoroughly.
- Drying: Wait 48 hours. The wood must be below 12% moisture content before you even think about a sealer.
“Surface preparation is the most critical factor in the performance of any exterior wood finish; mechanical or chemical removal of degraded surface fibers is mandatory.” – American Wood Council Standards
Will vinegar clean a gray wood fence?
Vinegar is an acetic acid that is too weak to effectively break down the silver weathering crust on exterior wood. While it might kill surface mold, it lacks the oxidizing power of sodium percarbonate to lift the dead lignin. It is a kitchen condiment, not a wood restoration agent. Stick to the chemistry that works.
The “Settling In” Period: Why $40 Maintenance Wins
Once you have spent your $40 and your weekend, you have a window of opportunity. The wood is now porous and hungry. If you leave it bare, the UV rays will start their attack within 72 hours. While the cleaning cost $40, I always tell my crew: the prep is for the wood, the finish is for the eyes. Use a high-quality penetrating oil stain, not a film-forming ‘paint’ style stain. Film-formers will peel. Oils will soak in and protect the vascular system of the wood.
It will rot if you don’t manage the drainage at the base of the fence. Ensure your soil grading pulls water away from the posts. A fence is only as strong as the two inches of wood where the post meets the dirt. Keep that area clear of mulch. Don’t create mulch volcanoes around your fence posts; that is just a slow-motion burial. Keep it clean. Keep it dry. Chemistry wins every time.