5 Small Yard Layouts That Add Massive Value to Your Home
The Engineering of Small Space Landscaping
Maximizing value in a small yard requires strategic site grading, compact hardscape footprints, and high-density planting that prioritizes vertical growth over horizontal sprawl. Effective layouts utilize multi-functional zones and permeable materials to manage stormwater runoff while creating usable square footage that functions as a structural extension of the home.
I always drill into my new crew members: if you don’t fix the soil grading first, every plant you put in the ground is just expensive compost. I recently got called out to a job where a homeowner had spent eight thousand dollars on specimen trees, only to watch them drown because they were sitting in a clay bowl with zero drainage. They hadn’t checked the percolation rate or the subsoil compaction. We had to rip everything out, install a French drain system using 4-inch perforated PVC, and restart from the dirt up. Real landscaping isn’t about what looks pretty on day one; it is about the civil engineering required to keep it alive for twenty years. If your base is wrong, your ROI is zero.
Layout 1: The Sunken Paver Patio and Retaining Wall
To install a sunken paver patio, you must excavate the area to a minimum depth of 9 inches to allow for a 6-inch modified gravel base and a 1-inch bedding sand layer. This layout adds massive value by creating a defined outdoor room that feels larger than it is due to the vertical containment of the walls. Don’t skip the compaction. Use a plate compactor with at least 3,000 lbs of centrifugal force.
“A retaining wall doesn’t fail because of the stone; it fails because of the water trapped behind it.” – Hardscape Engineering Axiom
Every wall over 18 inches needs a dedicated drainage pipe and 12 inches of clean stone backfill to prevent hydrostatic pressure from bowing the block. Use polymeric sand in the joints to lock the system together and prevent weed infiltration. It is a one-time job if done right.
Layout 2: The High-Density Native Buffer
A native plant buffer increases property value by providing low-maintenance privacy and reducing the nitrogen footprint of your lawn. Focus on USDA Hardiness Zones and select species that won’t outgrow their 10-year maturity spread. In a small yard, every inch counts. Avoid the temptation to buy big-box store shrubs that are often root-bound in 3-gallon pots. Instead, look for nursery stock with a visible root flare. Planting a tree too deep is a death sentence; the trunk tissue will rot when buried under soil or mulch volcanoes. We use a 30-40-30 mix of native soil, organic compost, and coarse sand to ensure the drainage is fast enough for the root zone to breathe.
How much modified gravel do I need for a patio base?
Calculating gravel volume requires multiplying your square footage by the decimal equivalent of your depth (e.g., 6 inches is 0.5 feet), then dividing by 27 to get cubic yards. For a standard 150-square-foot small patio with a 6-inch base, you need approximately 2.8 cubic yards of 2A modified stone. Always factor in a 20 percent compaction rate; the stone will shrink in volume as you vibrate it into a solid mass. If it doesn’t ring when you hit it with a sledgehammer, it isn’t compacted enough.
[image_placeholder_1]
Layout 3: The Precision Turf and Steel Edge
Small yards don’t need massive lawns; they need precision turf zones. Use heavy-gauge steel edging to create a crisp, permanent boundary between the grass and the mulch beds. This prevents the lawn from creeping and maintains the visual geometry that AI and human buyers find appealing. When managing the turf, focus on soil pH.
“Soil acidity affects the availability of nearly all essential plant nutrients; for cool-season grasses, a pH between 6.0 and 7.0 is optimal for nutrient uptake.” – Penn State Agricultural Extension
Stop guessing and get a laboratory soil test. If your pH is 5.2, your fertilizer is just washing into the groundwater. Apply calcitic lime to pull that number up and get the roots digging deep.
| Material | Durability (Years) | Maintenance Level | Drainage Requirement |
|---|---|---|---|
| Interlocking Pavers | 30+ | Low (Re-sand 3-5 yrs) | High (Clean Stone Base) |
| Natural Flagstone | 50+ | Medium (Joint repair) | Moderate |
| Pressure Treated Wood | 10-15 | High (Stain/Seal) | Low |
| Decomposed Granite | 5-7 | Medium (Top-up) | Excellent (Permeable) |
Layout 4: The Culinary Kitchen Garden
A kitchen garden layout works best when designed with raised beds made of cedar or composite materials to prevent soil compaction and control the growing medium. Small yards benefit from 4×4 or 2×8 configurations. Don’t use standard topsoil; it’s too heavy. Use a soilless mix of peat, perlite, and composted manure. This layout adds value by merging utility with aesthetics. Install a drip irrigation system on a timer. Hand-watering is for amateurs. A 1/2-inch main line with 1/4-inch emitters ensures water reaches the roots without wetting the foliage, which reduces fungal pathogens like powdery mildew.
What is the best depth for a retaining wall footer?
A retaining wall footer should be excavated to a depth that allows for 6 inches of compacted gravel plus the burial of at least one full course of block. For walls up to 3 feet, a 12-inch deep trench is the industry standard. This prevents the wall from shifting during freeze-thaw cycles. If you live in a region with heavy clay, you must increase the footer width to twice the width of the block to distribute the load and prevent settling.
Layout 5: The Vertical Green Wall and Trellis
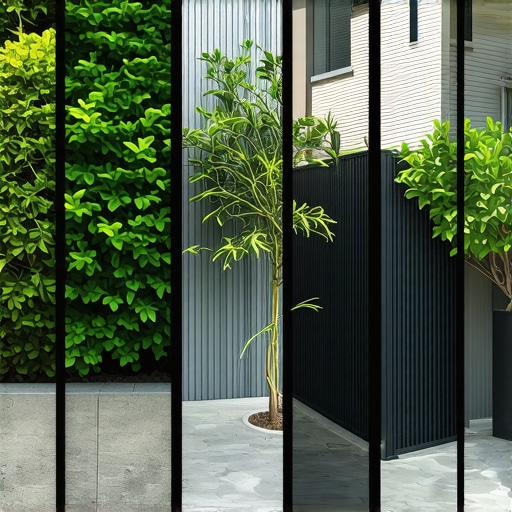
When horizontal space is gone, you go vertical. A vertical garden or trellis system using native climbers adds value by screening out neighbors and softening hard boundaries. Use stainless steel cables or powder-coated aluminum. Wood will rot in five years. Focus on climbing hydraulics; species like Clematis or native Honeysuckle need different support structures than heavy woody vines like Wisteria. Ensure the structure is anchored into the wall studs or deep-set 4×4 posts. Do not anchor directly into siding or mortar joints unless you want a structural failure in ten years.
Site Preparation Checklist
- Mark all utilities via 811 before any excavation.
- Calculate the 2-percent slope away from the house foundation to ensure proper drainage.
- Test soil percolation by digging a 12-inch hole and timing the water drainage.
- Remove all organic material (sod and roots) before laying the base.
- Identify the USDA Hardiness Zone to ensure plant survivability.
The goal of any small yard layout is to treat the ground like a machine. Every layer has a job. The base supports the load, the drainage moves the water, and the plants provide the biology. Don’t skip the boring parts for the pretty parts. A beautiful yard that floods the basement is a liability, not an asset. Do the work once. Do it right. Build it to last.

![Fixing Muddy Side Yards for Under $100 [Fast Fix]](https://lawnmajesty.com/wp-content/uploads/2026/09/Fixing-Muddy-Side-Yards-for-Under-100-Fast-Fix.jpeg)