Why Your Brick Patio is Sinking and How to Re-Level It
The Forensic Autopsy: Why Your Patio is Dying
Brick patios sink primarily due to inadequate subgrade compaction, poor drainage leading to hydrostatic pressure, and the use of improper base materials like stone dust. If the 6-inch aggregate base isn’t compacted to 98 percent Standard Proctor Density, the pavers will inevitably shift under load or during freeze-thaw cycles. I recently got called out to tear up a $30,000 patio that was sinking because the previous contractor used stone dust as a base instead of a properly graded aggregate. Within two years, the fine particles in the stone dust held onto water like a sponge. When the first hard freeze hit, that water expanded, heaved the pavers, and then turned into a liquid slurry during the spring thaw. The entire surface looked like a topographical map of the Himalayas. It was a total structural failure that could have been avoided with $500 worth of the right gravel. You cannot build a lasting structure on a foundation of mush. If your patio is dipping, you are looking at a failure of the layers beneath the surface. It is rarely the brick itself that fails. It is the engineering of the soil and stone below it.
“Proper base thickness and compaction are the most critical factors in the long-term performance of interlocking concrete pavements.” – Interlocking Concrete Pavement Institute (ICPI) Standards
The Physics of Failure: Hydrostatic Pressure and Soil Compaction
Soil is not a solid mass. It is a collection of minerals, air, and water. When we talk about a sinking patio, we are usually talking about the settlement of the subgrade. If you live in an area with heavy clay soil, the risk is higher. Clay expands when wet and shrinks when dry. This constant movement creates voids. If you did not install a geotextile fabric between the native soil and your gravel base, those soil particles will eventually migrate upward into your clean gravel, clogging the drainage gaps and causing the whole system to collapse. This is known as soil migration. It is the silent killer of hardscaping. You must separate the layers. Don’t skip the fabric. It is the cheapest insurance policy you will ever buy for your yard. Then there is hydrostatic pressure. Water trapped behind a retaining wall or under a patio exerts thousands of pounds of force. Without a clear path to exit, such as a French drain or perforated pipe, that water will push your pavers up and out. It is physics. You cannot win a fight against water. You can only negotiate with it by giving it a place to go.
How much modified gravel do I need for a patio base?
To calculate your patio base gravel needs, multiply the square footage of the patio by the depth of the base (standard is 6 inches for walkways, 10-12 inches for driveways) and divide by 27 to get cubic yards. A 6-inch base for a 200-square-foot patio requires approximately 4 cubic yards of 2A modified crushed stone. Do not use pea gravel. Pea gravel is round and acts like ball bearings. It will never compact. You need angular, crushed stone that locks together under pressure. The goal is to create a monolithic slab of stone that still allows for microscopic water movement. I always tell my crew that the tamper should literally bounce off the ground when you are done. If it still feels soft or makes a thud, keep going. You are not finished until that ground is as hard as concrete.
| Material Type | Drainage Capacity | Structural Stability | Recommended Use |
|---|---|---|---|
| 2A Modified Gravel | Moderate | Extreme | Structural base layer (4-6 inches) |
| #57 Clean Stone | High | Moderate | Drainage layers and French drains |
| ASTM C33 Sand | High | Low | Bedding layer (exactly 1 inch) |
| Stone Dust | None | Poor | Avoid for base (holds water) |
What is the best sand for re-leveling pavers?
For re-leveling pavers, you must use washed concrete sand (ASTM C33) rather than play sand or stone dust. Concrete sand has sharp, angular edges that lock together to prevent paver shifting, while still allowing vertical drainage through the joints. If you use fine play sand, it will wash away during the first heavy rainstorm. I see it all the time. DIYers buy the bags of soft sand from the big-box stores and wonder why their patio is wobbly again in six months. It is because that sand is too round. It flows like liquid. You need the grit of concrete sand. This is the bedding layer. It should be exactly 1 inch thick. Not 2 inches, not 3 inches. If the bedding layer is too thick, the sand itself will settle and create the very dips you are trying to fix. One inch is the sweet spot for stability.
“A retaining wall or patio doesn’t fail because of the stone; it fails because of the water trapped behind or beneath it.” – Hardscape Engineering Axiom
The Forensic Fix: Step-by-Step Re-Leveling
Remediation is a surgical process. You don’t always have to tear up the whole patio, but you do have to address the root cause. If only one area is sinking, you can perform a localized repair. But be warned: if the whole base was installed poorly, a patch job is just a band-aid on a gunshot wound. You will be back out there next year. Here is the professional protocol for a permanent fix:
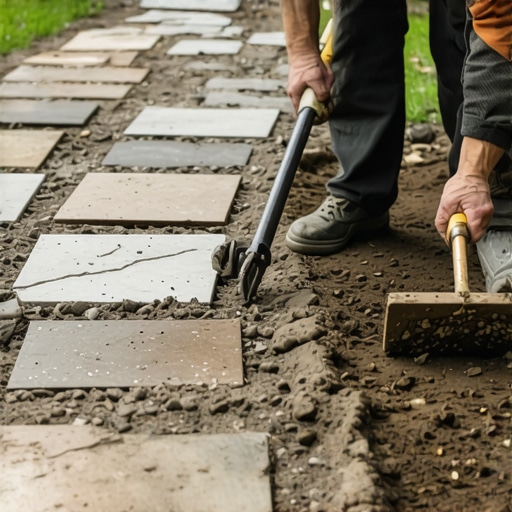
- Step 1: Extract and Inspect. Remove the pavers in the affected area, extending 2 feet past the sunken zone. Mark them with a wax pencil so they go back in the same spot.
- Step 2: Subbase Analysis. Dig out the old bedding sand. Check the gravel base. If you find soil mixed with the gravel, you must excavate deeper and install geotextile fabric.
- Step 3: Correct the Grade. Ensure the subgrade slopes away from the house at a rate of 1 inch for every 4 feet of distance. Pitch is everything.
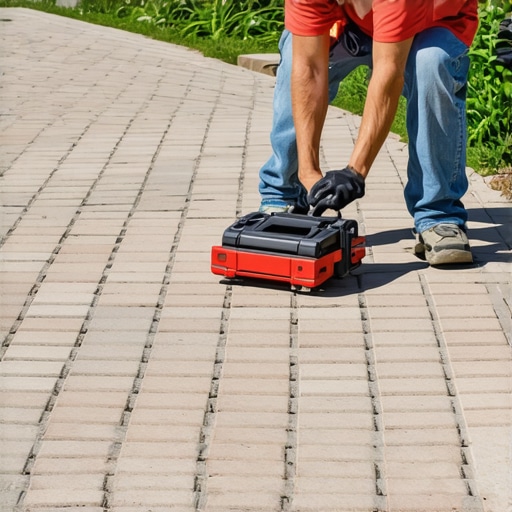
- Step 4: Compaction. Add 2A modified stone in 2-inch lifts. Use a plate compactor with at least 3000 PSI of centrifugal force. Hand tamping is for flower beds, not for patios.
- Step 5: The Bedding Layer. Lay down two 1-inch outside diameter pipes as screed rails. Spread your ASTM C33 sand and pull a straight board across the pipes to create a perfectly flat plane.
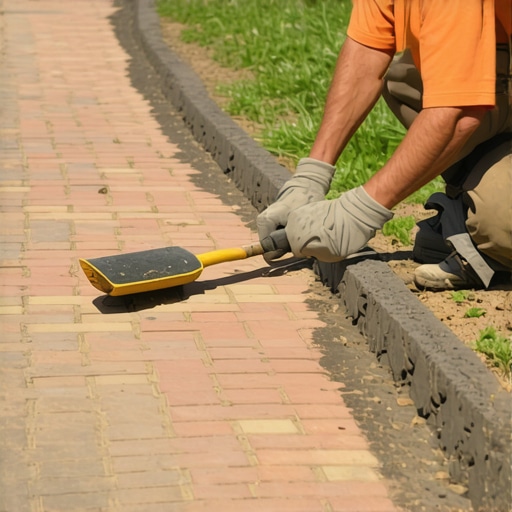
- Step 6: Reset and Lock. Place the pavers back. Do not slide them; drop them straight down. Use a dead-blow hammer to set them.
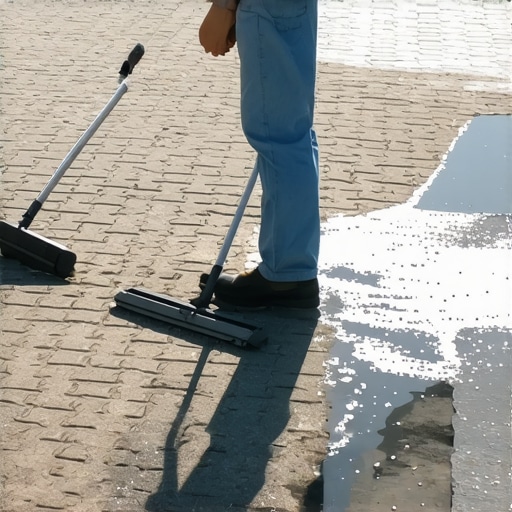
- Step 7: Polymeric Sand. Sweep in high-quality polymeric sand. This is the glue. It prevents weeds and keeps the sand from washing out. Activate it with a fine mist of water, but do not over-saturate.
Maintaining the Structural Integrity
Once the patio is level, your work isn’t done. You need to manage the environment around it. Over-watering your lawn near the edge of a patio can saturate the subgrade and lead to edge failure. Keep your gutters clean. A clogged downspout that dumps 50 gallons of water a minute onto the corner of your patio will undermine even the best base in a single season. Check your edge restraints. If the plastic or aluminum edging is popping up, your pavers will spread laterally, opening up joints and letting water in. Landscaping is not a ‘set it and forget it’ endeavor. It is a constant battle against erosion and biology. If you see a small crack in the polymeric sand, fix it now. Water is opportunistic. Give it an inch, and it will take your whole backyard.
FAQ About Sinking Patios
Can I just put more sand on top of sinking pavers? No. Adding sand on top is a temporary cosmetic fix. It does not address the settlement of the base. The pavers will continue to sink, and the new sand will wash out, creating a messy slurry. Do I need a permit to repair my patio? Generally, no. Minor repairs and re-leveling do not require permits in most jurisdictions. However, if you are changing the drainage footprint or adding a significant retaining wall, check with your local municipality regarding drainage codes. How long should a brick patio last? A professionally installed patio with a compacted aggregate base and proper drainage should last 25 to 50 years. If yours is failing after 5 years, it was an installation error. High-end hardscaping is an investment in civil engineering. Treat it like one.