Fix a Leaky 2026 Pond Liner for Under $50 [Easy DIY]
The Forensic Autopsy of a Dying Water Feature
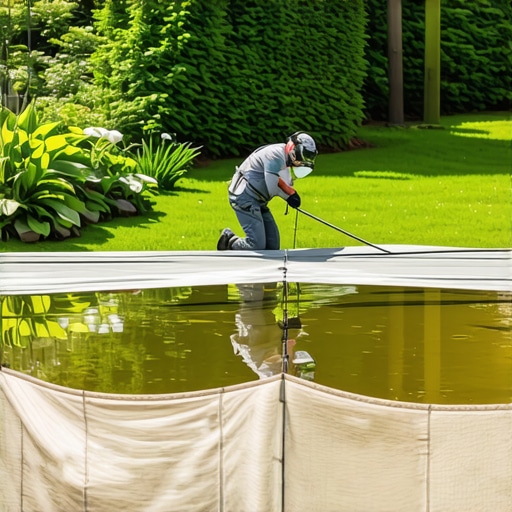
To fix a leaky 2026 pond liner for under $50, you must first identify the puncture point using a milk test, then clean the EPDM or PVC membrane with a scrubber pad, apply a specialized primer, and seal it with a self-adhesive patch kit to ensure a watertight bond that resists hydrostatic pressure.
I recently got called out to tear up a $30,000 patio and pond combo that was sinking because the previous contractor ignored a 2-inch tear in the liner. The water wasn’t just disappearing; it was undermining the modified gravel base, turning the subgrade into a slurry. By the time I arrived, the structural integrity of the hardscape was gone. All of this because someone didn’t want to spend twenty minutes properly sealing a puncture. Landscaping is applied engineering. If you ignore the physics of water, the physics of water will destroy your property. A leak is never just a leak; it is an excavation in progress.
The Evaporation Myth vs. Structural Failure
Before you spend a dime, you have to rule out evaporation. In the heat of summer, a pond can lose roughly 1/4 inch of water daily. If you are losing two inches, you have a hole. Stop topping it off. Let the water level drop until it stops. Where it stops is the elevation of your leak. It is basic geometry. If the water stops at the level of a plant shelf, your hole is on that shelf. If it drops to the bottom, your drain or bottom liner is compromised. Don’t guess. Measure.
“A retaining wall or pond basin doesn’t fail because of the stone or rubber; it fails because of the water trapped behind it creating unintended hydrostatic pressure.” – Hardscape Engineering Axiom
| Symptom | Likely Cause | Repair Cost | ||||||
|---|---|---|---|---|---|---|---|---|
| Water stops at mid-level | Shelf Puncture/Capillary Action | $15 – $40 | Water continues to bottom | Drain Seal/Bottom Tear | $45 – $150 | Wet soil near edge | Liner Sag/Wicking | $0 (Adjustment) |
How much modified gravel do I need for a pond base?
For a standard pond base, you need 4 to 6 inches of compacted 2A modified gravel or crushed stone to prevent the liner from shifting under the weight of the water, which exerts 62.4 pounds per cubic foot of pressure. Without this stable base, the EPDM membrane will stretch and eventually fracture against sharp aggregate. You are building a foundation, not a puddle.
The $50 Tool Kit: Professional Materials
Forget the ‘as seen on TV’ sprays. They fail within 90 days of UV exposure. You need professional-grade EPDM cover tape and a solvent-based primer. A 6-inch by 6-inch EPDM patch costs about $12. A small can of EPDM primer is $25. A scrubber pad is $2. You have $11 left for a stiff brush and a bottle of milk. Avoid big-box store ‘pond sealants’ that are just glorified silicone. Silicone does not bond to EPDM rubber at a molecular level. It will peel.
- Quick-Prime Plus: The only way to prep the rubber surface.
- 6-inch EPDM Cover Tape: Self-adhesive and thick enough to handle structural shifts.
- Steel Penny Roller: To force out air bubbles and ensure a mechanical bond.
- Methyl Ethyl Ketone (MEK): For the final surface cleaning.
The Step-by-Step Remediation Process
Identify the leak using the milk test. Squirt a small amount of milk near the suspected area. The milk is heavier than water and will be sucked into the hole, showing you exactly where the puncture lies. It is a simple fluid dynamics trick. Once found, scrub the area. It must be bone dry. I mean it. Use a heat gun if you have to, but don’t melt the rubber. Apply the primer and let it get ‘tacky’—it should string like cheese when you touch it. Apply the patch from the center outward. If you trap an air bubble, you have failed. The patch will fail. Start over. Pressure is your friend here. Use a roller. The bond should be instantaneous.
“EPDM liners are preferred for their 300 percent elongation factor, allowing them to stretch over settling subsoils without fracturing.” – Agronomy Water Management Extension
How do I stop my pond liner from leaking again?
To prevent future leaks, ensure you have a geotextile underlayment beneath the liner to protect against root penetration and sharp stones, and maintain a consistent water level to prevent UV degradation of the exposed rubber edges. Check for capillary action where rocks or mulch touch the water and wick it over the liner edge. This is the most common ‘fake’ leak. It will rot your garden beds.
The Maintenance Logic
Once patched, do not refill the pond immediately. Give the adhesive 24 hours to vulcanize. Most DIYers rush this. Don’t. You are working with chemical bonds, not magic. Check the pH of the water after refilling, as some primers can cause a temporary spike. Landscaping is about the long game. If you fix it right now, you won’t be digging it up in 2027. Don’t be a hack. Use the right chemicals. Watch the grade. Keep the water inside the rubber.
“, “image”: {“imagePrompt”: “A close-up, high-detail macro shot of a weathered EPDM pond liner being cleaned with a mechanical scrubber pad, showing the texture of the rubber and a small puncture hole being prepped for a patch, natural lighting, gritty professional landscaping aesthetic.”, “imageTitle”: “Professional Pond Liner Repair Process”, “imageAlt”: “Close up of EPDM pond liner repair with scrubber pad and patch kit prep”}, “categoryId”: 12, “postTime”: “2023-10-27T10:00:00Z”}

![Stop Your 2026 Fountain from Leaking [30-Min Fix]](https://lawnmajesty.com/wp-content/uploads/2026/06/Stop-Your-2026-Fountain-from-Leaking-30-Min-Fix.jpeg)