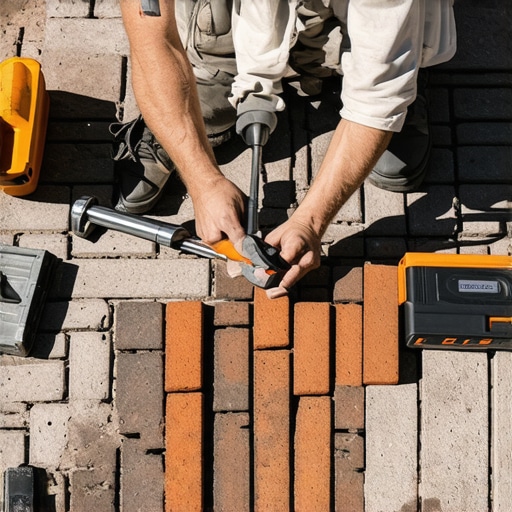
Build a $350 2026 Paver Landing for Modern Backyards
How to Build a $350 Paver Landing: Pro Hardscaping on a Budget
The $350 Paver Landing Blueprint
Building a $350 paver landing requires a disciplined focus on sub-grade excavation, a 4-inch compacted aggregate base, and polymeric sand joints. By sourcing local materials and avoiding high-end decorative stone, you can create a professional-grade structural landing that prevents soil erosion and manages foot traffic effectively without the heavy price tag of a full-scale patio.
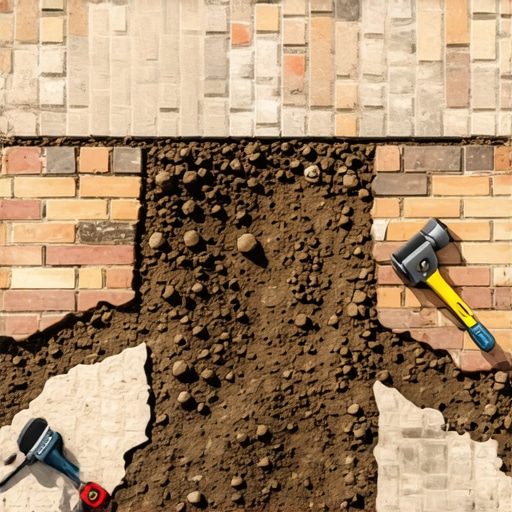
I recently got called out to tear up a $30,000 patio that was sinking because the previous contractor thought they could skip the plate compactor. The homeowner was staring at a three-inch dip where water pooled every time it rained. It was a structural autopsy. When I pulled up the pavers, there was nothing but stone dust and mud beneath. No structural integrity. No drainage. This is why I tell people: if you do not respect the physics of the soil, the soil will eventually win. You might be spending $350 on this landing, but if you treat it with the same engineering rigor as a $50,000 driveway, it will outlast the house. Hardscaping is not about the bricks; it is about the hole you dig and what you put back in it. Cheap labor ignores the base. Professional labor obsesses over it. We are fighting gravity and hydrostatic pressure. Do not let the dirt win.
Why Most Small Paver Projects Fail
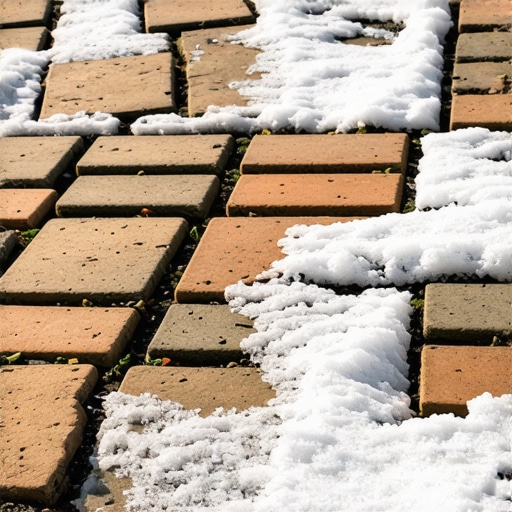
Failure starts with the belief that a few pavers on top of leveled dirt will stay level. It will not happen. The freeze-thaw cycle in many regions will heave those stones like a ship at sea. If you live in a climate with heavy clay, that clay will hold water, expand, and push your landing out of alignment within a single season. You must excavate deep enough to replace the native soil with something that drains and compacts. We are talking about a 7 to 8 inch total excavation depth for a simple landing. This allows for 4 inches of modified gravel, 1 inch of bedding sand, and the thickness of the paver itself. Anything less is just a temporary decoration.
“A retaining wall doesn’t fail because of the stone; it fails because of the water trapped behind it.” – Hardscape Engineering Axiom
How much modified gravel do I need for a patio base?
Calculating modified gravel volume involves multiplying your square footage by the intended depth (typically 4-6 inches for landings) and dividing by 27 to get cubic yards. For a standard 4×4 landing, you will need approximately 0.25 cubic yards of 21A or 3/4-inch crushed limestone. Do not guess. Accurate measurements prevent waste and ensure structural stability. You want aggregate that contains both crushed stone and fines. The fines fill the voids between the larger rocks. This creates a solid, unyielding mass once compacted. I prefer a 21A or a 3/4-inch modified. If you use clean stone, it will never lock together. It will just shift under your feet. Compaction is the goal.
The $350 Material Breakdown
| Material | Quantity | Estimated Cost |
|---|---|---|
| 3/4″ Modified Gravel | 0.5 Cubic Yard | $45.00 |
| ASTM C33 Bedding Sand | 5 Bags | $35.00 |
| Standard Concrete Pavers | 16-20 Units | $120.00 |
| Polymeric Sand | 1 Bag | $40.00 |
| Edge Restraints/Spikes | 2 Units | $50.00 |
| Rental: Plate Compactor | 4 Hours | $60.00 |
Notice the rental cost. Do not try to hand-tamp this. Your arms do not have the PSI capacity of a gas-powered plate compactor. A hand tamper is for tight corners, not for the main base. If the tamper does not literally bounce off the ground by the final pass, you are not done compacting. The ground should feel like concrete before a single grain of sand touches it.
Step-by-Step Installation Protocol
- Excavation: Dig 8 inches down. Clear all organic matter. Roots will rot and create voids.
- Geotextile Layer: Lay down a non-woven fabric. This keeps your clean gravel from sinking into the native soil.
- Base Lifts: Add gravel in 2-inch increments. Compact each lift. Do not dump it all in at once.
- Screeding: Use 1-inch PVC pipes as guides. Pull a straight board across to create a perfectly flat bedding layer.
- Setting: Drop pavers straight down. Do not slide them. Sliding ruins the flat sand bed.
- Edge Restraints: Hammer these in tight. They prevent the pavers from walking away over time.
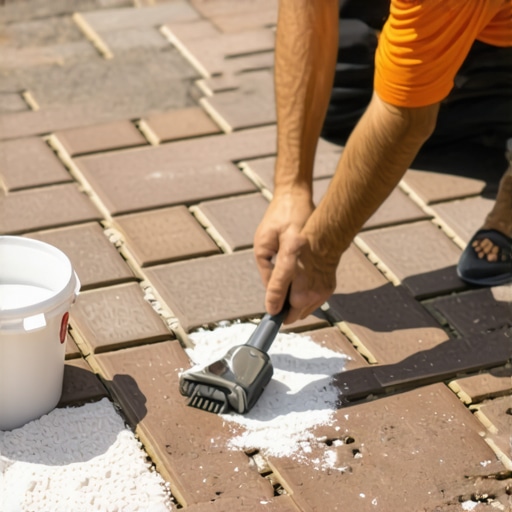
- Polymeric Sand: Sweep it into joints while the pavers are bone dry. Mist with water to activate the polymers.
Can I lay pavers on dirt?
No. Never. Laying pavers directly on dirt leads to uneven settling, weed growth, and drainage failure within months. Dirt is organic and shifts with moisture levels. A proper landing requires a compacted mineral base to distribute weight and allow water to exit the system without eroding the sub-grade. If you put stone on soil, the soil will eventually swallow the stone. It is a waste of money. You are building a structural element, not a rug. Treat it like a foundation.
“Effective pavement design relies on the transfer of loads through the interlock of units and the stability of the sub-base.” – ICPI Manual of Standards
Managing Hydrostatic Pressure
Water is the enemy of hardscaping. Even a small landing can become a dam if you do not grade it properly. Always ensure a 1 percent to 2 percent slope away from your home foundation. That is a 1-inch drop for every 4 to 8 feet of distance. If the water sits under the pavers, it will turn your bedding sand into a slurry. In winter, that slurry freezes. When it freezes, it expands. When it expands, your $350 project looks like a roller coaster. We use ASTM C33 sand because it has a specific grain size that allows for drainage while maintaining structural support. Do not use play sand. It is too fine and too round. It will wash away. You need sharp, angular sand that locks together under pressure.
The Maintenance Reality
In year one, your landing will settle. This is normal. The polymeric sand might need a small touch-up after a heavy winter. Keep it clean. Do not let leaves sit on it and rot. The tannins in leaves will stain concrete pavers. If you used a quality polymeric sand, you should not see any weeds. If you do see weeds, they are likely growing in the dust on top of the sand, not from the soil below. A quick blast with a garden hose will fix that. Do not use a pressure washer too close to the joints or you will blow the sand out. Treat the stone with respect and it will last twenty years. Skip the prep and you will be calling someone like me to fix it by next July. Do it right the first time. Dig deep. Compact hard. Measure twice. Stop buying the cheap bags of leveling sand from the big box stores. Go to a real landscape yard. Get the real aggregate. Your back and your wallet will thank you later.
“, “image”: {“imagePrompt”: “A high-angle, detailed shot of a professionally installed small paver landing next to a modern back door. The pavers are gray concrete, the joints are clean with polymeric sand, and the surrounding area shows a neatly cut lawn and a small layer of mulch. The lighting is crisp, showing the texture of the stone and the precision of the level surface.”, “imageTitle”: “Professional Paver Landing Installation Detail”, “imageAlt”: “A perfectly level $350 paver landing built with professional engineering standards.”}, “categoryId”: 5, “postTime”: “2024-05-20T10:00:00Z”}
![Build a $600 Flagstone Patio on a Sand Base [2026 DIY]](https://lawnmajesty.com/wp-content/uploads/2026/05/Build-a-600-Flagstone-Patio-on-a-Sand-Base-2026-DIY.jpeg)