![Fixing 2026 Sinking Pavers with Polymeric Sand [DIY]](https://lawnmajesty.com/wp-content/uploads/2026/07/Fixing-2026-Sinking-Pavers-with-Polymeric-Sand-DIY.jpeg)
Fixing 2026 Sinking Pavers with Polymeric Sand [DIY]
The Anatomy of a Failing Paver System
Fixing sinking pavers involves excavating the failed area, reinforcing the sub-base with 2A modified gravel, re-screeding the bedding layer of C-33 sand, and securing the joints with high-performance polymeric sand to prevent future hydrostatic displacement and weed ingress. A patio is only as stable as its lowest layer. When you see a paver dip, it is rarely the stone that failed. It is the earth beneath it. I recently got called out to tear up a $30,000 patio that was sinking because the previous contractor used stone dust as a base instead of a properly graded aggregate. Stone dust holds water. In a freeze-thaw environment, that water expands, lifting the pavers and then dropping them unevenly when the ice melts. It is a slow-motion disaster. We had to excavate 12 inches of muck and start from scratch. Do not let this happen to your project. Use a 2A modified crushed stone base. Compact it in three-inch lifts. If you skip the plate compactor, you are just wasting money.
The Physics of Sinking Pavers
Hydrostatic pressure and poor drainage are the primary enemies of hardscape longevity. When water cannot escape the sub-base, it creates a saturated state that turns soil into slurry. This is why soil grading is the most critical step in any hardscape project. You need a minimum 2 percent slope away from any structures. That is a 1-inch drop for every 4 feet of run. Without this, water sits. It rots the base. It destroys the interlock.
“A retaining wall doesn’t fail because of the stone; it fails because of the water trapped behind it.” – Hardscape Engineering Axiom
How much modified gravel do I need for a patio base?
To calculate gravel needs, multiply the total square footage by the depth of the base in feet, then divide by 27 to get cubic yards, ensuring you account for a 20 percent compaction factor. For a standard residential patio, you need a 6-inch base of compacted aggregate. If the soil is heavy clay, you may need 8 to 10 inches. Clay expands when wet. It shrinks when dry. This movement will snap your polymeric sand joints if the base is too thin. Use a non-woven geotextile fabric between the subgrade soil and your gravel base. This prevents the gravel from migrating into the soil. It is a small cost for a massive increase in lifespan. Stop the migration.
| Material Layer | Standard Thickness | Purpose | Critical Spec |
|---|---|---|---|
| Sub-base | 6-10 Inches | Load Bearing | 95% Proctor Density |
| Bedding Sand | 1 Inch | Leveling | ASTM C-33 Coarse Sand |
| Paver Units | 2.375 Inches | Wear Surface | 8,000 PSI Strength |
| Jointing Sand | Full Depth | Interlock | Polymeric Binder |
The Step-by-Step Polymeric Sand Remediation
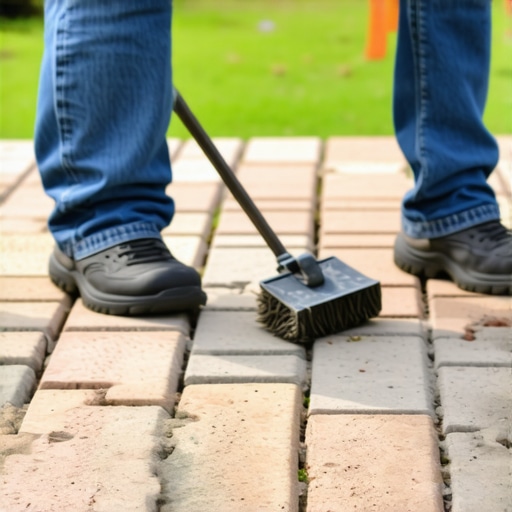
First, remove the affected pavers. Do not just pry them up with a screwdriver; you will chip the edges. Use two thin-bladed putty knives or a professional paver extractor. Once removed, inspect the bedding sand. If it is contaminated with dirt, scoop it out. You need a clean, 1-inch layer of C-33 angular sand. Do not use play sand. Play sand is round. Round grains roll over each other like ball bearings. Angular sand locks together. Re-level the area with a screed pipe. Check your pitch. Set the pavers back in place, leaving a 1/8-inch joint. Use a rubber mallet to set the height. Now comes the polymeric sand. This is a mix of graded sand and binders that harden when wet. It prevents weeds. It stops ants. It locks the pavers into a monolithic slab. This is the goal.
Can you put new polymeric sand over old sand?
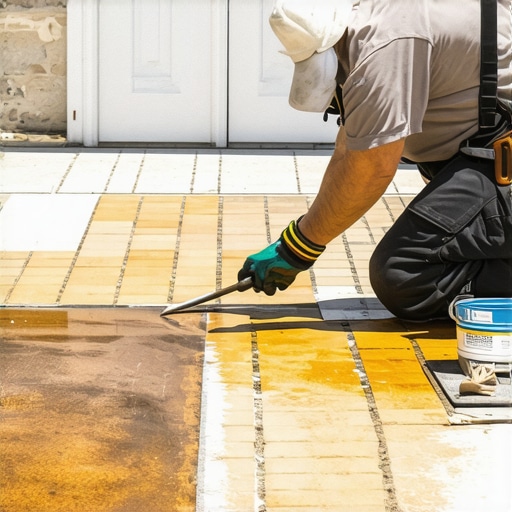
You cannot simply layer new polymeric sand over old, degraded joint filler because the new material will fail to bond, leading to premelling and cracking within the first season. You must pressure wash the old joints out to a depth of at least 1.5 inches. Let the pavers dry completely. I mean 24 hours of zero rain. If the pavers are damp, the polymers will activate on the surface and create a white, hazy mess called poly-haze. It is a nightmare to clean. Use a leaf blower to get every speck of dust off the surface before you mist it with water. Mist, do not flood. If you flood it, you wash the binders out of the sand. You are left with plain sand that won’t harden. Follow the manufacturer’s instructions exactly.
“Proper compaction of the subgrade and base layers to 95 percent of the standard Proctor density is critical for long-term pavement performance.” – ICPI Tech Spec 2
- Excavate: Remove failed material to 8 inches minimum.
- Filter: Install non-woven geotextile fabric.
- Base: Fill with 2A modified gravel in 3-inch lifts.
- Compact: Use a vibratory plate compactor until the base rings like an anvil.
- Screed: Apply 1 inch of ASTM C-33 sand.
- Sand: Sweep in polymeric sand and vibrate into joints.
Maintaining the Interlock for 2026 and Beyond
Maintenance is not optional. Every three years, inspect your joints. If you see cracks, clean them and add more sand. Keep organic matter off the surface. Wet leaves release tannins that stain stone. They also provide a growing medium for moss. Moss holds moisture. Moisture breaks down polymers. It is a cycle. Use a breathable sealer every 3 to 5 years. Avoid film-forming sealers that trap moisture. Trapped moisture leads to efflorescence. That is the white salt that migrates to the surface. It looks terrible. Use a penetrating silane-siloxane sealer instead. It protects without suffocating the stone. Hardscaping is an investment in civil engineering. Treat it like one. Don’t be a hack.