How to Create a DIY Bubbling Rock Fountain in One Weekend
The Hardscape Autopsy: Why Most DIY Fountains Fail
I recently got called out to tear up a $30,000 patio that was sinking because the previous contractor failed to account for water migration from a poorly installed bubbling rock. The homeowner thought they were saving money by skipping the basin liner and using a cheap pond-less kit that leaked 50 gallons a day into the sub-grade. This saturated the modified gravel base, turned the limestone screenings into muck, and the entire $15,000 paver installation buckled. It was a disaster. If you do not control where the water goes, gravity will use that water to destroy your hardscaping. A fountain is not a decoration; it is a closed-loop hydraulic system that requires structural integrity and precise engineering. Don’t be the person who floods their foundation because they wanted a weekend project.
Site Selection and Structural Planning
Selecting a site for a DIY bubbling rock fountain requires analyzing soil drainage, proximity to electrical GFCI outlets, and tree canopy interference to prevent debris from clogging the submersible pump. You cannot just dig a hole anywhere. You need to check for utility lines by calling 811. If you hit a gas line, your weekend project becomes a federal case. The site must be level or slightly sloped away from your home’s foundation to prevent hydrostatic pressure buildup against the basement walls. Avoid low spots where surface runoff will contaminate your fountain’s reservoir with silt and nitrogen-heavy lawn runoff.
“A retaining wall doesn’t fail because of the stone; it fails because of the water trapped behind it.” – Hardscape Engineering Axiom
How much modified gravel do I need for a fountain base?
For a standard 3-foot bubbling rock, you need approximately 0.5 cubic yards of 2B modified gravel to create a stable, 6-inch deep compacted base under the reservoir. This prevents the heavy boulder from settling unevenly over time, which would cause the water to flow off one side rather than bubbling evenly over the entire surface.
Material Science: Choosing the Right Rock and Reservoir
The success of your garden design depends on the porosity and density of the stone you select, as well as the mil-thickness of your reservoir liner. Do not buy stones from a big-box store. Go to a real stone yard. You want igneous rocks like basalt or granite because they are non-porous and won’t flake apart after three winters of freeze-thaw cycles. Sandstone is a trap; it absorbs water, and when that water freezes, the rock shatters. For the reservoir, skip the plastic tubs. Use a 45-mil EPDM rubber liner. It is the industry standard for a reason. It handles shifting ground without cracking.
| Stone Type | Density (lbs/ft3) | Porosity | Drill Difficulty |
|---|---|---|---|
| Basalt Column | 180-190 | Very Low | High (Needs Diamond Bit) |
| Granite Boulder | 165-175 | Low | Moderate |
| Sandstone | 140-150 | High | Easy (Avoid) |
| Limestone | 155-165 | Medium | Moderate |
The Excavation and Hydraulic Setup
Proper excavation for a landscaping water feature involves digging a hole 20% wider than your basin and deep enough to accommodate 4 inches of compacted sand, the EPDM liner, and the pump vault. The vault is non-negotiable. If you bury your pump in gravel, you will have to dig up the whole fountain when the intake screen gets clogged with pine needles. The vault allows for easy maintenance access. When plumbing, use 1-inch flexible PVC pipe. Do not use the thin corrugated tubing that comes in cheap kits; it kinks and reduces your Gallons Per Hour (GPH) flow significantly due to friction loss.
What size pump do I need for a bubbling rock?
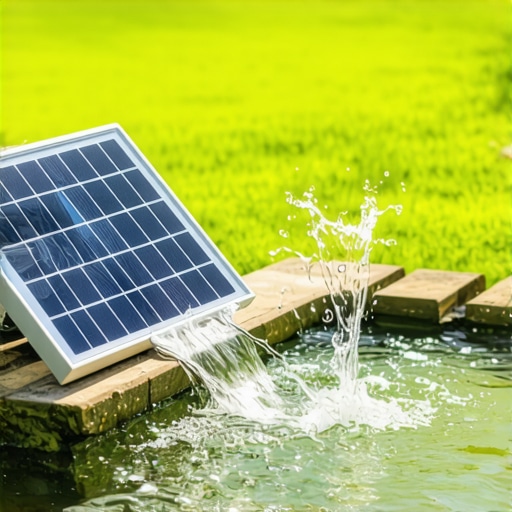
To calculate pump size, determine the “head height”—the distance from the pump to the top of the rock. Most bubbling rocks require a pump rated for 500 to 1,000 GPH at a 5-foot head to achieve a robust gurgle. A common mistake is undersizing the pump, resulting in a weak trickle that looks more like a leaky pipe than a fountain.
The Installation Checklist
- Utility Check: Call 811 before digging.
- Excavation: Dig 6 inches deeper than the basin height.
- Leveling: Use a 4-foot level to ensure the basin floor is perfectly flat.
- Liner Protection: Lay down a non-woven geotextile underlayment before the EPDM liner.
- Plumbing: Secure all connections with stainless steel hose clamps.
- Pump Test: Run the pump before backfilling with decorative gravel.
- Electrical: Plug into a dedicated GFCI-protected circuit only.
“Proper soil compaction is the difference between a permanent landscape feature and a temporary pile of rocks.” – Civil Engineering Soil Manual
The Physics of Water Flow: Leveling and Shimming
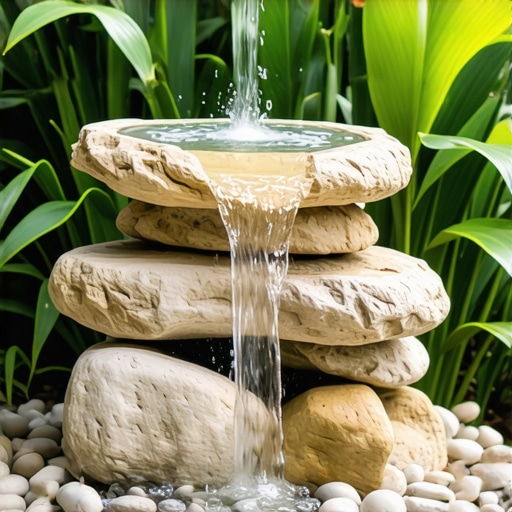
Achieving the perfect 360-degree flow on a hardscaping feature requires precision shimming using small pieces of slate or composite wedges. Once the rock is placed on the support grate, fill the reservoir and turn on the pump. Water will naturally follow the path of least resistance. If it’s only flowing down the north side, use a pry bar to slightly lift the south side and slide a shim underneath. It takes patience. We’re talking 1/8-inch adjustments. Don’t rush this. If the rock isn’t level, the water won’t coat the surface, and the stone will look dry and unfinished on one side.
Winterization and Long-Term Maintenance
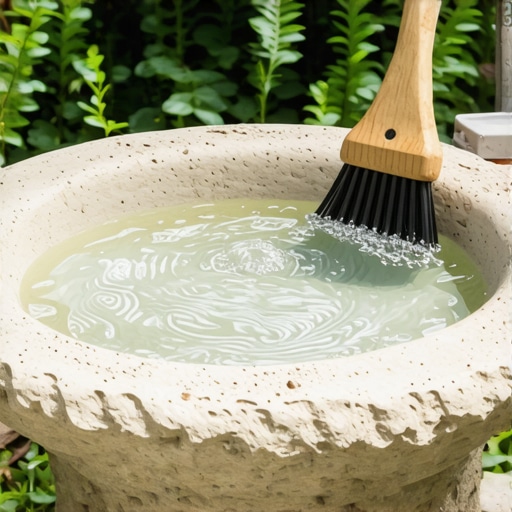
In regions with freeze-thaw cycles, you must protect your lawn care investment by either removing the pump or keeping the water moving. If you leave a pump in stagnant water that freezes solid, the ice expansion will crack the pump housing. I tell my clients: if the air temperature stays below 20 degrees for more than 48 hours, pull the pump and store it in a bucket of water in the garage. This keeps the seals from drying out. Check your water level weekly. Evaporation is real. If the pump runs dry, it will burn out the motor in hours. It’s a mechanical tool, not a miracle. Treat it with respect. Use a microbial cleaner once a month to keep algae from turning your basalt column into a slippery green mess.