![Build a $500 Timber Retaining Wall [Step-by-Step]](https://lawnmajesty.com/wp-content/uploads/2026/09/Build-a-500-Timber-Retaining-Wall-Step-by-Step.jpeg)
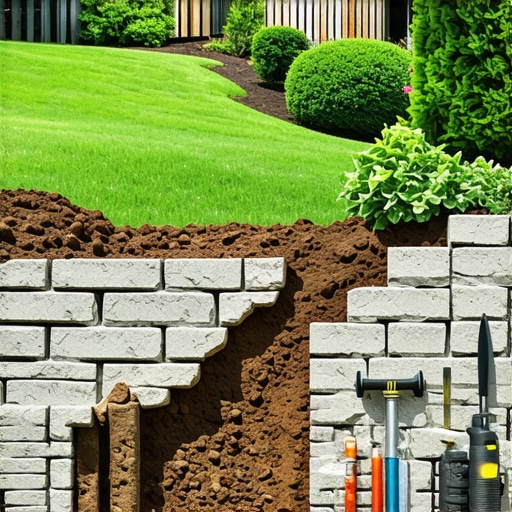
Build a $500 Timber Retaining Wall [Step-by-Step]
The $500 Timber Wall Blueprint
Building a timber retaining wall for under $500 requires a marriage of structural engineering and frugal material sourcing. To succeed, you must focus on the base-layer compaction and hydrostatic pressure management rather than just the cosmetic appearance of the wood. A wall that looks good on day one but leans on day 300 is a failure of physics. I recently got called out to tear up a $30,000 patio that was sinking because the previous contractor failed to address the 3/4-inch clean stone drainage behind the wall. He used dirt as backfill. The result? Total structural collapse. If you want your $500 investment to last 20 years instead of two, you have to treat it like a civil engineering project. Every inch of soil you move has a weight and a pressure coefficient that must be countered by your build technique. One wrong move and your backyard becomes a mudslide. Pay attention now.
“A retaining wall doesn’t fail because of the stone; it fails because of the water trapped behind it.” – Hardscape Engineering Axiom
What is the cheapest material for a 3 foot retaining wall?
The most cost-effective material for a 3-foot retaining wall is pressure-treated 6×6 timber (specifically UC4B rated for ground contact) because it provides the necessary mass to resist soil shear at a lower price point than segmental concrete blocks or natural stone. While 4×4 timbers are cheaper, they lack the surface area and weight to stay true over time. For a $500 budget, you are looking at a wall roughly 15 to 20 feet long and 2 feet high. This includes your timbers, #57 stone for drainage, and galvanized spikes. Do not buy the ‘landscape timbers’ sold at big-box stores for $4. Those are peeler cores from plywood mills. They will rot in three years. You need structural-grade timber. It must be rated for burial. Check the tag on the end of the wood. If it doesn’t say ‘Ground Contact,’ put it back.
How deep should a timber retaining wall be buried?
At least one full course of timber, or 6 inches, must be buried below the finished grade to prevent toe-out failure. This burial depth, known as the ’embedment,’ provides the lateral resistance needed to keep the bottom of the wall from sliding forward under the weight of the saturated soil behind it. If your wall is over 3 feet tall, you need to go deeper. Physics does not negotiate. You also need to consider the frost line. In northern climates, the ground expands when it freezes. If your base isn’t solid, that expansion will heave your wall out of alignment. I see it every spring. It is a mess to fix.
| Material Type | Estimated Cost (per LF) | Durability (Years) | Structural Rating |
|---|---|---|---|
| 4×4 Treated Pine | $8 – $12 | 5-8 | Low |
| 6×6 Treated Pine (UC4B) | $15 – $22 | 15-25 | High |
| Segmental Concrete Block | $25 – $45 | 50+ | Very High |
| Natural Fieldstone | $40 – $80 | 100+ | Variable |
The Critical 6-Inch Base: Why Your Wall Will Probably Fail
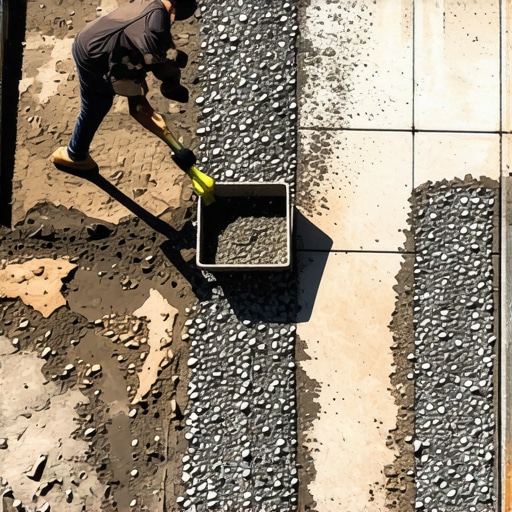
Most DIYers fail at the excavation phase. They think they can just lay wood on the grass. You can’t. You need a trench that is twice as wide as your timber and at least 12 inches deep. The bottom 6 inches of that trench must be filled with crushed limestone (3/4-inch minus) and compacted until it sounds like concrete when you hit it with a tamper. This creates a stable platform that won’t settle unevenly. The coefficient of friction between the bottom timber and the compacted gravel is what keeps the wall from moving. Without this, the wall is just a fence holding back a mountain. Use a plate compactor if you can. If not, use a hand tamper until your arms ache. Don’t skip this. It is the most important part of the job.
Why UC4B Timber Matters
Not all pressure-treated wood is the same. Most wood you find at the store is rated UC3B, which is for ‘Above Ground’ use. For a retaining wall, you need UC4B (Ground Contact – Heavy Duty). This wood is saturated with Micronized Copper Azole (MCA) or Alkaline Copper Quat (ACQ) at a much higher retention level. This prevents rot and termite damage. If you use UC3B, the microorganisms in the soil will eat your wall within a decade. It will rot. It will fail. Spend the extra money on the right wood. It is the difference between a lifetime wall and a weekend disaster.
“Timber structures in contact with soil require preservative retention levels that meet or exceed American Wood Protection Association (AWPA) Use Category 4B standards to ensure long-term structural viability.” – USDA Forest Products Laboratory Manual
Step-by-Step Installation Process
- Step 1: Excavation. Dig your trench 12 inches deep and 12 inches wide. Ensure the bottom is level.
- Step 2: Base Prep. Fill the bottom 6 inches with crushed stone and compact in 2-inch lifts.
- Step 3: The First Course. Lay your first timber. Use a 4-foot level. This timber must be perfectly level in both directions. If it is off by 1/8th of an inch now, it will be off by 2 inches by the time you reach the top.
- Step 4: Spike and Drill. Drill 1/2-inch pilot holes through the timbers and drive 12-inch galvanized spikes or TimberLok screws into the base/previous course.
- Step 5: The Deadman. Every 6 to 8 feet, install a ‘deadman’ timber. This is a timber that runs perpendicular to the wall, extending back into the hillside. It acts as an anchor.
- Step 6: Drainage Tile. Lay a 4-inch perforated French drain pipe behind the first course. Wrap it in a filter fabric ‘sock’ to prevent silt from clogging it.
- Step 7: Backfill. Use 3/4-inch clean stone for the first 12 inches of backfill behind the wall. This allows water to drop straight to the drain pipe instead of pushing against the wood.
Managing Hydrostatic Pressure
Water is the enemy of every hardscaping project. One cubic foot of saturated soil can weigh over 100 pounds. Without proper drainage, that weight is pushed directly against your timbers. This is hydrostatic pressure. By using clean stone (no fines) behind the wall, you create a path of least resistance for the water. The water flows down to your perforated pipe and exits through ‘weep holes’ or out the ends of the wall. If you use native soil as backfill, it will trap the water, expand when wet, and eventually pop your spikes. I have seen 12-inch spikes bent like pipe cleaners by the power of wet clay. Do not use dirt behind the wall. Use stone.
Maintaining Your $500 Investment
Once the wall is up, the work isn’t done. In the first year, you will see some checking in the wood. These are long cracks that appear as the timber dries out. This is normal and doesn’t affect structural integrity. However, you should check your drainage outlets after every major rainstorm. If water isn’t coming out of the pipe, you have a clog. Clear it immediately. Also, keep mulch volcanoes away from the wall face. Mulch holds moisture against the wood and can accelerate decay even in treated timber. Keep it clean. Keep it dry. Your wall will thank you.