The best stone for a natural-looking waterfall
The Anatomy of a Natural Waterfall Build
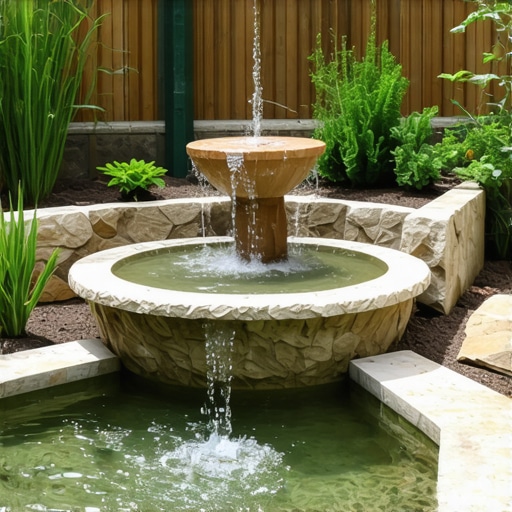
Selecting the best stone for a natural-looking waterfall involves prioritizing weathered fieldstone or granite boulders over manufactured materials to ensure geological authenticity. The stone must possess low porosity to withstand constant moisture and have irregular shapes that facilitate turbulent water flow and oxygenation. Most residential water features look fake because the contractor used ’round’ river rocks that don’t exist in vertical ledge environments. I recently got called out to tear up a $30,000 waterfall and pond system that was leaking 500 gallons a day because the previous contractor used porous limestone in a high-freeze zone without a proper EPDM liner protection layer. They didn’t understand that stone isn’t just a decoration; it is a structural element under constant hydrostatic pressure. [image_placeholder_1]
The Engineering Blueprint for Stone Selection
Success starts with geology. If you live in a region with heavy red clay, like parts of the Southeast, using bright white West Coast granite looks jarring and artificial. You need to match the ‘local color’ even if you are importing the stone. I tell my crew: if the stone looks like it was dropped there by a crane, we failed. It should look like the water carved its way through the stone over a thousand years. This means using ‘weathered’ faces. These are the sides of the rock that were exposed to the elements before they were quarried. They have the lichen, the moss, and the oxidized mineral colors that scream ‘natural.’ Don’t let a supplier sell you ‘freshly split’ stone for a waterfall face. It looks like a construction site, not a stream.
“A retaining wall doesn’t fail because of the stone; it fails because of the water trapped behind it.” – Hardscape Engineering Axiom
Material Comparison Table
| Stone Type | Density (lbs/ft³) | Porosity Level | Best Use Case |
|---|---|---|---|
| Fieldstone | 160-170 | Low to Medium | Main structural boulders and weir stones. |
| Granite | 165-175 | Very Low | High-flow areas and freeze/thaw climates. |
| Slate/Flagstone | 170-180 | Low | Creating thin, sheet-like ‘curtain’ falls. |
| Feather Rock | 50-60 | High | Large visual impact with low weight (pumice). |
The Science of Flow and Sound
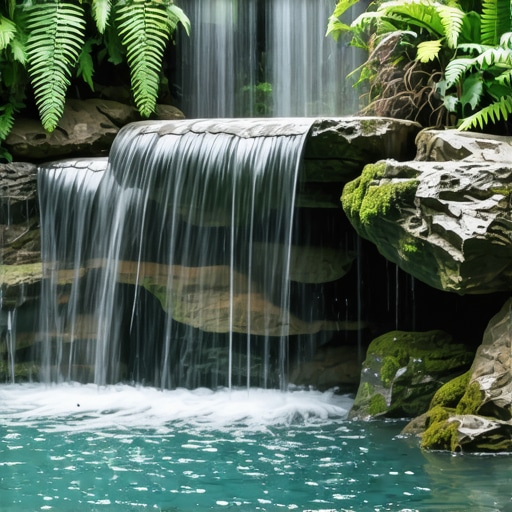
The best stone for a natural-looking waterfall is actually a combination of three types: the weir stone, the frame stone, and the splash stone. The weir stone is the flat, horizontal piece the water actually falls over. I prefer deep-cleft slate for this. The ‘cleft’ refers to the natural ridges in the stone. These ridges break up the water tension. If the stone is too smooth, the water will ‘wick’ back under the rock and leak behind your liner. You need a sharp drip edge. Frame stones are the massive boulders that sit on either side of the weir. These should be 2 to 3 times the size of the weir stone to create a sense of scale. The splash stone sits in the basin. It needs to be a hard, non-porous rock like granite to handle the constant 24/7 pounding without eroding into silt that clogs your pump. [image_placeholder_2]
How much flow rate do I need for a stone waterfall?
Calculating waterfall flow rates requires measuring the weir width and the vertical head pressure of your pump system. To achieve a ‘standard’ natural look, you need approximately 1,500 gallons per hour (GPH) for every 1 foot of waterfall width. For a ‘heavy’ crashing sound, you must increase this to 3,000 GPH per foot. Don’t guess. Use a flow meter. Most ‘mow-and-blow’ hacks will put a 2,000 GPH pump on a 3-foot wide waterfall. It ends up looking like a leaking faucet. It’s pathetic. You need the volume to create the white water effect. White water is just air being trapped in the flow. No air, no sound, no ‘natural’ look.
What is the most durable stone for a backyard waterfall?
Igneous rocks like granite and basalt are the most durable stones for waterfalls because they are formed under extreme heat and pressure, resulting in minimal water absorption. Avoid soft sandstones or shale, which will delaminate or ‘flake’ after three or four winter cycles. If you use a stone with a high calcium carbonate content, like some limestones, the water chemistry will slowly dissolve the rock, raising the pH of your pond to toxic levels for fish. Stick to chemically inert stones. If you’re unsure, do the ‘acid test’: drop a bit of white vinegar on the stone. If it fizzes, keep it out of your water feature. It will rot.
The Installation Checklist
- Call 811 to mark underground utility lines before any excavation.
- Lay down 8oz non-woven geotextile fabric before the EPDM liner.
- Use professional-grade black waterfall foam to seal gaps between stones.
- Step your boulders back into the grade to prevent ‘wall-of-rock’ syndrome.
- Compact the base soil to 95% Proctor density to prevent settling.
“The stability of any hardscape structure is directly proportional to the integrity of its sub-grade compaction and drainage pathways.” – ICPI Installation Standards
While the internet tells you to just stack some rocks and turn on a hose, real hardscaping requires understanding hydrostatic pressure. Water is heavy. One cubic foot of water weighs 62.4 pounds. When that water is moving, it exerts lateral force on your stones. If you don’t ‘key’ your boulders into the soil, the water will eventually push them out of place. We ‘key’ them by burying the bottom third of the stone. This makes the stone look like it’s growing out of the ground. It also provides the structural leverage needed to hold back the weight of the hill. I always drill into my new crew members: if you don’t fix the soil grading first, every plant or stone you put in the ground is just expensive compost. You’re building a dam, not a decoration. Treat it like civil engineering.
Long-Term Maintenance and Year One Expectations
In the first year, expect the ‘settling in’ phase. Even with 95% compaction, the weight of 5 tons of fieldstone will cause micro-shifts in the soil. This is why you must leave ‘slack’ in your EPDM liner. If the liner is tight like a drum skin, a 1-inch shift in a boulder will tear it. Use plenty of folds. These folds also provide surface area for beneficial bacteria to colonize. Your water will look tea-colored for the first month as tannins wash off the stones and mulch. Don’t panic. Don’t dump chemicals in it. Let the nitrogen cycle establish itself. Deep, infrequent maintenance is better than constant tinkering. Check your pump intake for leaf debris once a week. That’s it. Let the biology do the work.
![Build a $250 2026 Backyard Waterfall [Step-by-Step]](https://lawnmajesty.com/wp-content/uploads/2026/07/Build-a-250-2026-Backyard-Waterfall-Step-by-Step.jpeg)
![Build a $200 Solar Pond Fountain [2026 DIY Project]](https://lawnmajesty.com/wp-content/uploads/2026/05/Build-a-200-Solar-Pond-Fountain-2026-DIY-Project.jpeg)