How to Build a Custom Cedar Trellis for Under $40
The Structural Foundation of High-End Garden Design
Building a custom cedar trellis for under $40 requires a shift from cosmetic thinking to structural engineering and horticultural logic using rot-resistant Western Red Cedar and galvanized fasteners. Most homeowners buy flimsy, stapled-together lath from big-box stores that collapses under the weight of a mature Clematis or Wisteria within two seasons. A professional-grade trellis is a piece of permanent hardscape that must withstand 70mph wind gusts and the relentless moisture of a soil-heavy environment. I always drill into my new crew members: if you don’t fix the structural integrity and soil grading first, every plant you put in the ground is just expensive compost. You cannot support a $150 perennial with a $10 piece of scrap wood. We build for the long haul, focusing on the thujaplicins found naturally in cedar that resist fungal decay, and the shear strength of our joints. If your trellis wobbles now, it will fail when the plant reaches 40 pounds of wet foliage weight. Don’t skip the prep work.
The Engineering Phase: Why 80% of the Work Happens Before the Cut
To plan a professional trellis, you must calculate wind load, plant mature weight, and fastener shear strength to ensure the cedar structure survives decade-long exposure. Most DIYers forget that a trellis is essentially a sail in a windstorm. When it is covered in thick vine growth, it catches every ounce of pressure. We use rough-sawn Western Red Cedar because of its dimensional stability. Unlike pressure-treated pine, it won’t twist into a pretzel as it dries.
“Wood used in ground contact or near-soil environments must possess natural durability or chemical protection to prevent the colonization of basidiomycete fungi.” – Forest Products Laboratory Technical Manual
What is the best wood for a DIY trellis?
Western Red Cedar is the industry standard for custom trellises because of its natural resistance to rot, termites, and moisture-induced warping. While Redwood is an alternative in Western regions, Cedar provides the best strength-to-weight ratio for a $40 budget, especially when sourced in 1×2 and 2×2 dimensions. Do not use white wood or untreated pine; they will rot within 18 months.
| Material Type | Expected Lifespan | Rot Resistance | Average Cost (8ft) |
|---|---|---|---|
| Western Red Cedar | 15-20 Years | High (Natural Oils) | $3.50 per 1×2 |
| Pressure Treated Pine | 10-12 Years | Chemical (High Warp) | $2.80 per 1×2 |
| Untreated Pine/Fir | 1-2 Years | None | $1.50 per 1×2 |
| Vinyl/Plastic | 5-10 Years | N/A (Brittleness Risk) | $25.00+ |
The Materials Breakdown: Staying Under a $40 Budget
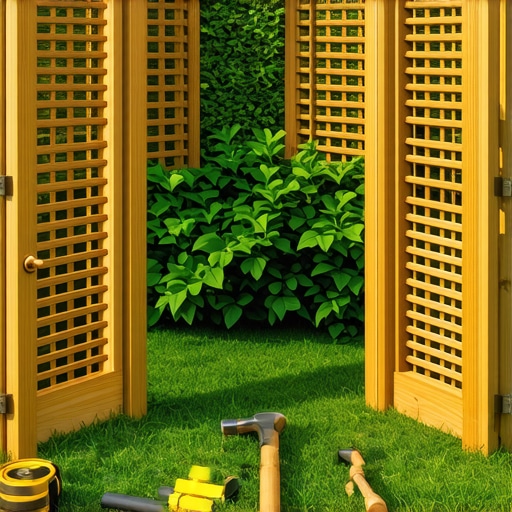
Achieving a professional result for under $40 requires sourcing rough-sawn lumber and utilizing 1-1/4 inch exterior-grade galvanized screws rather than stainless steel to maintain the price point. You can’t walk into a boutique hardware store and expect these prices. Go to a dedicated lumber yard. You need four 2x2x8 cedar posts and six 1x2x8 cedar strips. This gives you the vertical backbone and the horizontal rungs needed for a standard 6-foot-tall trellis with 2 feet of ground burial or mounting clearance. [image_placeholder_1] Use a 1/8-inch drill bit for pre-drilling. If you drive a screw into cedar without a pilot hole, the grain will split. It is a certainty.
- (4) 2x2x8′ Western Red Cedar Posts
- (6) 1x2x8′ Western Red Cedar Strips
- (1) Small box of 1-1/4″ Galvanized Exterior Screws
- (1) Bottle of Titebond III Ultimate Wood Glue (Waterproof)
- (2) 24-inch rebar stakes (for ground anchoring)
The Build: Half-Lap Joinery and Mechanical Fastening
The secret to a trellis that doesn’t rack or lean is mechanical fastening combined with waterproof wood glue at every intersection to create a rigid geometric frame. I see hacks using staples or finish nails. Those pull out the second the wood swells in the rain. We use a simple lap joint or a direct face-mount with a pilot hole. Layout your vertical 2x2s on a flat garage floor. Square them using the 3-4-5 triangle method. If your frame isn’t square, your garden will look like it was built by a drunk. Space your horizontal rungs every 12 inches. This spacing is critical for thigmotropic plants—those that climb by touch. If the rungs are too far apart, the vine spends all its energy searching for a grip rather than producing flowers.
“A plant support system must be matched to the climbing mechanism of the specific cultivar, whether it be twiners, tendrils, or scramblers.” – American Horticultural Society Manual
How do you secure a trellis to the ground?
To secure a trellis permanently, you must drive 24-inch rebar stakes into the soil and zip-tie or bolt the cedar posts to them, ensuring the wood stays 2 inches above the soil line. This is a pro-tip most amateurs miss. Never bury the cedar directly in dirt. Even cedar will eventually succumb to constant hydrostatic pressure and microbial activity in the soil. By keeping the wood elevated and attached to rebar, you break the moisture bridge. It stays dry. It lasts longer.
The Biological Component: Matching the Trellis to the Root System
A trellis is more than a frame; it is a biological ladder that must facilitate airflow to prevent powdery mildew and fungal pathogens on the plant’s foliage. When you install your trellis, you must consider the drip line of the plant. Don’t jam the trellis right against the main root flare. Give the plant 6 inches of breathing room. If you crowd the root flare, you create a pocket of stagnant air. That leads to crown rot. I’ve seen $5,000 landscapes ruined because someone hammered a trellis through a primary lateral root. Be precise. Check for utility lines. Use a hand trowel to find the roots before you drive those rebar stakes. The health of the soil determines the vigor of the vine. If your soil is compacted clay, your cedar trellis will sit in a bathtub of water. Amend the area with expanded shale or organic compost to ensure drainage. It matters.
Maintenance and the One-Year Checkup
After the first season, cedar will weather to a silver-grey patina, which is a natural oxidation process that doesn’t compromise the structural integrity of the wood fibers. You don’t need to stain it. In fact, most cheap stains peel and look like garbage after a winter. If you want to maintain the orange hue, use a UV-rated penetrating oil. Every spring, check the screws. The freeze-thaw cycle in many regions will try to back those screws out. Give them a quarter turn if they’re loose. Ensure the vine isn’t girdling the wood. If a vine like Wisteria gets too thick, it can actually crush a 2×2 cedar post. Prune aggressively. A trellis is a guide, not a cage. Build it right, and you won’t be back here in two years tearing it out. Quality isn’t expensive; it’s a requirement.
![Build a $300 Retaining Wall with Cinder Blocks [2026 DIY]](https://lawnmajesty.com/wp-content/uploads/2026/06/Build-a-300-Retaining-Wall-with-Cinder-Blocks-2026-DIY.jpeg)