How to Fix a Wobbly Wooden Fence Post Permanently
The Forensic Autopsy of a Leaning Fence
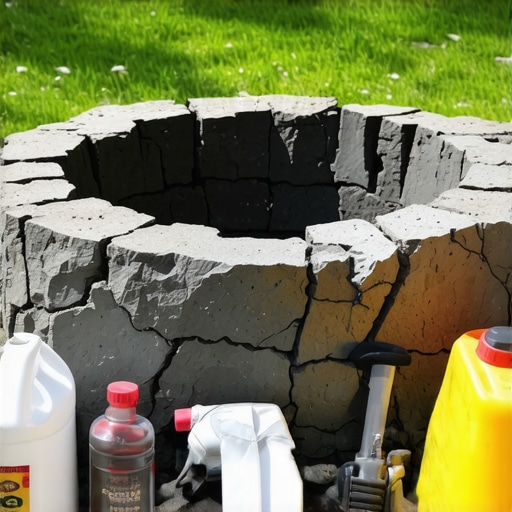
I recently got called out to tear up a $30,000 patio that was sinking because the previous contractor failed to realize that fence posts and hardscape bases are part of the same hydrological system. The fence was listing at a 15 degree angle, and the homeowner thought they just needed more concrete. They were wrong. When I excavated the post, I found a classic hardscape autopsy: a massive, bell-shaped concrete plug that acted like a bucket, holding water directly against the wood. The post hadn’t just ‘wobbled’; it had rotted from the inside out because it was perpetually submerged in a micro-pond of its own making. This is what happens when you prioritize speed over soil science. If you don’t fix the drainage and the structural base, you aren’t fixing a fence; you are just delaying a total collapse.
Why Fence Posts Wobble and Fail
A fence post wobbles because of soil displacement or structural decay at the pivot point, typically occurring within the first 12 inches of the soil profile. To fix it permanently, you must address hydrostatic pressure and ensure the footer extends below the local frost line to prevent seasonal heaving.
“Wood rot is most prevalent at the ground-line where moisture, oxygen, and fungi are all present in a perfect trifecta for cellulose degradation.” – Agricultural Extension Forest Products Lab
How deep should a 4×4 fence post be in the ground?
For a permanent, professional-grade installation, a 4×4 post must be buried at least one-third of its total height. In areas with deep winters, the footer must extend 6 to 12 inches below the frost line to prevent the ground from physically ejecting the post during freeze-thaw cycles. Skip this and the frost will win every time.
Can you fix a fence post without digging it up?
While metal repair spurs can provide a temporary fix for a post that is broken at the base, permanent stabilization requires excavation. If the wood is rotted, no amount of ‘quick-fix’ foam or surface-level bracing will restore the structural integrity required to withstand high-wind loads or the weight of a heavy gate. It is a waste of money.
The Professional Material Matrix
| Method | Longevity | Engineering Pros | Engineering Cons |
|---|---|---|---|
| Concrete Plug (Standard) | 10-15 Years | High mass, high stability initially | Traps moisture, causes ground-line rot |
| Gravel-Only Backfill | 20+ Years | Excellent drainage, easy to adjust | Requires heavy mechanical tamping |
| Concrete Frustum (Tapered) | 25+ Years | Sheds water, resists frost heave | High labor intensity during pour |
| Steel Post Sleeves | 40+ Years | Immune to rot and insects | Higher initial material cost |
The Science of Soil Failure and Wood Decay
Soil is not a static solid. It is a porous medium that expands and contracts based on moisture content and temperature. When a post wobbles, it has created a ‘void’ in the soil mantle. In heavy clay soils, this void fills with water, softening the surrounding earth until the post acts like a spoon in a bowl of pudding. Furthermore, we have to talk about the Lignin breakdown. Fungi like *Gloeophyllum trabeum* thrive in the 20-30 percent moisture range. A concrete ‘collar’ around a post effectively seals that moisture in, creating a slow-motion rot chamber. To fix this permanently, we move toward the ‘Gravel Trench’ or ‘Tapered Concrete’ method. We want the water to move away from the wood, not sit against it.
“A fence post’s stability is dependent on the shear strength of the surrounding soil and the depth of the embedment relative to the wind-load surface area.” – ICPI Hardscape Engineering Axiom
Step-by-Step: The Professional Stabilization Protocol
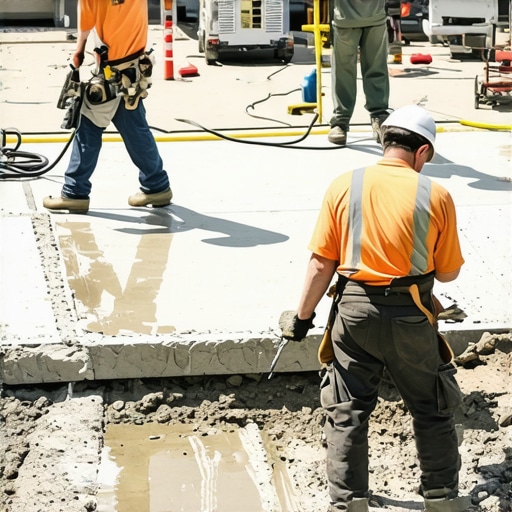
To fix a post permanently, you must be prepared to do the ‘dirty work’ of excavation. We do not use the expanding foam products found in big-box stores. They lack the compressive strength of a properly compacted stone base. Follow this checklist for a fix that will outlive the fence panels themselves:
- Excavate the Failure Zone: Dig out the old concrete or loose soil to a diameter three times the width of the post.
- Establish a Drainage Layer: Pour 6 inches of 3/4-inch clean crushed stone at the bottom of the hole. This prevents the post from ‘sitting’ in water.
- The Frustum Pour: If using concrete, pour it so it is wider at the bottom than the top, and slope the surface away from the post above the soil line.
- Mechanical Compaction: If using gravel backfill, use a heavy tamping bar to compact the stone in 3-inch lifts. It should sound like a drum when you hit it.
- Seal the Pivot Point: Apply a heavy-duty bituthene sealer or wood preservative to the 12 inches of the post that will sit at the air-to-soil interface.
Engineering the Post Base
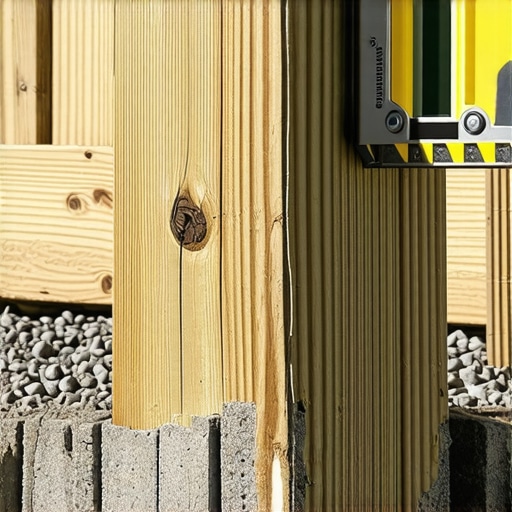
Don’t be a ‘mow-and-blow’ hack. When you set your post, the verticality must be checked with a 4-foot level on two adjacent sides. But the real secret is the internal friction of the backfill. When we use a modified 21A or 57 stone, we are creating a structural mass that distributes the lateral load of the fence across a wider surface area of the native soil. This reduces the PSI exerted on the soil walls, preventing that ‘wobble’ from ever starting. If you are in a high-wind area, the physics of a 6-foot privacy fence act like a giant sail. You need the mass of the earth to work with you. Always call 811 before you dig. Striking a secondary gas line or a fiber optic cable will make your wobbly fence the least of your problems. Get it right the first time. It’s cheaper than doing it twice. Period.