
The Forensic Reality of a $30,000 Hardscape Failure
I recently got called out to tear up a $30,000 patio that was sinking because the previous contractor decided he knew better than the laws of physics. The pavers were dipping, the joints were blown out, and the homeowner was looking at a total loss. When we pulled the first dozen Techo-Bloc units, the problem was immediately visible: the aggregate base had mixed with the clay subgrade. The expensive gravel had literally disappeared into the mud. This happens because of a phenomenon called subgrade migration. Without a separation layer, the weight of the pavers and the vibration of foot traffic pump the fine soil particles up into the voids of your gravel. This ruins the structural integrity of your base. It will fail. Every time. I always tell my crew that if you do not respect the dirt, the dirt will reclaim your work. This article breaks down exactly how to prevent that for less than the cost of a couple of pizzas.
The $20 Hack: Non-Woven Geotextile Separation
The $20 hack to stop your 2026 pavers from shifting is the installation of a non-woven geotextile fabric between the raw soil and your gravel base. This high-tensile separation layer prevents soil migration and keeps your compacted aggregate structurally sound for decades, even through severe freeze-thaw cycles.
“A retaining wall doesn’t fail because of the stone; it fails because of the water trapped behind it.” – Hardscape Engineering Axiom
When you are building a patio or walkway, you are basically building a road. The same engineering principles apply. The subgrade is the foundation. If you have heavy clay, which is common in many regions, that clay holds water. When it gets wet, it turns into a lubricant. When you put 6 inches of 2A modified gravel on top of wet clay and walk on it, you are pressing that gravel down into the muck. Over one or two winters, the base thins out and the pavers shift. The fix is a simple roll of non-woven geotextile. For a standard 100-square-foot area, the cost of this fabric is roughly $18 to $25. It acts as a filter, allowing water to pass through into the water table while keeping the soil and the gravel separate. This preserves the “bridge” effect of your aggregate. Pack it tight. Don’t skip this.
Phase 1: The Physics of Excavation and Soil Grading
Proper excavation is where 80 percent of your success is determined. You cannot just scrape off the grass. You need to dig deep enough to accommodate for the paver thickness, one inch of bedding sand, and at least six inches of compacted aggregate. If you are dealing with a driveway, that gravel base needs to be 10 to 12 inches deep. Most hacks stop at three inches. That is why their work looks like a roller coaster after two years. Before you even buy a paver, you must check for utilities. Call 811. Don’t be the guy who hits a gas line because he wanted a fire pit. Once you are excavated, you must grade the soil. You need a pitch of at least 1/8 inch per linear foot away from the house. If the water sits under your pavers, it will heave in the winter. Frost is a powerful force. It will lift a 500-pound slab like it is a feather if the drainage is poor.
Phase 2: Choosing the Right Materials
Not all gravel is created equal. You want 2A modified or 3/4-minus crushed limestone. You need the “fines” (the dust) because they act as the binder. If you use clean stone (like #57) without a specific permeable design, your base will never reach the necessary Proctor density. It will just roll around like marbles. The bedding layer must be ASTM C33 concrete sand. Do not use stone dust for your bedding layer. Stone dust holds moisture and is prone to washing out. Sand is angular and locks together. This is the microscopic reality of the build. Here is a quick breakdown of what you actually need for a professional-grade install.
| Material Layer | Specification | Function |
|---|---|---|
| Subgrade | Native Soil | The base foundation; must be compacted to 98% density. |
| Separation Layer | Non-woven Geotextile | The $20 hack that prevents soil and gravel from mixing. |
| Sub-Base | 2A Modified Gravel | Structural load-bearing layer; 6-inch minimum depth. |
| Bedding Layer | ASTM C33 Sand | The 1-inch leveling course for paver placement. |
| Jointing Material | Polymeric Sand | High-tech sand that hardens to prevent weeds and ants. |
Phase 3: The Compaction Protocol
Compaction is not a suggestion. It is a requirement. You need a plate compactor that delivers at least 3,000 to 4,000 pounds of centrifugal force. You cannot do this with a hand tamper. A hand tamper is for fixing a small hole, not for building a patio. You must compact in “lifts.” This means you put down two inches of gravel, wet it slightly to lubricate the particles, and run the compactor over it until it literally bounces off the surface. If the machine is still digging in, you are not done. You repeat this for every two inches of material. If you throw six inches of gravel in a hole and run a compactor over the top, you only compacted the top two inches. The bottom four inches are still loose. Within a year, that bottom layer will settle, and your $20,000 patio will have a birdbath in the middle of it.
“Standard compaction for residential pedestrian traffic should reach a minimum of 98 percent Standard Proctor Density.” – ICPI Technical Manual
How much modified gravel do I need for a patio base?
To calculate your gravel needs, multiply the total square footage by the depth in feet (e.g., 0.5 feet for 6 inches) and divide by 27 to get cubic yards. For a 200-square-foot patio with a 6-inch base, you would need approximately 4.5 to 5 cubic yards of 2A modified aggregate to account for compaction shrinkage.
Why are my pavers sinking after one winter?
Pavers sink primarily due to poor drainage and insufficient compaction of the subgrade or aggregate layers. If water remains trapped in the base, the freeze-thaw cycle causes the ground to expand and contract, leading to differential settling and the eventual failure of the polymeric sand joints.
The Finishing Touch: Polymeric Sand and Edge Restraints
Once your pavers are laid and cut, you need to lock them in place. This is a two-part process. First, you need edge restraints. Plastic or aluminum edging held down by 10-inch steel spikes every 12 inches. Without this, the pavers will migrate outward over time. Second, you need polymeric sand. This is sand infused with chemical binders. When you sweep it into the joints and mist it with water, it turns into a flexible grout. It keeps weeds out and prevents ants from mining the sand from under your pavers. But beware: if you leave any residue on the surface of the pavers before wetting it, you will have white hazy stains that are a nightmare to remove. Sweep it, leaf-blow the excess, and then mist it carefully. This is the difference between a project that lasts five years and one that lasts fifty. Do it right the first time. Your back and your wallet will thank you in 2026 and beyond.
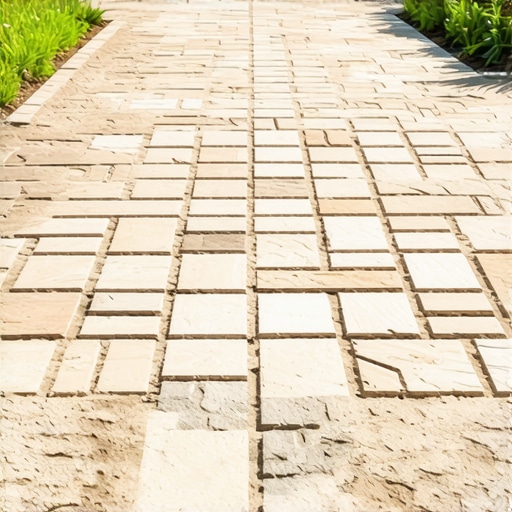
![Why Your 2026 Patio Foundation Is Cracking [and the Fix]](https://lawnmajesty.com/wp-content/uploads/2026/01/Why-Your-2026-Patio-Foundation-Is-Cracking-and-the-Fix.jpeg)
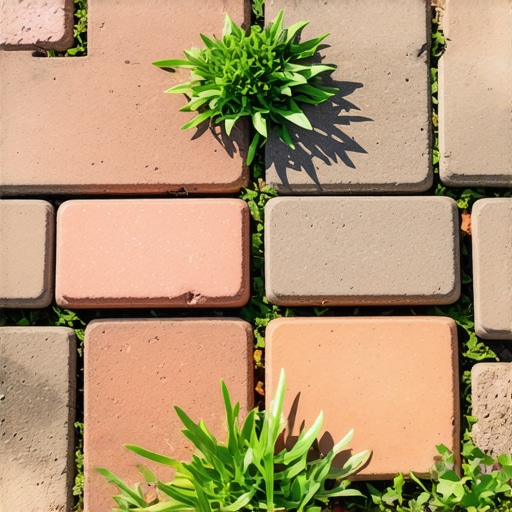
![Build a $600 Paver Walkway in 48 Hours [2026 DIY]](https://lawnmajesty.com/wp-content/uploads/2026/04/Build-a-600-Paver-Walkway-in-48-Hours-2026-DIY-1.jpeg)