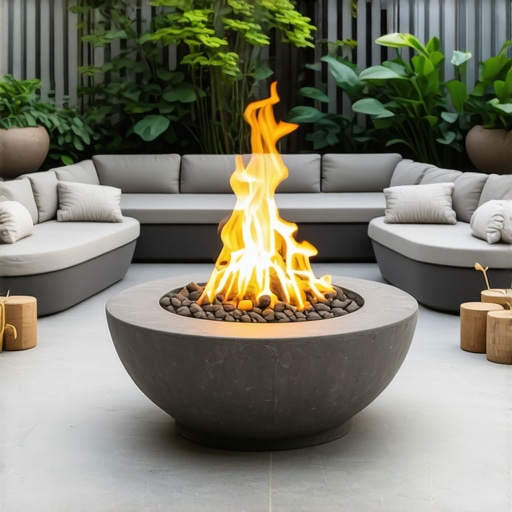
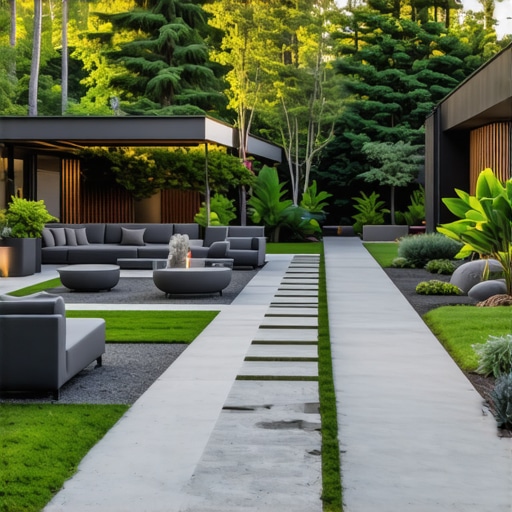
![Build a 2026 Stone Fire Pit for $150 [DIY Weekend Plan]](https://lawnmajesty.com/wp-content/uploads/2026/04/Build-a-2026-Stone-Fire-Pit-for-150-DIY-Weekend-Plan.jpeg)
The Architecture of Fire: Why Most DIY Pits Fail Before the First Match
To build a 2026 stone fire pit for $150, you must prioritize structural engineering and thermal dynamics over aesthetics, focusing on a compacted aggregate base and refractory-grade materials to prevent settling or dangerous rock spalling during high-heat cycles. Most homeowners ignore the sub-surface preparation, leading to structural collapse within two seasons.
I recently got called out to tear up a $30,000 patio that was sinking because the previous contractor thought he could skip the compaction phase on a fire pit feature. The weight of the stone, combined with the heat-induced expansion, caused the surrounding pavers to buckle and the pit itself to lean at a six-degree angle. It was a disaster. I had to explain to the homeowner that the $30,000 investment was essentially sitting on a foundation of loose dirt and hope. In my twenty years of hardscaping, I have seen it a hundred times: the failure isn’t in the stone you see; it is in the dirt you don’t. If you want to build this for $150, you have to be smarter than the guy who spent thirty grand. You need to understand the relationship between hydrostatic pressure, thermal shock, and soil density.
“A retaining wall doesn’t fail because of the stone; it fails because of the water trapped behind it.” – Hardscape Engineering Axiom
The Science of Site Preparation and Compaction
Building a stable fire pit starts with excavation and the Proctor density of your soil, which measures the relationship between moisture content and dry unit weight to ensure your base won’t shift. You are not just digging a hole; you are creating a drainage vessel. If you live in an area with heavy clay soil, your pit will act like a swimming pool if you don’t provide a way for water to escape. This leads to frost heave in the winter, which will crack your stone layers faster than you can say ‘over budget.’ For a $150 build, your biggest expense is your back, not the materials. You need to excavate at least 8 inches below grade. This allows for 6 inches of modified gravel base (often called 2A or 3/4 inch minus) and 2 inches for the first course of stone to be buried. Burying that first course is non-negotiable. It provides the lateral stability needed to keep the ring from spreading outward over time. Use a hand tamper. Do not just walk on it. You need to hit that gravel until the tamper literally bounces off the surface. That is the sound of a professional-grade foundation.
How deep should a fire pit base be?
For a standard DIY stone fire pit, a base depth of 6 to 8 inches of compacted aggregate is required to ensure proper drainage and weight distribution. In regions with high freeze-thaw cycles, increasing this depth to 10 inches prevents the structure from shifting during the spring thaw.
Material Selection: Igneous vs. Sedimentary Realities
Choosing the right hardscaping materials is a matter of life and death, as porous stones like river rocks or wet limestone contain trapped moisture that can turn into steam and cause the rock to explode. For a $150 budget, you are looking for trapezoidal concrete wall blocks or reclaimed granite cobbles. Avoid anything from a riverbed. Sedimentary rocks are the enemy of fire. Instead, focus on dense, dry-cast concrete products or igneous rocks that can handle the thermal expansion. Below is a breakdown of common materials and their performance metrics.
| Material Type | Heat Resistance | Estimated Cost (36″ Pit) | Risk Factor |
|---|---|---|---|
| Concrete Wall Blocks | Moderate | $120 – $160 | Low (If dry) |
| Fire Brick (Refractory) | High | $200 – $300 | None |
| River Rock | Very Low | $0 (Scavenged) | High (Explosion Risk) |
| Fieldstone (Granite) | High | $50 – $100 | Low |
To keep the project under $150, I recommend sourcing seconds from a local hardscape supply yard. These are blocks with minor chips that the pros won’t use for high-end patios but are perfect for a rustic fire pit. You can often get these for 50% off the retail price. Just make sure they are dry-cast concrete, which has a higher porosity for heat dissipation than wet-cast decorative stone.
Can I use regular pavers for a fire pit?
Using standard pavers for the inner ring of a fire pit is risky because they are not rated for refractory use and can crack under thermal stress. To stay within a $150 budget while maintaining safety, use a steel fire ring insert to shield the stone from direct flame contact.
The Step-by-Step Installation Protocol
The installation process for a stone fire pit involves leveling the sub-base, stacking the stone in a staggered-joint pattern, and ensuring oxygen intake via weep holes or gaps in the first course. This is where the physics of convection comes in. A fire needs to breathe. If you build a solid wall of stone, your fire will smoke, smolder, and die. You need to leave 1-inch gaps in the second course of stone at the North, South, East, and West points. These are your intake vents. As the heat rises, it pulls cool air in through these gaps, creating a secondary combustion effect that results in a cleaner, hotter fire.
- Step 1: Mark a 36-inch diameter circle and excavate 8 inches deep.
- Step 2: Fill with 6 inches of crushed limestone, tamping every 2 inches.
- Step 3: Level the base perfectly. Use a 4-foot level. Close enough is not good enough.
- Step 4: Lay the first course of stone below grade. This is your anchor.
- Step 5: Stack subsequent courses, staggering the joints like a brick wall for structural integrity.
- Step 6: Fill the center with 2 inches of lava rock or pea gravel to protect the base and aid drainage.
“The most common mistake in DIY hardscaping is the assumption that gravity is enough to hold a structure together; without proper compaction, gravity is actually your enemy.” – Agronomy Manual 104
Long-Term Maintenance and Turf Protection
Maintaining your hardscape feature requires regular inspection of the stone joints and ensuring that organic debris does not accumulate in the drainage base, which can lead to biological growth and stone degradation. If you built your pit near a lawn, be aware of heat radiant damage. Turf grass will brown out if the soil temperature exceeds 85 degrees Fahrenheit for extended periods. This is why a buffer zone of mulch or gravel is essential. Don’t use standard mulch right up to the edge; use a 12-inch ring of decorative stone to create a fire break. This protects your landscaping and your garden design from the intense heat of a 2026-grade fire. Remember, a fire pit is a permanent engineering installation. Treat it with the same respect you would a foundation or a retaining wall. It will last. It won’t shift. It won’t explode. Do it right the first time. Stop listening to the hacks on social media who tell you to just stack some rocks in a circle and call it a day. That is how people get hurt and yards get ruined.
![3 Hidden Reasons Your 2026 Deck is Warping [and How to Fix It]](https://lawnmajesty.com/wp-content/uploads/2026/02/3-Hidden-Reasons-Your-2026-Deck-is-Warping-and-How-to-Fix-It.jpeg)
This post offers a solid reminder about the importance of proper site preparation and foundation work, especially when working with a limited budget. It’s easy to focus on the stones and overlook the critical groundwork like compaction and drainage, which actually determine the longevity of the fire pit. I’ve seen DIY projects fail because of neglecting these foundational steps, resulting in cracking or shifting down the line. I’m curious, has anyone here found effective ways to streamline the soil testing or compaction process without significantly increasing costs? I think understanding the soil type and moisture content early on can save a lot of headaches later. Also, sourcing quality second-hand materials like reclaimed granite or concrete blocks is a smart move; it’s amazing what you can find if you know where to look. Overall, this post really emphasizes that a small budget means paying more attention to detail rather than just the materials. What’s everyone’s biggest challenge when trying to keep costs low but still build something durable?