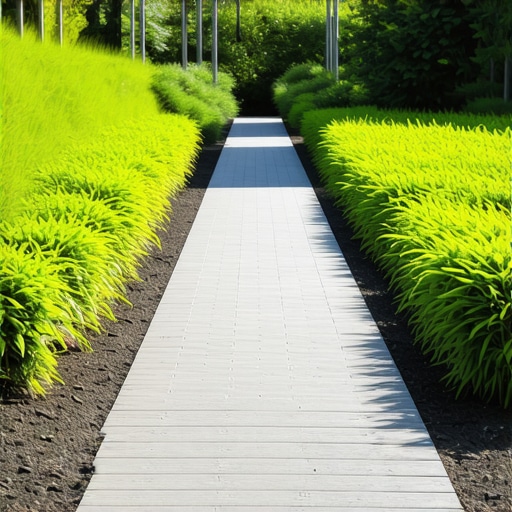
Best Groundcovers for High-Traffic Paths
The Science of Durable Living Walkways: Beyond the Lawn
Success in high-traffic landscaping is not about choosing a plant that looks good in a catalog; it is about engineering a biological system that can withstand the mechanical stress of foot traffic. I always drill into my new crew members: if you don’t fix the soil grading first, every plant you put in the ground is just expensive compost. You cannot simply throw a flat of Creeping Thyme onto hard-packed clay and expect it to survive. We start with the sub-base, analyzing the hydrology and the bulk density of the soil. If the water has nowhere to go, the roots will suffer from anaerobic rot. If the soil is too compacted, the roots cannot penetrate the macropores to find oxygen. We build from the bottom up, ensuring that the interface between the hardscape elements and the living plants is structurally sound and biologically active.
Understanding Foot Traffic Impact on Soil Biology
Best groundcovers for high-traffic paths must survive repeated compression that collapses soil macropores and limits gas exchange to the root zone. Durable choices like Creeping Thyme, Mazus reptans, and Dwarf Mondo Grass offer high turgor pressure and rhizomatous growth, allowing them to recover quickly from mechanical damage in landscaping applications.
When a human walks across a planting bed, they exert significant pressure, often exceeding 15 to 20 PSI. This force pushes the soil particles together, a process known as compaction. In technical terms, we are watching the bulk density of the soil rise. Once soil density exceeds 1.6 grams per cubic centimeter, most root systems stop growing. This is why paths fail. We counteract this by using ‘structural soil’—a mix of 80% angular crushed stone and 20% organic loam. This allows the stone to carry the weight of the traffic while the voids between the stones provide a protected home for the roots. It is engineering, not just gardening. You need to understand the Cation Exchange Capacity (CEC) of your soil to know how it will hold onto the nutrients these plants need to repair their cell walls after they get stepped on. It is a constant battle between mechanical force and biological recovery.
“Soil compaction is the single most difficult challenge for plants in the urban landscape, as it reduces the available oxygen and water infiltration required for root respiration.” – Texas A&M AgriLife Extension
Top Groundcover Species for High-Impact Zones
Durable groundcovers like Elfin Thyme and Kurapia are selected for their low growth habit and ability to spread through stolons or rhizomes. These species are ideal for garden design because they tolerate drought, require minimal lawn care, and integrate well with hardscaping materials like flagstone or pavers.
| Species Name | Traffic Tolerance | Growth Rate | Sun Requirement |
|---|---|---|---|
| Thymus serpyllum (Creeping Thyme) | High | Moderate | Full Sun |
| Mazus reptans | Medium-High | Fast | Sun/Part Shade |
| Leptinella squalida (Brass Buttons) | Medium | Moderate | Part Shade |
| Herniaria glabra (Rupturewort) | High | Slow | Full Sun |
| Sagina subulata (Irish Moss) | Low-Medium | Moderate | Part Shade |
Not all plants are created equal when it comes to the tread of a work boot. Creeping Thyme is the industry standard for a reason: its woody stems provide a level of structural integrity that succulent-type groundcovers lack. However, if you are working in a damp, shaded area, Thyme will melt away from fungal pathogens. That is where Mazus reptans comes in. It loves the moisture and can handle the foot traffic by rooting at every node. It forms a dense mat that literally anchors the soil in place. Then there is Herniaria glabra, often called the green carpet. It is nearly indestructible but grows slowly. You have to be patient. Most homeowners want an instant result and over-fertilize with high-nitrogen salts, which actually weakens the cell walls and makes the plants more susceptible to crushing. Slow and steady growth creates the toughest fibers. Don’t rush the biology.
How much modified gravel do I need for a patio base?
For a standard pedestrian path using flagstones with groundcover joints, you need a minimum of 4 inches of compacted 21A or 3/4-inch modified gravel. This base provides the necessary drainage and stability to prevent stones from shifting and crushing the plant crowns. For areas with heavy clay or poor drainage, increasing this to 6 inches is a cheap insurance policy against future failure. Always use a plate compactor; hand tamping is a recipe for settling. Every inch of base must be leveled and compacted to 95% Proctor density to ensure the longevity of the hardscape and the health of the inter-planted species.
Which groundcover handles the most foot traffic?
Creeping Thyme (Thymus praecox) and Rupturewort (Herniaria glabra) are the heavyweights of the groundcover world. They can handle daily foot traffic and even occasional light vehicle weight without dying. Their secret is their low profile and small, tightly packed leaves which minimize the surface area exposed to crushing forces. While many catalogs claim ‘Stepables’ can handle anything, these two species consistently outperform others in rigorous, real-world conditions where soil compaction is a constant factor.
Site Preparation: The Foundation of a Living Path
Site preparation for groundcovers requires excavation, grading, and the installation of a permeable base to ensure drainage. Proper landscaping prep prevents hydrostatic pressure from shifting stones and ensures the lawn care needs of the groundcover are met through healthy soil microbiology.
“A retaining wall doesn’t fail because of the stone; it fails because of the water trapped behind it.” – Hardscape Engineering Axiom
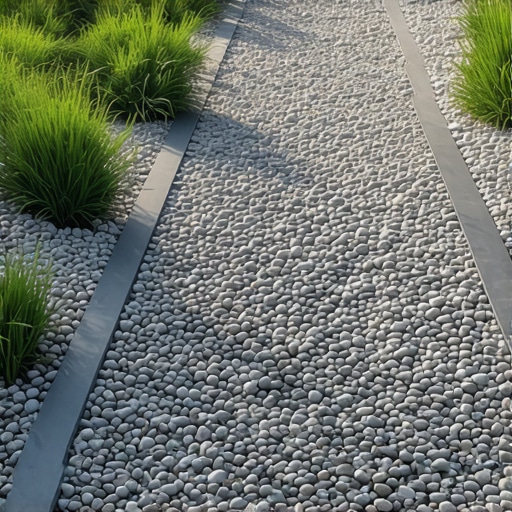
The same logic applies to your paths. If water sits in the joints between your stones, your groundcover will die. Period. I start by cutting the grade to a 2% slope away from any structures. Then we lay down a non-woven geotextile fabric. This keeps the gravel base from migrating into the sub-soil. We then add our modified stone in two-inch lifts, compacting each layer until it rings when hit with a sledgehammer. For the planting pockets, we don’t just use potting soil. We create a custom mix of coarse sand, expanded shale, and a small amount of compost. This creates a high-porosity environment that can withstand foot pressure without losing its air capacity. It is a technical balance. Too much organic matter and the path will ‘squish’ and the plants will suffocate. Too little, and they will starve. We use a penetrometer to check our work. If I can’t push a probe into the planting joint, the roots can’t get in there either.
[image_placeholder]
Installation Techniques: Avoiding the “Planted Too Deep” Trap
Installation of groundcovers must prioritize root flare visibility and avoid mulch volcanoes to prevent stem rot. In hardscaping, the plant crown should be set 1/4 inch above the final grade to allow for settling and to ensure the garden design remains functional over time.
- Excavate the path area to a depth of 6-8 inches.
- Install and compact a 4-inch gravel sub-base.
- Lay flagstones or pavers, ensuring a 2-3 inch gap for plantings.
- Fill joints with a high-porosity structural soil mix.
- Tease the roots of the groundcover plugs to break any root-bound patterns.
- Plant the plugs 6-12 inches apart, depending on the species’ spread rate.
- Water deeply immediately after installation to eliminate air pockets.
- Apply a thin layer of fine grit or pea gravel around the crowns to prevent rot.
The biggest mistake I see? People bury the crown. If you bury the point where the roots meet the stem, you are inviting pathogens to dinner. The plant will rot from the center out. It won’t happen overnight, but in three months, you will have a brown circle in the middle of your path. We also avoid the big-box store ‘miracle’ soils. They have too much peat moss, which becomes hydrophobic when dry. Once it dries out, you can’t get it wet again without a surfactant. We use native soil blended with coarse aggregates. The plants need to get used to the real world, not a laboratory environment. After planting, the first year is the ‘settling in’ period. You must monitor the turgor of the leaves. If they look limp, they need a deep soak, not a light sprinkle. A light sprinkle only wets the top half-inch, which encourages shallow rooting—the death knell for a high-traffic plant.
The Maintenance Protocol for Long-Term Success
Once the path is established, maintenance is not about cutting grass; it is about managing the biome. We use a pre-emergent in early spring to keep the crabgrass out of the joints. If you let a weed get established in a mat of Thyme, you’ll never get it out without killing the groundcover. We also avoid high-nitrogen fertilizers. We want tough, fibrous growth, not soft, watery growth. A 5-10-10 ratio is usually better for these plants. It encourages root development and flowering over sheer biomass. Every three years, we might top-dress with a little more coarse sand to fill in any areas where the soil has settled. This keeps the walking surface level and protects the plant crowns. It is a rigorous process, but it is the only way to build a path that lasts for twenty years instead of two. Don’t be a mow-and-blow hack. Do the work. Respect the dirt.
![Fixing 2026 Uneven Paver Walkways [Step-by-Step]](https://lawnmajesty.com/wp-content/uploads/2026/06/Fixing-2026-Uneven-Paver-Walkways-Step-by-Step.jpeg)